Tesla Model Y Juniper: A Tint Story
Tesla Model Y Juniper Window Tint: Is it more or less complex than a normal car?
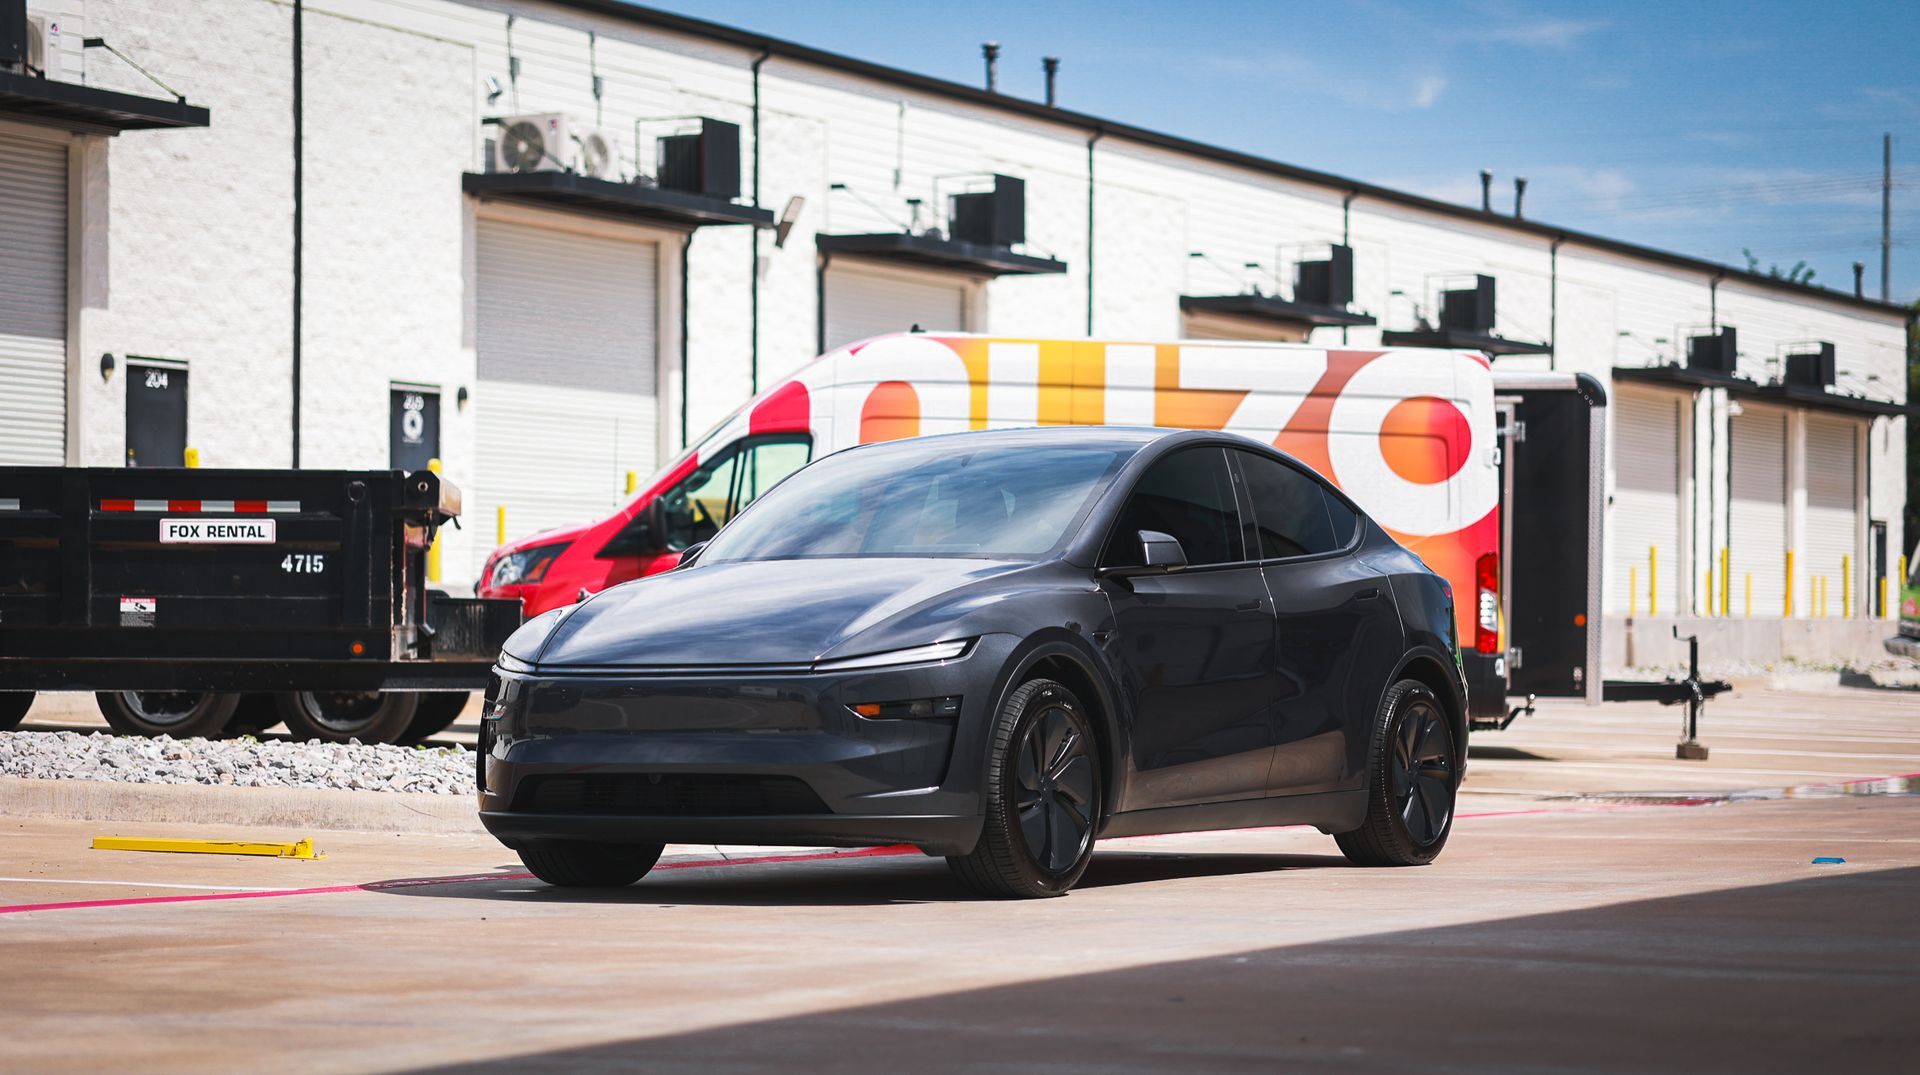
In today's post, we walk through a complex tint installation on a 2024 Tesla Model Y in Juniper. Due to the oversized rear hatch glass and aggressive curve, tinting this vehicle presents several nuanced challenges, even for seasoned installers.
📌 Process Overview:
1. Surface Prep — Contamination Control
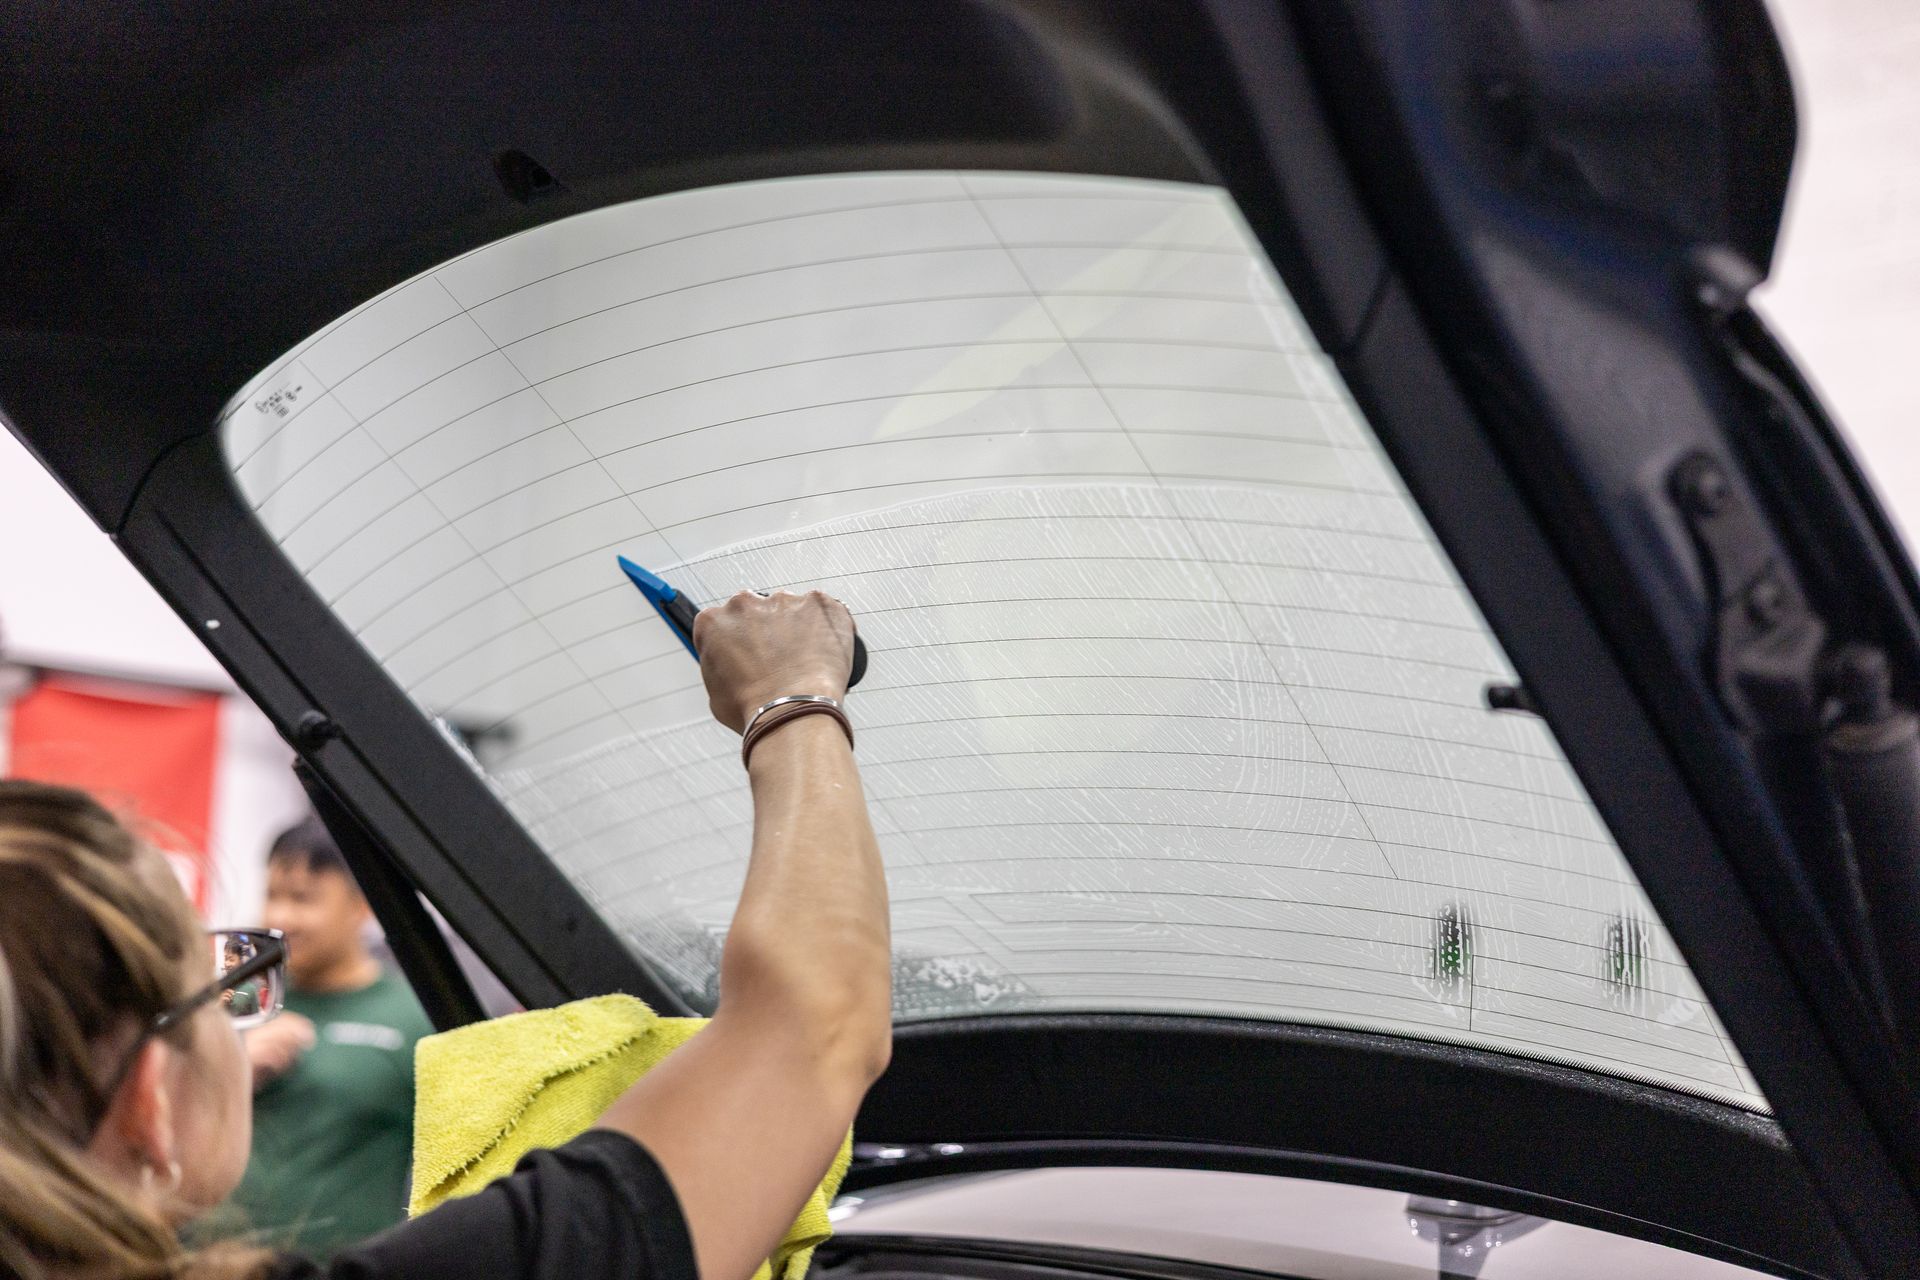
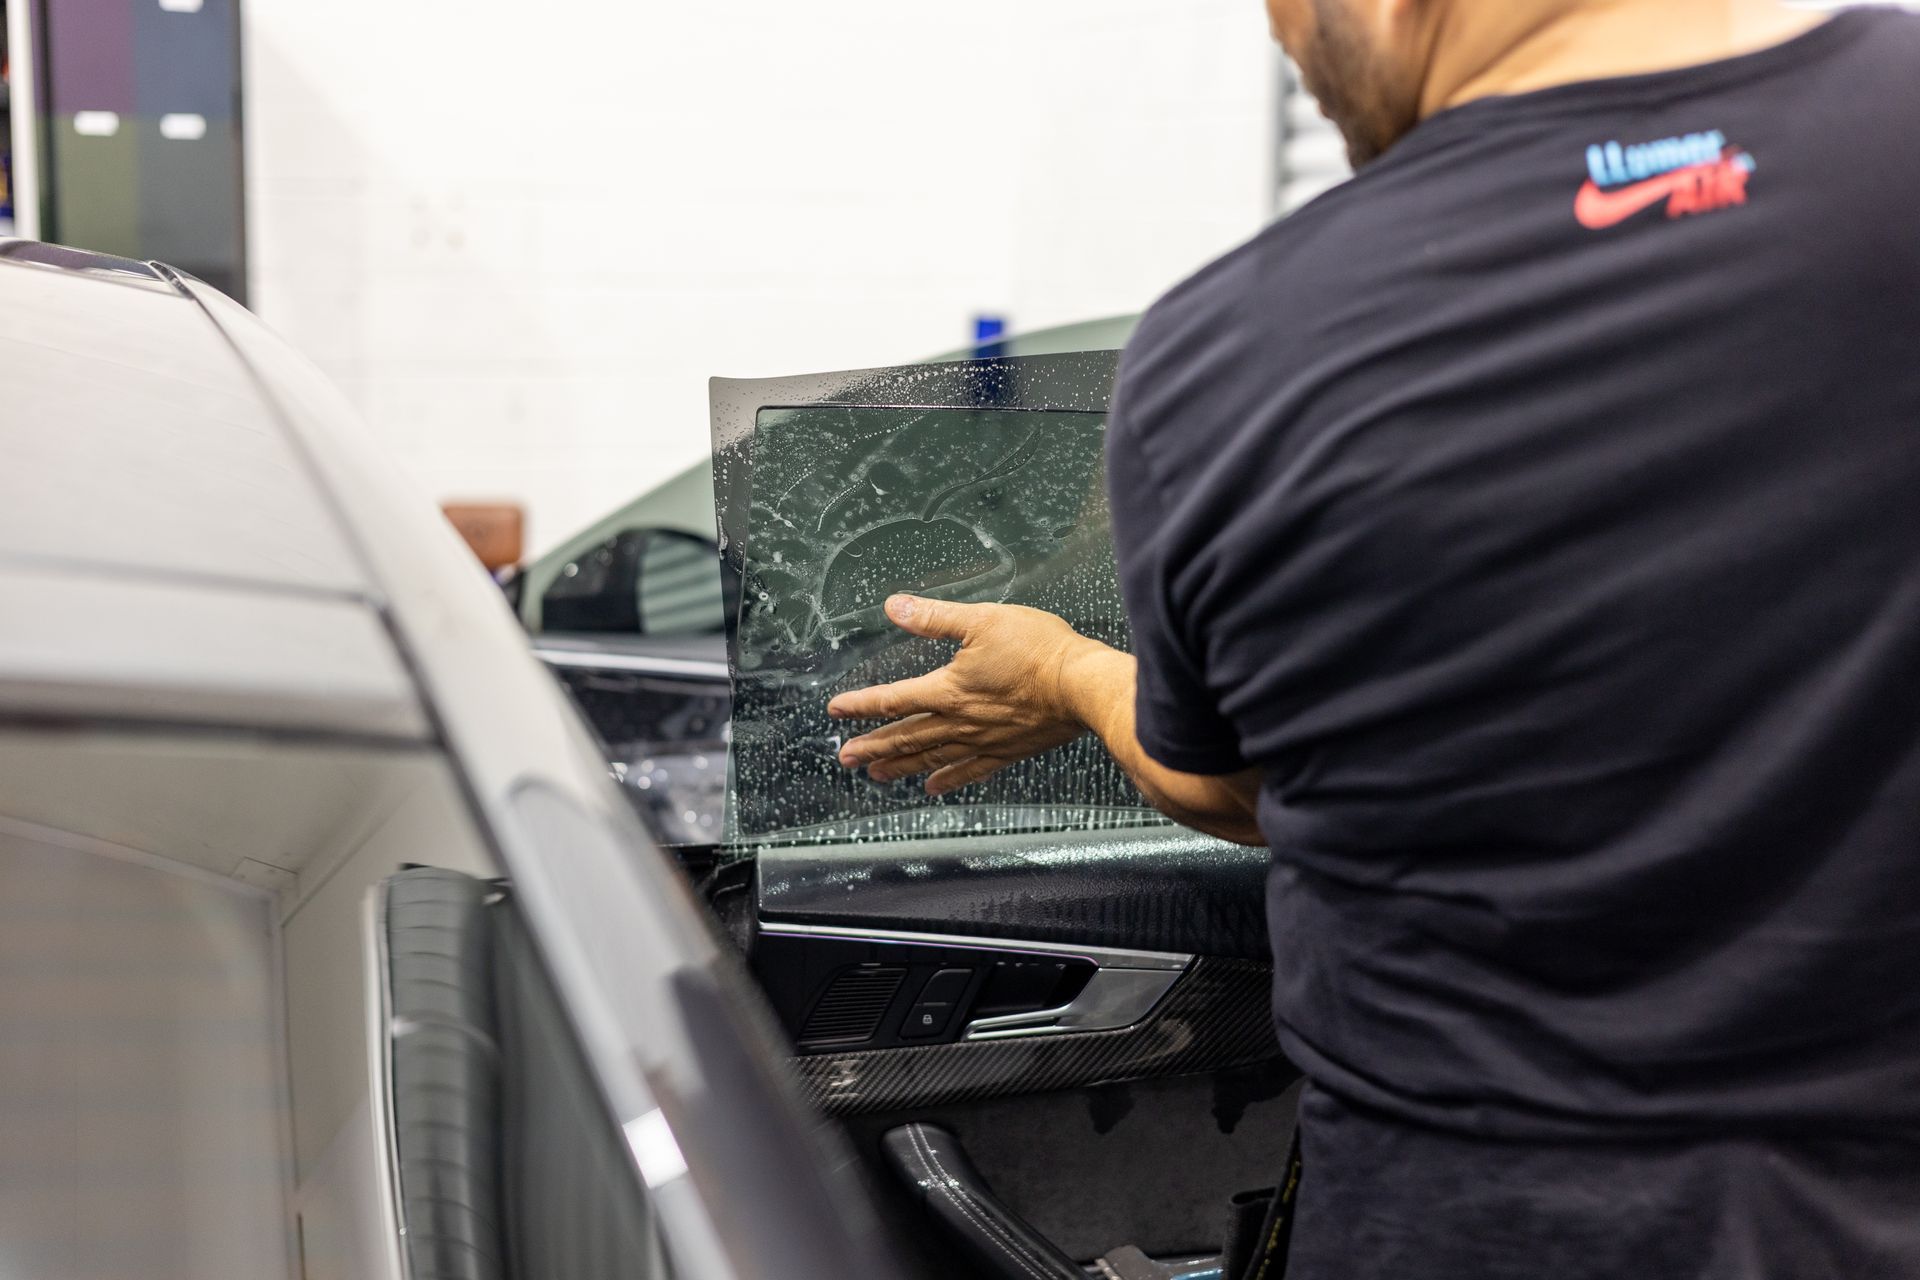
The first and arguably most critical phase of tinting a Tesla Model Y — especially one with a full rear hatch glass — is **surface decontamination**. Due to the sheer size and exposure of the glass, even microscopic particles can compromise film adhesion, causing bubbles, edge lift, or long-term failure.
We implemented a dual-phase cleaning cycle:
Phase One: The glass was saturated with a non-ammonia, tint-safe soap solution mixed with distilled water to avoid mineral deposits.
Phase Two: After the initial wipe-down, a fresh soap solution was applied, and a stainless steel 1" blade scraper was used to remove stubborn debris, adhesive residue from transport tape, or manufacturer-applied coatings. This step is performed with overlapping strokes to prevent streaking or missed spots.
Special attention was directed to two high-risk zones:
Defroster Grid Lines: These embedded electrical traces are notorious for trapping debris and are highly sensitive to film lift if improperly cleaned. Using a low-angle scrape and horizontal strokes, we cleaned along the grid, not across it, to prevent delamination or scratching.
Lower Corners and Edge Seals: The Model Y’s trunk edge gathers a surprising amount of grime even brand new, especially in the corner radius and under rubber seals. We flushed these out using a plastic-tip spray wand and followed up with cotton swabs and edge tools wrapped in microfiber to wick out moisture and dirt.
After cleaning, the glass was left to flash dry under shop lighting, followed by a secondary lint inspection using a high-lumen inspection light at a low angle. This helped us detect any airborne particles or remaining fibers before moving to the shrink and install phase.
2. Film Shrinking — Vertical Hinge Method
The Tesla hatch uses a compound curve that necessitates controlled shrink. A vertical hinge technique was implemented to prevent sideways distortion. We used a soap solution base for dry shrinking, paired with intermittent heat.
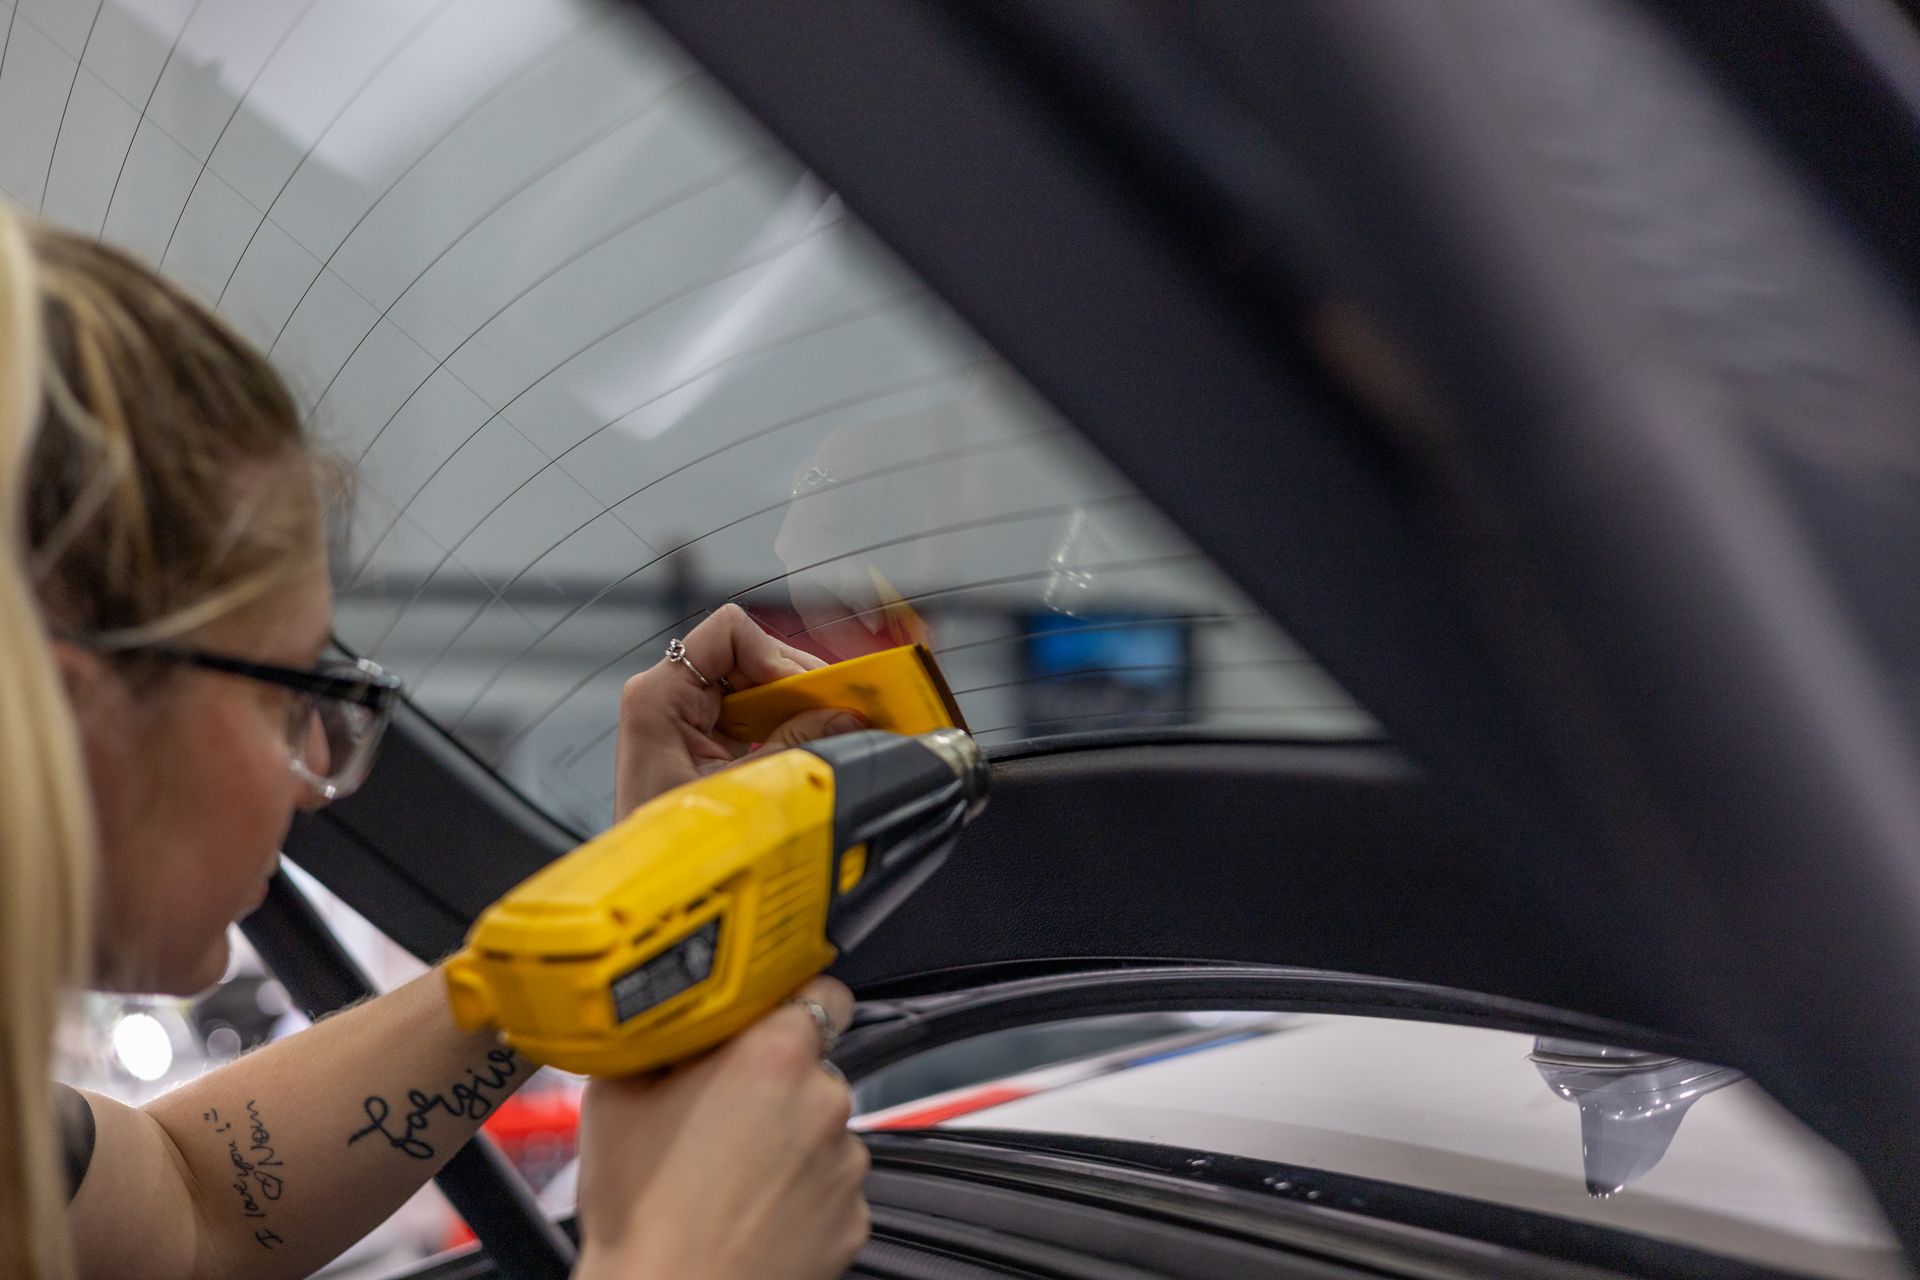
3. Install — Inner Glass, Wet Mount
The shaped film was floated with generous slip solution and installed using a hybrid squeegee method. Tight corners required hard card edge work and controlled heat reflow.
4. Heat Sealing — Infrared Line Reinforcement
To finish, we isolated problem zones with a yellow turbo card and Wagner heat gun to prevent bubbling in thermally active areas. Excess moisture was expelled using edge peels and spot compression. This is crucial in locking in our work, giving us the best Tesla Model Y window tinting in Plano.


5. Side Glass Tinting — Precision, Fitment & Shaved Edge Advantages
When it comes to side window tinting, especially on high-end vehicles like the Tesla Model Y, film edge finish separates a good install from an elite one. For this build, we implemented shaved edge tinting on all four doors and quarter glass panels to deliver a factory-quality appearance and long-term durability.
What is a Shaved Edge?
A shaved edge refers to trimming the window film flush to the absolute edge of the glass — leaving no visible gap between the film and the window border. This is achieved post-installation using a precision blade and glass edge as a guide, followed by fine sanding or polishing with a hard card to refine the line.
Advantages of Shaved Edges:
-Factory Appearance: Shaved edges mimic OEM-dyed glass. There’s no light gap or “halo” effect that you typically see in pre-cut or hand-trimmed installs.
-Less Lift Risk: Film that stops short of the glass edge can be prone to edge contamination over time — where dust, moisture, or fingers pull at the corners. Shaved edges are less likely to peel, especially with Tesla’s frameless glass windows that drop when opened.
-Perfect for Frameless Windows: Teslas auto-index their windows every time the door opens or closes. A standard 1–2mm gap in a traditional tint job can be highly visible as the window shifts. Shaved tinting eliminates that problem.
-Cleaner Seal Behind Gaskets: On the Model Y, the outer sweep gasket sits tight against the glass. When tint is shaved cleanly to the edge and tucked slightly below the seal, water displacement during rain or washes is less likely to disturb the film.
Final Thoughts: Why Craftsmanship Matters on a Tesla Model Y Tint
Tinting a Tesla Model Y isn’t just a routine install — it’s a showcase of precision, patience, and process mastery. Between the compound rear glass, auto-indexing frameless doors, and sensitive defroster grids, this vehicle punishes sloppy work and rewards meticulous execution. From decontamination to heat shrinking, from glass-to-glass transfer to edge finishing, every step requires a controlled hand and a trained eye.
Shops that treat Tesla tinting as a plug-and-play job often end up with film lift, contamination, or visible gaps — all issues that surface weeks or months after the car leaves the bay. That’s why we approach each Model Y with a surgical mindset, viewing the film not just as a layer of protection, but as a reflection of craftsmanship. If it looks like factory glass and performs better — we’ve done our job right.
If you'd like to get your new Tesla tinted this way, click on the link below and let's get you cool!
