/ Journal · Humble Crew Auto Spa
PPF on a new Tesla Model Y Juniper: Trickier than it looks
Jesse Xiong·
Restoring an Icon
Video transcript · 3,296 words
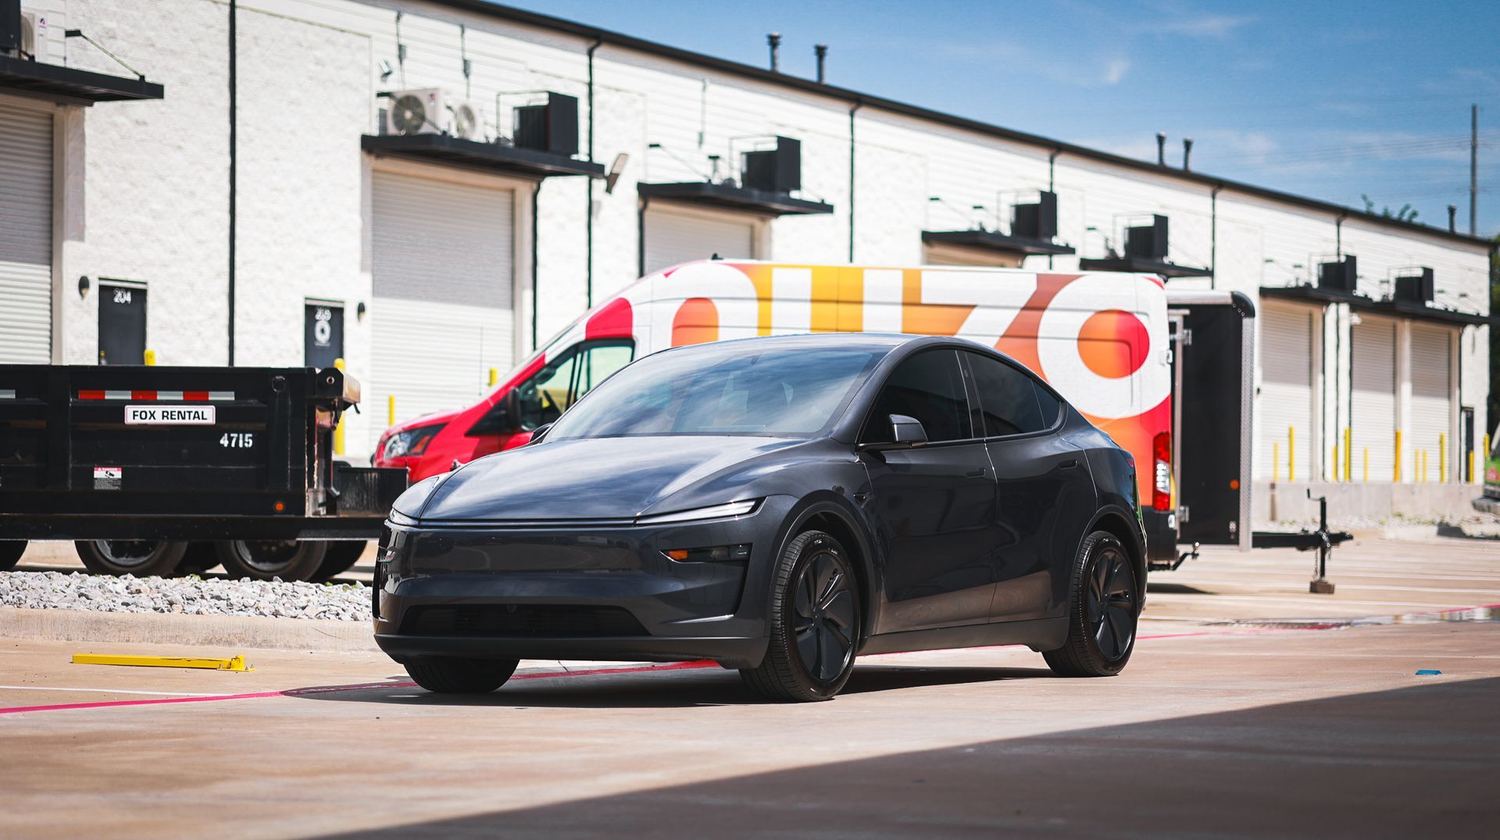
Today we've got a brand new 2026 Juniper Tesla Model Y. We're going to be doing full front end paint protection film to protect this brand new Tesla. So, it looks good as long as it's going to last. This vehicle first started debuting in China. There was rumors and leaks here and there. And then finally, after much speculation, this Juniper is now here in the United States.
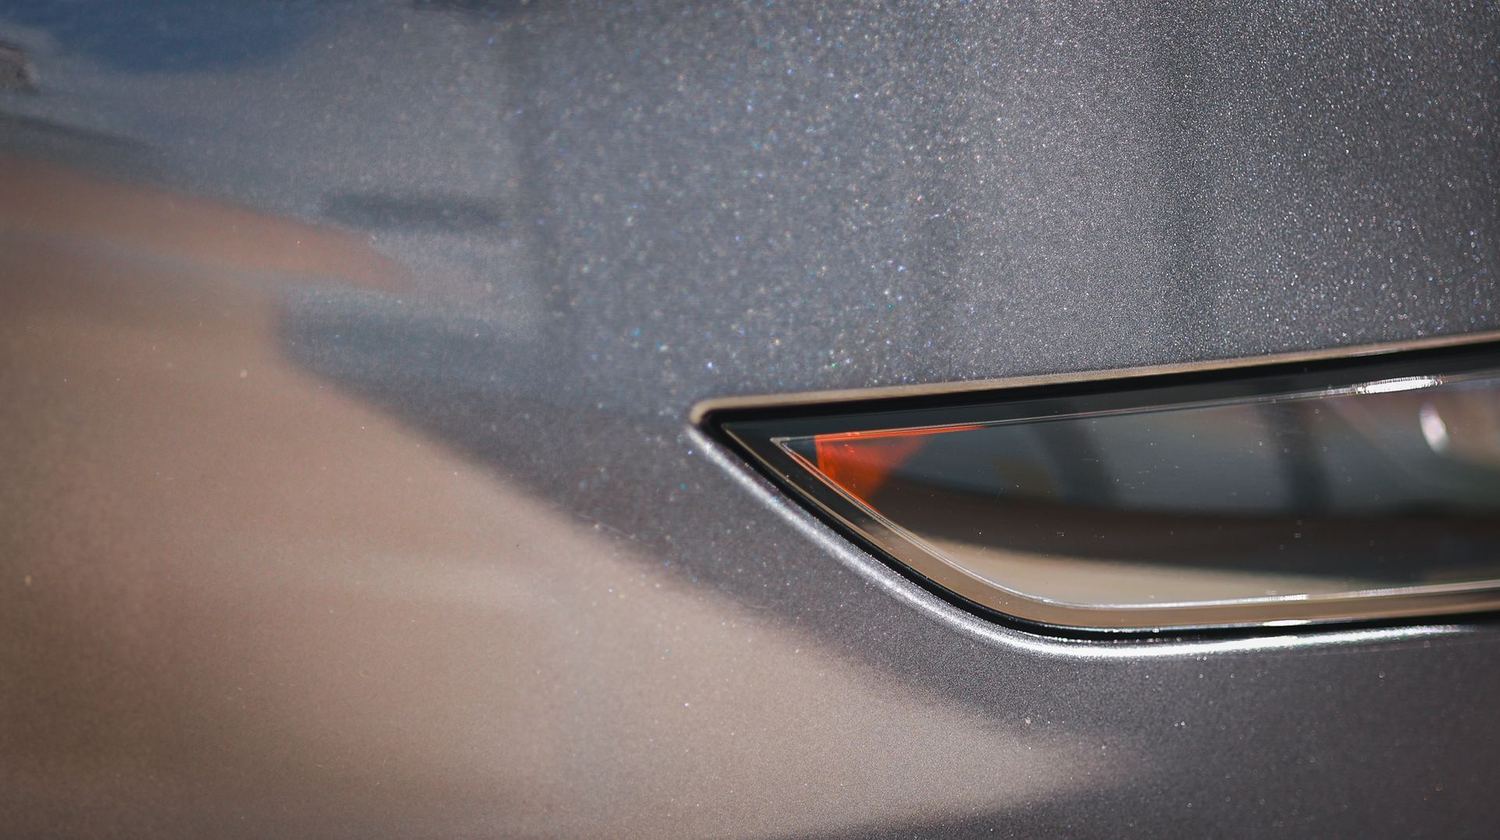
This new Tesla Model Y features a redesigned front body, a new light bar going across that front part, different trunk, and overall a sharper looking image. The interior has changed as well. The interior has got new tech, it's got better audio, it's got different glass. Overall, this brand new Tesla is going to mark the next generation of what this company brings to the table.
So, with any paint protection film that comes through our shop here at Humble Crew Auto Spa, we have to do a thorough wash before we touch the paint or do any type of installation, whether it's ceramic coatings or paint protection film. All of our washes start with a three bucket wash. Two buckets for paint and one for your wheels.
And when we do this wash, we're not only cleaning it from the dirt and grime, but we're also taking a brush. We're cleaning out crevices. We're going to be doing a clay bar as well to pull out embedded contaminants that don't come out with the wash. And this is all to ensure that when we lay this film and install it, it is squeaky clean.
This fender liner gets removed with just a trim removal tool. There's only a few bolts here and there. And so you kind of pop them out slowly and the whole thing comes off. All righty. So this is the new Tesla Model Y Juniper. And I want you guys to take a look at this pattern. So the normal plot, this is the uh the standard tucked plot.
So it gets tucked behind the door like this. And you can even see up top, this is this lip right here. All of this would get tucked in on the front facing the hood. So it gets tucked in there. But for us, we actually take it a step further. Uh we're going to be removing the plastic cladding that goes in the wheel well.
And then what we're going to do is we're going to extend it past the edge. So check this out. You have to go in and manually do these plots. That's why it's uh some people don't want to do it because oops. because you have to actually manually do it, right? So, you see all these kind of little nodes here.
Sorry, I gotta Okay, there we go. So, we're gonna take all these right here, including that one. We're going to stretch it about that far. Stretch these ones a little bit. So, you can see this little dotted line here. This is where the plot used to be. And so, because we're stretching it like this, it allows us for uh for a cleaner tuck.
uh when your film gets tucked this way beneath the uh cladding uh it's significantly more durable, especially these lower areas where the wheel well is uh because without the this edge right here being exposed, especially in the wheel well, it's far less likely to catch and lift, giving you significantly better durability over time. So, if you're getting paint protection film on your Tesla, this right here is a small thing that we do that really, really improves the durability of our uh paint protection film.
Another thing we're going to do really quick here is this is the sensor. Uh the standard cutout for the sensor is usually pretty good, but we're going to bring it in just ever so slightly. You can see like 0.125 inches. So, we're going to shrink it just by a little bit so that that uh sensor area is tucked even tighter.
We're going to start with doing the hood. So, normally we bulk our hoods, but today we're going to be using a cutout. The new Model Y has a very flat and almost square hood. And so it's actually easier for us to use the cutout pattern to um lay the hood here. This is literally one of the very few cars that we're going to do uh with the cutout.
But you can actually see that um with a cutout is very very accurate. The corners go right up to the edge and then the edges get all tucked right there as well. You see that? So all the excess film um is included in the cutout which I really like. So as we kind of move over, we get done tucking it, we're going to go ahead and move on to that front fender.
As we're laying the paint protection film onto that front fender, you can see we've got the plot. And because we plotted it a certain way, when we go to install it, it's going to install really clean. Things are going to get tucked over. Everything is going to be very accurate. See that? Check it out. We're going right up to the corner because we cut it out.
It's able to get very close and get tucked right underneath right there. Cuz we uh shortened the sensors as well. We're able to get the sensors really tight. Now, this is the cool part of the install. We're going to be tucking everything. You can see the film gets tucked behind the cladding behind the front fender where the door meets that fender.
Everything gets tucked. And like I said, this is better for durability, but it looks super good, too. Moving on to the front bumper. Even though we cleaned it really good, we're still going to prep it one more time. So, we take a brush, clean out the crevices. We're going to take a clay bar and really get up in there as well.
Make sure there's nothing stuck to that front bumper so that we can go and lay the front bumper. It's easier to do it with two people. Uh we're going to start by putting the front bumper piece onto the bumper itself and then securing the edges and then we're going to kind of work our way inwards. All right.
So, as I'm laying this, I'm checking for alignment. So, this corner here is really important that this exactly matches with the plot. And then I'm checking kind of the alignment down here to make sure this tucks in like that. Checking the alignment over here. So before I squeeze you all this water out, I have to make sure this, this, and this all look really good.
And then once it looks good, I'll lock it in and move to the next section. All right. So now we're going to try to get this section down. But before we do that, I have to make sure this point here lines up with this edge. So we're going to actually lock in here. Then we'll lock in over here.
I'm going to show you how it's done. So what I'm spraying here is tack solution, which is effectively just hot water. And you can see that even by spraying it just a little, it's already starting to work. I gota be really careful. This point right here is under a lot of stress. So if I lift it incorrectly, it'll tear.
So I have to be really careful and try not to me because I'm actually going to pull this way like that. Once it looks good, I'm going to lock it in just like this. Like that. And I'm also looking for this alignment down here. And what's nice is that I can still kind of adjust this up and down as I see fit.
And then now I can move on to this right here over here. That's looking really good. I'm also looking for this alignment right here, which should allow me to feed it in over here. So now this is all looking pretty good. I'm going to go over here and lock it in over here. It's really important that I pull it this way.
And don't just pull it this way. So, I'm literally trying to rotate it and pull at the same time, and it should just perfectly line up. So, I'm literally trying to lock up this top one with the bottom one. Hold these two edges here so that they stick. Push this edge right here, too, just a little closer.
I'm going to hold it just like that so that it sticks. The heat from my hand is literally causing the adhesive to stick. So, you can see this bottom part still wants to kind of lift. So, I'm going to go ahead and spray a little more hot tack. Pull it over. Just like that. And with that, we're going to have really good alignment.
You see this edge right here going to go all the way up to the perimeter of the paint for some really good coverage right there. I know it looks good. We'll squeegee it shut. And you can see that line goes all the way up to the edge. That's what you want right there. You see that? Looking really good.
Very happy with it so far. Now that this is all locked in, everything else is going to start lining in place. So like this tension here, if you pull this way, you see it really starts going away. And we can start locking this in. There's the edge right here. So we're going to get this bottom piece to perfectly line up.
Just like that. before I lock it in. So, just like before, I'm going to use the heat of my hand to try to get this adhesive to bite. Might even spray a little bit more tack here just to get it. There you go. So, you want these two seams right here to come very close, if not literally right right next to each other.
Just like that. Once it looks good, and it does, we squeegee and then these two pieces come literally right next to each other with very little gap in between. That's what you want right there. Now, we go to this leading edge. And you're going to just gently make sure all the water is out from this edge here.
And you're going to push forward just like that to get the rest of it out. So now we take a look at it. The seam right here is very very small. It's what you want right here. And what's really important is that I'm looking at alignment on both sides. So I'm looking at up here. Make sure this looks exactly where it wants to be.
This is Yep. Looks really good here. I'm also looking at the bottom side down here, too. Make sure this is also where it needs to be. I got to make sure all of this right here is lined up kind of where I want it. Especially down here, too. Because if I'm short over here, it's going to be down here.
So, I'm actually going to push it up just a little. It's really important not to overstretch my film, but just barely gently left that. Gently pull it like that. And I'm checking this edge right here. I don't want a lot of overhang. Okay. Pretty good right here. Check here, too. So now that this point is locked in right here, exactly where I want it, I can start pushing it up this way, making my alignment perfect.
Lock it in. Okay, feeling pretty good about that right here. Let's clean it up. See what it looks like. doing this with this this protruding edge here. It doesn't come back up and lift. So, we can always come back later with a little bit of hot water or even uh heat gun to try to get this edge right here to lay and it will.
So, you see how this kind of lifting like that right here. You see this lifting? So, we're going to go and spray a little hot tack there. Push it down. Just this. And I'm pretty sure a little bit at a time. Get it away. There you go. We'll come back later with a heat gun to seal it in though, just to be sure.
So, before I move on to this midsection, I'm going to check this area here and make sure I didn't leave anything behind because once this stuff locks in Oh, check it out. Good thing I checked. See this little water right here? See these little water bubbles? Yeah, that's why if I didn't if I started going over here and I didn't look at this right here, like if I started going this way, this would be locked in.
So, the way you're going to do that is take a little slip and then you take the hard card, the back side of your card, and you evacuate it to the nearest exit, which is over here because this edge is not locked in. So, if you were to lock it in, push it down like all of this, I tacked it earlier.
You got to go this way because this side is not held in with with the tack, which means that it's not quite as bonded. And now she's clean. So now we're going to go and lock in this edge here. But before I lock in this edge, I got to make sure there's no water that's literally pulled been pulled down here.
Like you see, I can just barely tap it. There's a little bit of soap here. Little soapy water. So I got to make sure this whole edge here is clean. Once I know it's clean, then I can start slowly squeegeeing it forward. Just like this. Just like that. And then I'm going to go through my squeegee one more time.
Go over this edge. Make sure there's nothing sticking. Make sure there's no water on this side. Make sure there's no water on this side. There you go. Make sure not to do that, too. And now we're good to actually finally move into the middle. All right. So, how do we get rid of this giant bubble? The way we're going to do that, we're actually going to use our hand, force it to an exit.
Just like that. Kind of force it down. And then once the majority of that air is out of here, we start squeezing it clean. So, I'm going to start with the top. We're going to go ahead and make our way down just like this. I'm doing real firm, short squeegee, just like this. Make sure all that water gets evacuated out.
I don't want any remnants, any bubbles. So, you'll notice that I'm constantly squeegeeing over areas that I've already squeegeed. And then finally, this is going to go down. So, now I'm going to get past this edge here using real firm squeegee technique. And just like this protruding edge here before, I'm going to just double check all my edges.
Make sure there's no water trapped on here. No water trapped over here. And then we can finally go to seal it. What's really nice is that once you get to this part of the install, a lot of this because of the way that the film will stretch across the panel, a lot of this will lay without very much adhesive or tack.
So you can see this is probably the worst of it, but even then, this is real minor. So this these little fingers, that's what these are called, will lay down with some heat. So, you just take a little little hot tack and you just gently push and hold. And we're clean. Now, we clean this bottom edge here.
You see all the soap? This is where it's evacuated to. So, I'm going to go ahead and start spraying some hot tack. Try not to shoot myself in the face. Okay, it happens. All right. Try to rinse all that soap water out. As we move forward, going to tuck the film all the way under. It's going to look seamless.
It's going to be durable. It's why I love it. Tucked the edge right here. See that? Can't even see. I feel like most people would probably cut it to about here. For us, we're going to go ahead and tuck it all the way under here. Tucked edges give you uh not only a really nice aesthetic, but uh when the edges are tucked this way, they're far less likely to catch and lift, giving you better durability over time.
That's why we like doing these tucked installs, especially on Teslas like this. There's a whole bunch of water. You see that? Okay. So, let's get that the heck out of here before I lock it in. So, that's very Yeah, another water bubble right there. That's why it's very important to go slowly double check my work. All right.
So, this we'll come back later and clean it up with some heat. All right. And you guys can see because we removed that front cladding, we're able to tuck even the front bumper into this area. That's going to be not only super clean, but again, very durable. Now, we move on to the mirror. This mirror is actually kind of interesting.
Normally we bulk install our mirrors, but the new Model Y Juniper has this really deep recess kind of separating the mirror right in half. So the kit actually allows us to get it uh very very close just like that. Otherwise, normally we'd have to hand cut it. Ultimately, we're trying to get a more durable installation. So doing it this way with a kit just yields better results that lasts a lot longer.
All right. So, now that all the film is on there, it's really important for us to come back and heat treat everything. Anywhere that gets tucked, those are areas that are really important for us to go and heat treat. Um, the heat activates the adhesive so that it doesn't lift over time. Uh, this is really important, specifically on edges.
So, we're going to go through and trim any kind of overlapping of the film on the vehicle. So, you can see as we're trimming just ever so slightly off this mirror. Again, the point of this is durability. And there you guys have it. That's full front end paint protection film on this brand new Tesla Model Y Juniper.
Uh this paint protection film installation is not standard. We do take a couple extra steps to make sure that the coverage is not only more thorough, but also that paint protection film because of its tucked insulation is more durable, right? We want to make sure that the paint protection film lasts a long time. That's why we take the extra steps.
But it's totally worth it because the end result looks like this. So, if you've got a brand new Tesla Model Y and you want to get a thorough way to protect that front temp from rot chips, this is going to be the protection package for you. It's Jesse at Humble Crew Auto Spa signing out.
Protecting the Future: Full Front-End PPF on a 2026 Tesla Model Y Juniper
The 2026 Tesla Model Y “Juniper” edition has finally landed in the United States — and Humble Crew Auto Spa was among the first to protect one with a full front-end paint protection film (PPF) installation. This latest Model Y refresh, which originally debuted in China, brings a host of visual and performance enhancements, including redesigned bodywork, an illuminated front light bar, a revised trunk, and an upgraded interior featuring enhanced glass, audio, and tech.
Naturally, a vehicle this cutting-edge deserves an equally premium layer of protection. That’s where Humble Crew’s meticulous PPF process comes in.
Every Installation Starts With a Deep Clean
Before any film touches the paint, Jesse and the team begin with a full decontamination wash. This includes a three-bucket method — two buckets dedicated to the paint and one for wheels — plus thorough brushwork in all crevices and tight areas. The surface is also treated with a clay bar to remove embedded contaminants, ensuring the film adheres perfectly without any interference.
Going Beyond Standard PPF: What Sets This Install Apart
One of the biggest differences between a standard PPF job and what Humble Crew delivers is in the custom tuck patterns. For the Juniper Model Y, the team extended the film well beyond the visible edge of the panel. This required manually adjusting the plot files, a step many shops skip due to the added time and complexity.
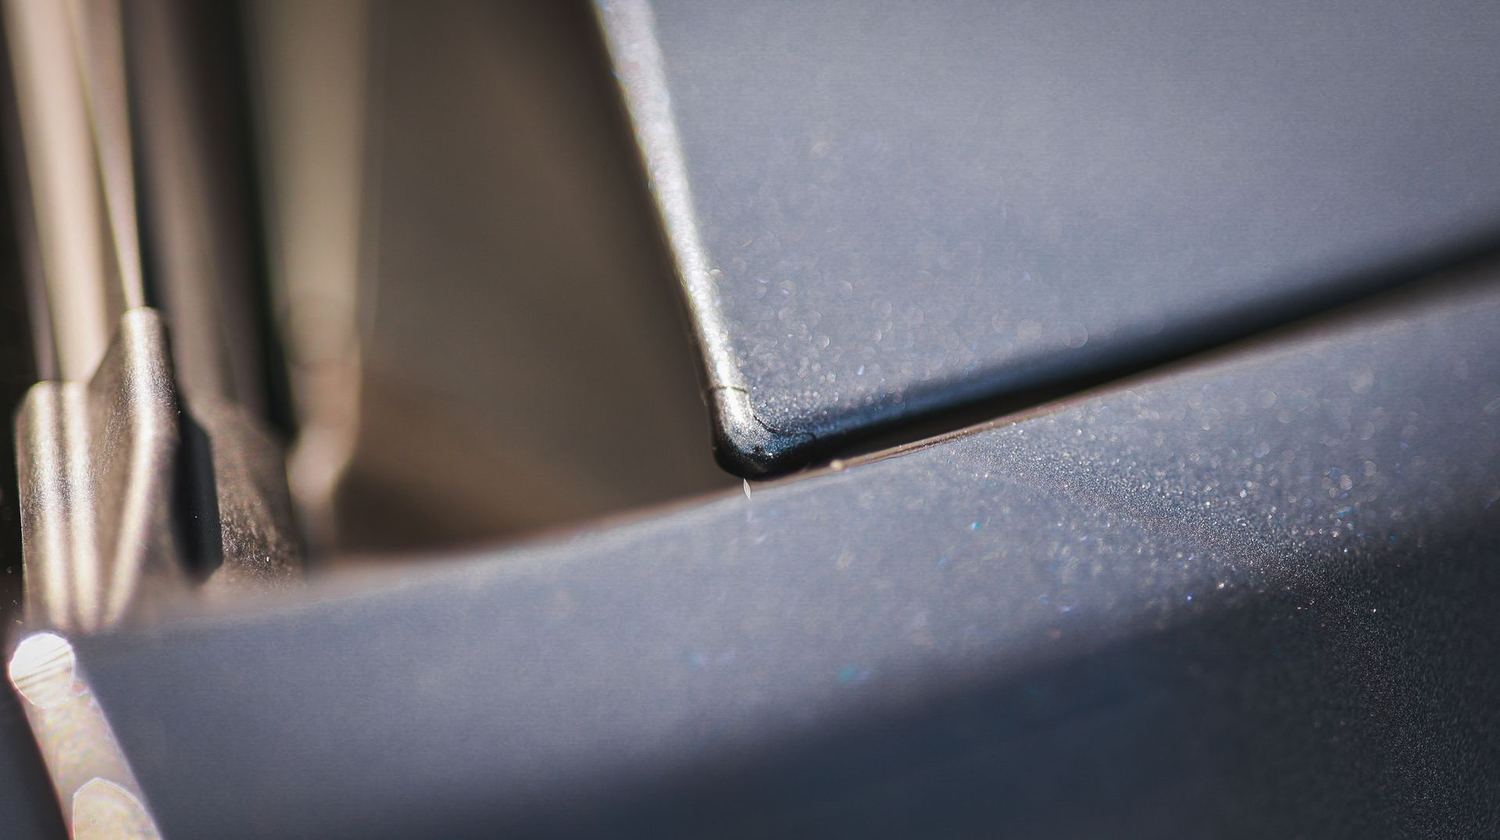
By removing the plastic cladding in the wheel wells and manually stretching the film to tuck deep into panel gaps, Humble Crew significantly enhances the film's durability — especially in vulnerable lower areas where lifting and catching are more likely over time.
Micro Adjustments for Macro Results
The team also custom-modified sensor cutouts, trimming them by as little as 0.125 inches to ensure tighter fits around the car’s ADAS sensors. This small but crucial tweak minimizes exposed edges and maintains a cleaner, OEM-like finish.
Hood Installation: Precision and Planning
Interestingly, although Humble Crew typically bulks hoods, the geometry of the new Juniper Model Y made a cutout pattern a more precise fit. The near-square hood profile allowed the pre-cut film to land perfectly on corners and edges, tucking flush with no trimming needed.
The install continued across the fenders and bumper, with every section dry-fitted and aligned before locking into place. This method ensures symmetrical fitment across all points — from the top corners down to the lower intakes.
Careful Stretching, Clean Tucking
The bumper install was a standout part of the project. The team used a combination of hot tack solution (essentially hot water) and precise hand-squeegeeing to work the film into tight edges, curves, and lower lips. Every lift, pull, and lock-in was planned and executed with the tension points in mind, minimizing risk of tearing or long-term lifting.
The seams were held in place using just the heat from the installer’s hands, often supplemented with heat guns or additional tack spray where necessary.
The Importance of Water Evacuation
Jesse’s method emphasized one golden rule: never lock in water behind the film. Throughout the install, the team paused to check for trapped air and moisture before squeegeeing, especially around seams and high-tension zones. In one key moment, Jesse catches a hidden water bubble just in time, redirecting it to the edge before sealing it in permanently.
Tucked Edges = Longer Life
One of the major advantages of Humble Crew’s method is the fully tucked film edges — especially on the bumper and lower rocker sections. Where other installers might trim the film flush, Jesse’s team tucks it fully under the cladding and lips. This gives the film a cleaner look and drastically reduces the chance of lifting from wear, weather, or car washes.
Mirror Install: Kit vs Bulk
The Juniper Model Y’s mirrors posed a unique challenge. With a pronounced recess dividing the housing, the usual bulk install wasn’t ideal. Instead, the team opted for a pre-cut kit pattern that hugged the recesses cleanly, ensuring both aesthetics and longevity.
Final Steps: Heat Curing and Trimming
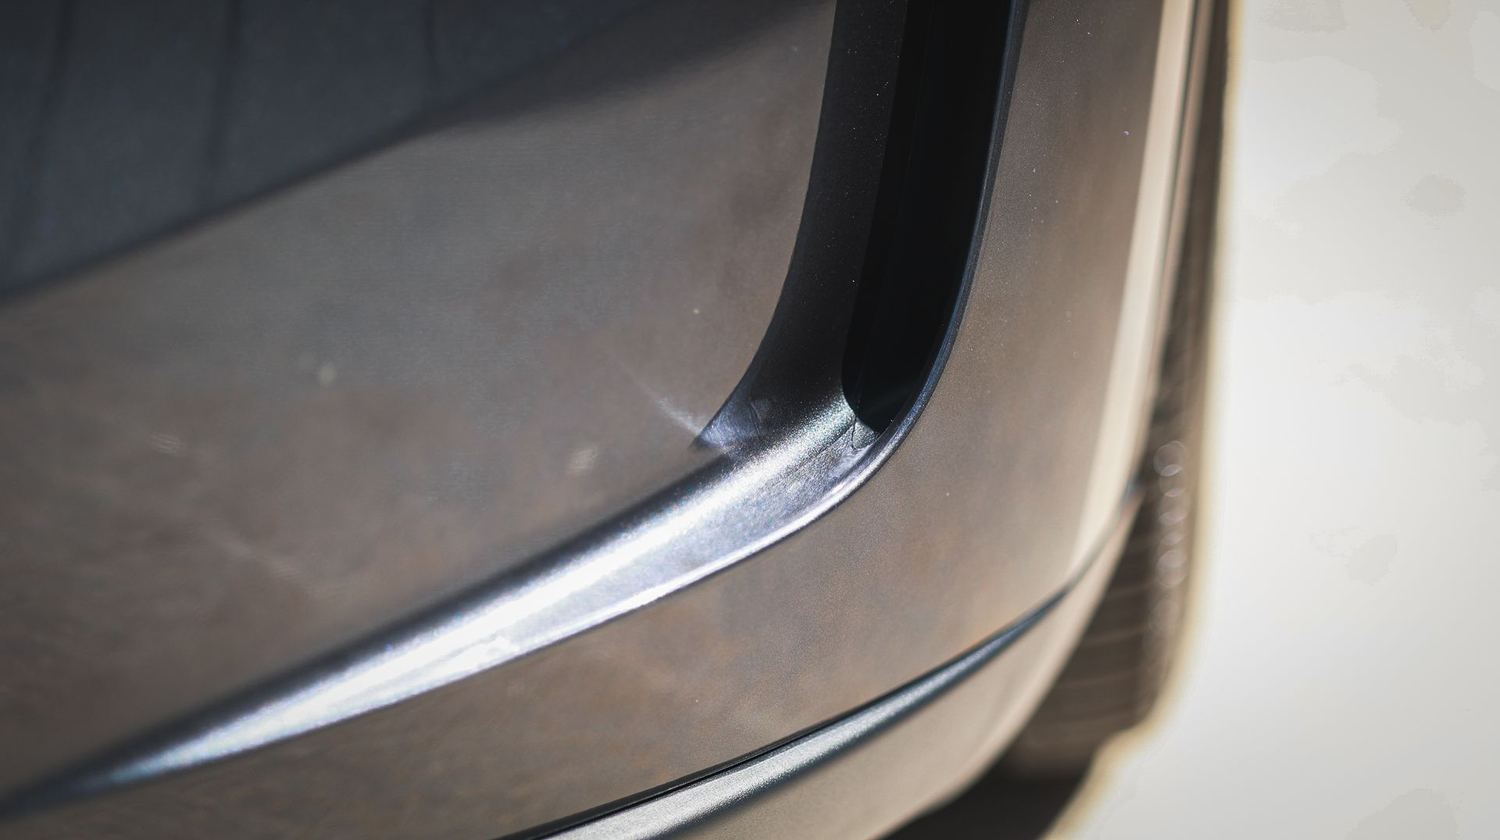
With the film laid down and tucked, the final step was a thorough heat treatment across all edges and seams. This activates the adhesive and ensures long-term bonding. Any excess film or lift-prone areas were also trimmed or re-tacked to eliminate future issues.
The Finished Result
The end result? A 2026 Tesla Model Y Juniper with a nearly invisible armor of protection. The film is tucked, clean, and dialed in — offering long-lasting protection from rock chips, road debris, and UV damage.
Jesse and the Humble Crew Auto Spa team go beyond the standard PPF install. Their obsessive attention to detail and willingness to take extra steps — from custom plotting to edge tucking — translates into better protection, better durability, and better-looking results.
Want This for Your Tesla?
If you’re taking delivery of a 2026 Model Y or any high-end vehicle and want the most thorough and durable paint protection available, this is the method that gets it done. Book your appointment at Humble Crew Auto Spa today — where craftsmanship meets car care.
Want this on your car?
Pick your service and your time, or call the shop and talk it through first.