Protecting a Laguna Seca Blue BMW M3 Competition: A Deep Look at the Front Bumper PPF Install
Nature's Symphony
Breathtaking colors of our planet
Button
Faces of Humanity
Portraits of people from around the globe
Button
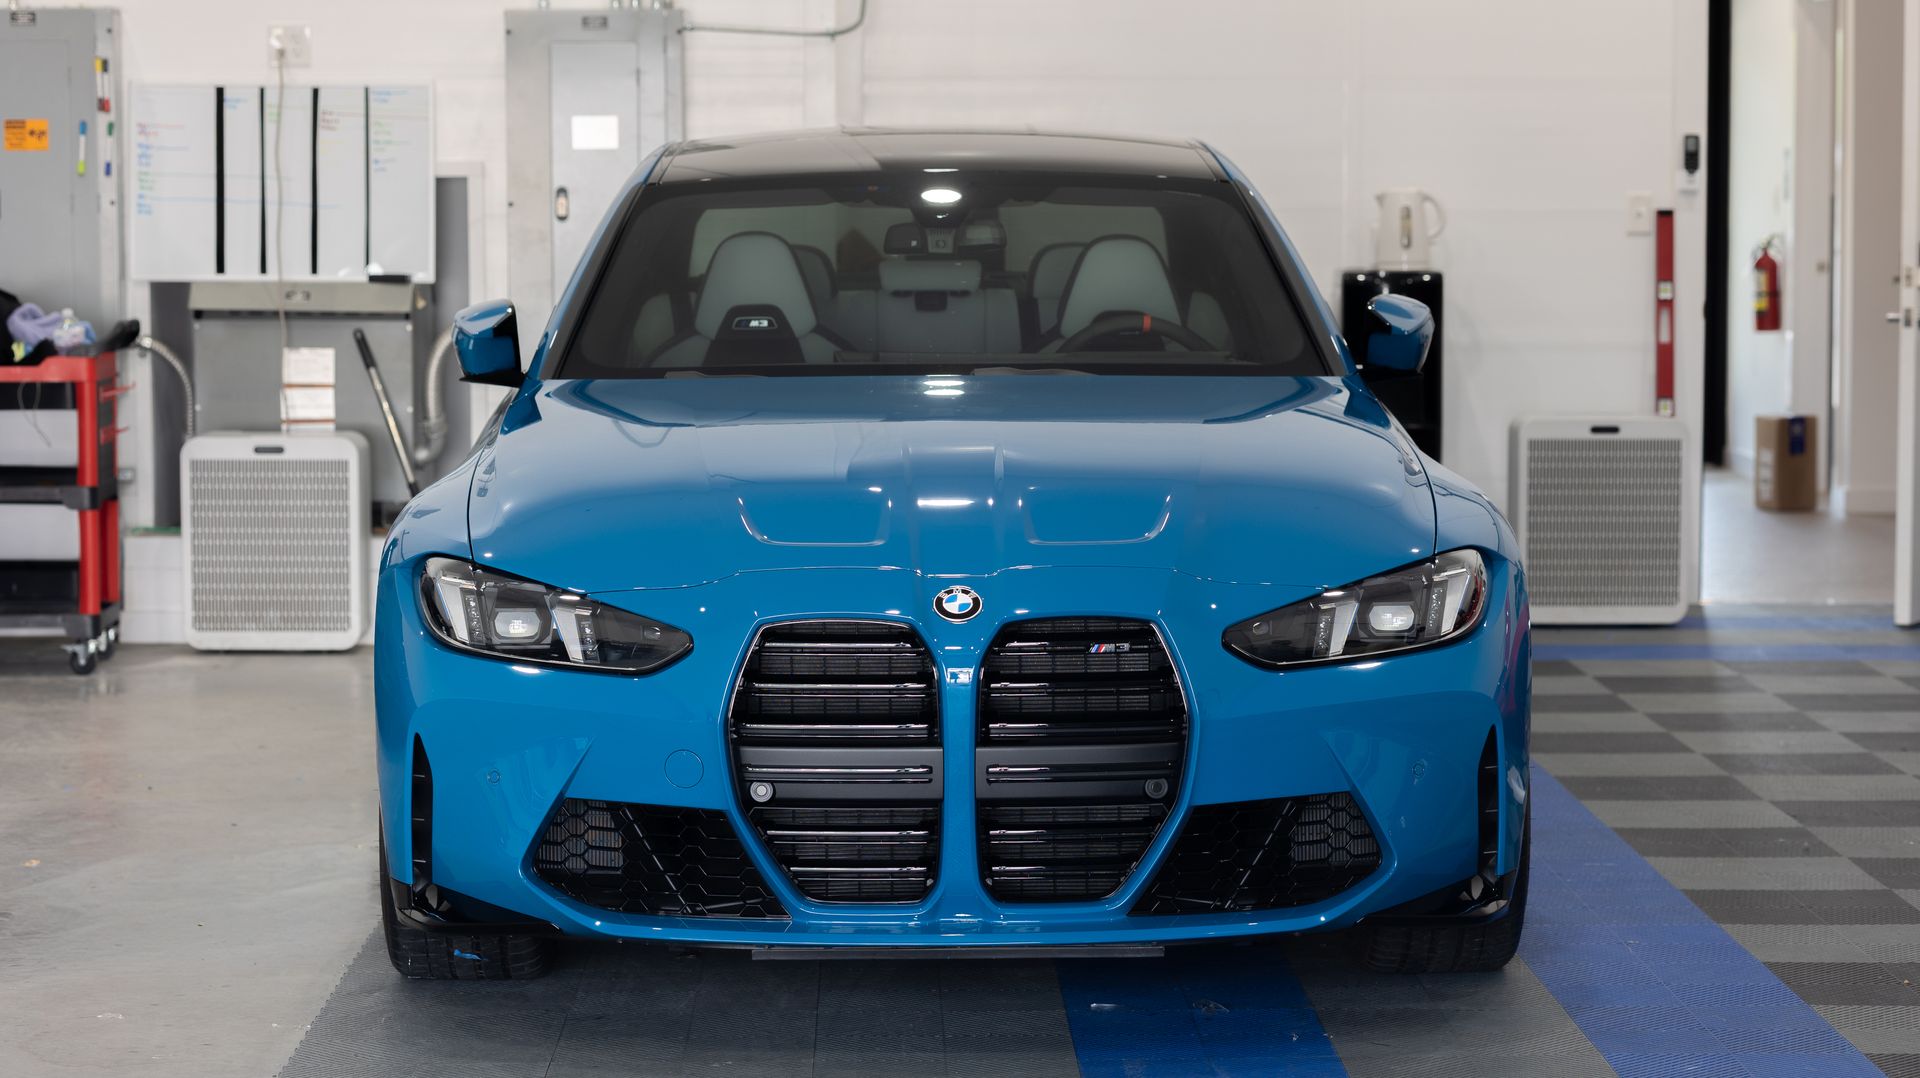
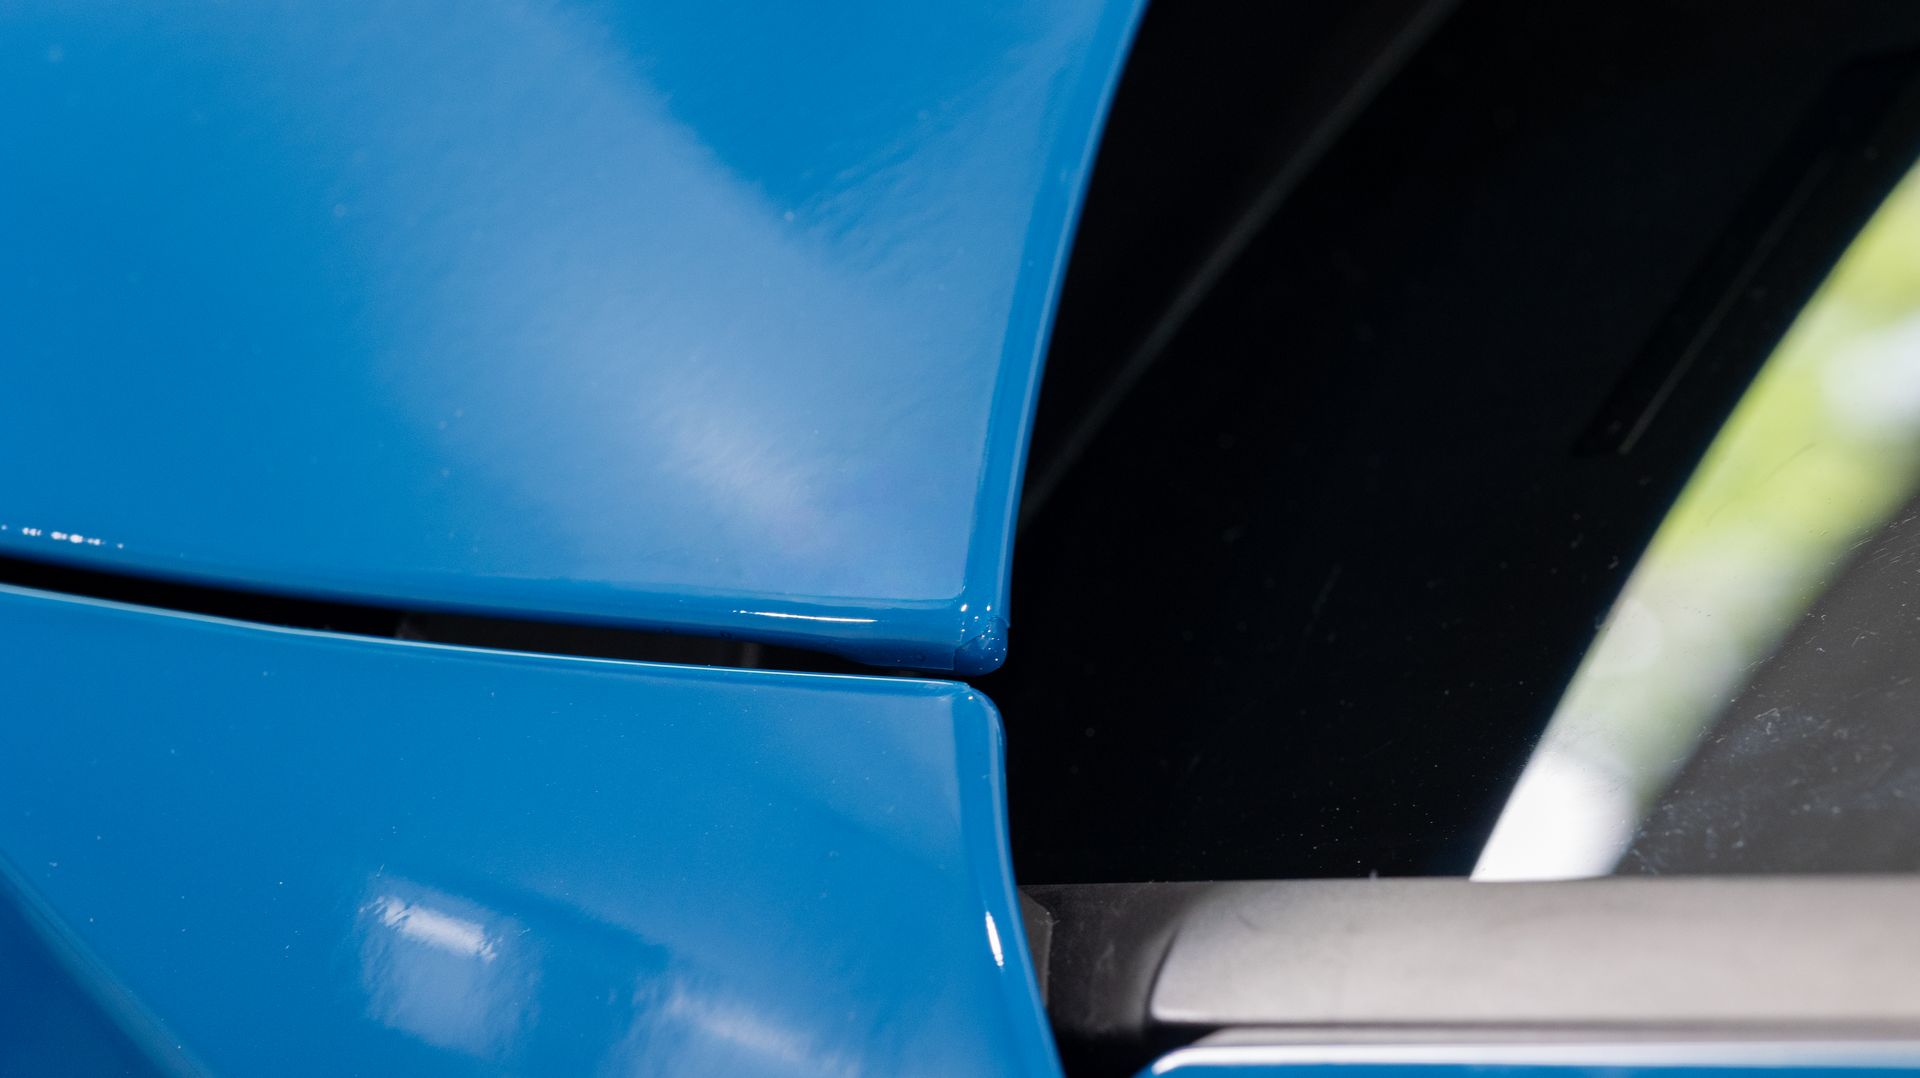
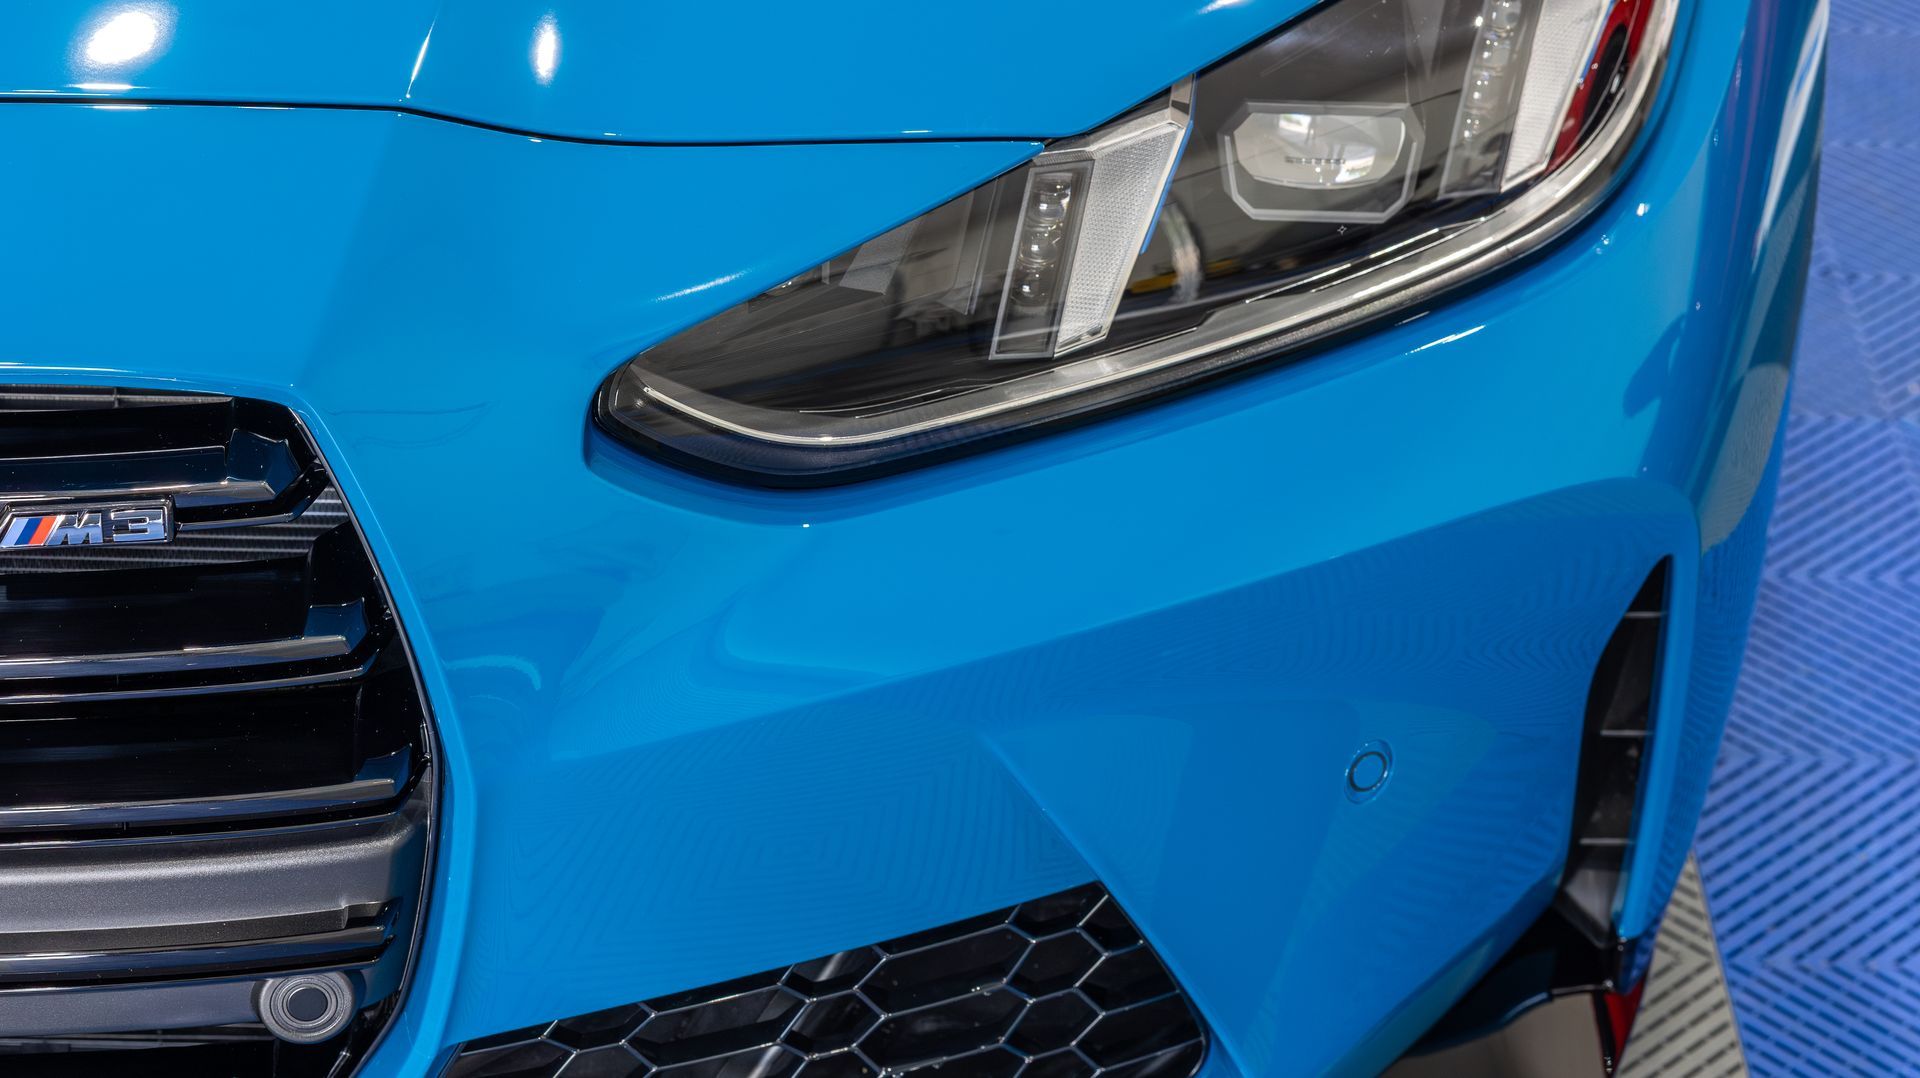
Some colors just hit different. Laguna Seca Blue is one of them.
If you've been around BMW culture for a while, you already know why this color matters. It debuted on the
E46 M3 CSL — the lightweight, track-focused, no-stereo, fixed-bucket-seat M3 that purists still talk about like it's sacred. The CSL was a halo car. And Laguna Seca Blue was its color. Bright, electric, almost neon under direct sun, with just enough green undertone to set it apart from every other "BMW blue" you'll see on the road.
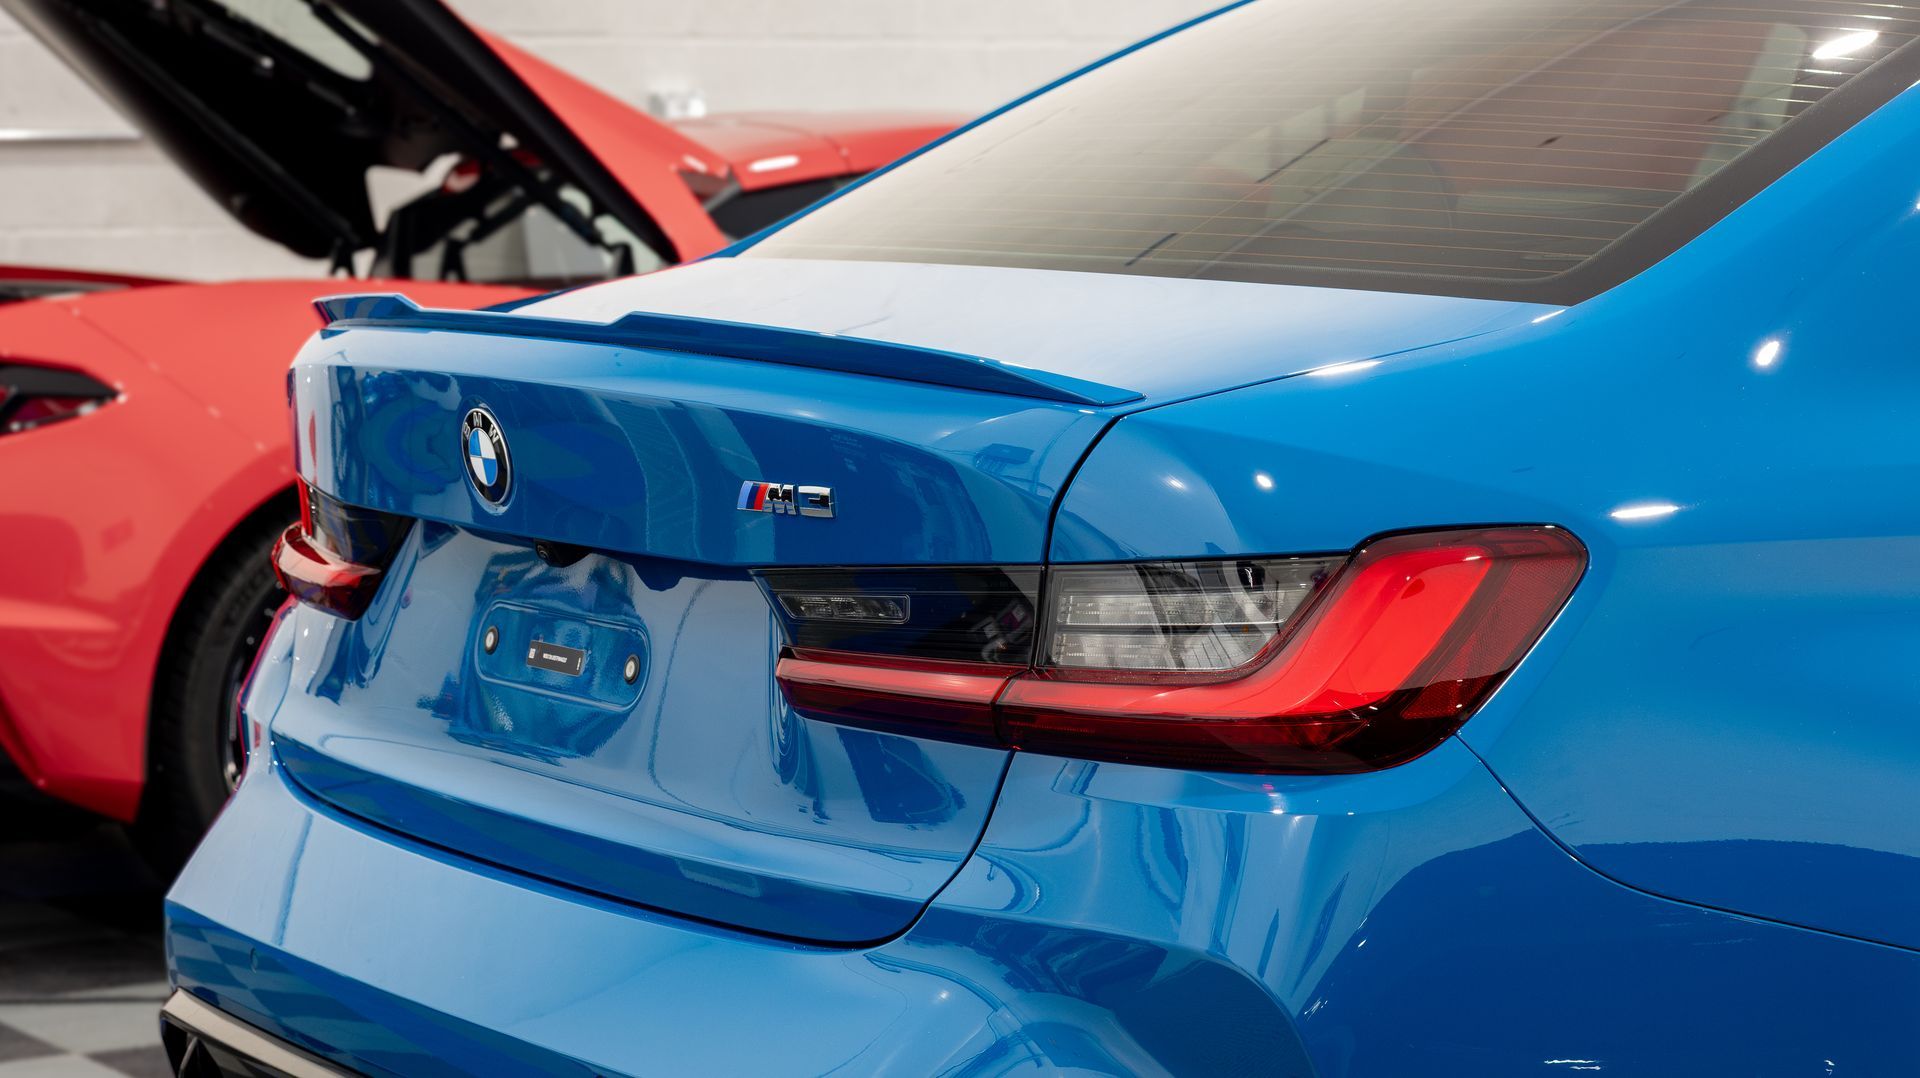
BMW has brought it back over the years on a handful of M cars — the E92 M3, the F80 M3, and now the
G80 M3 — and every time, it's been a deliberate nod to that CSL heritage. It's not a color you pick by accident. You pick it because you know.
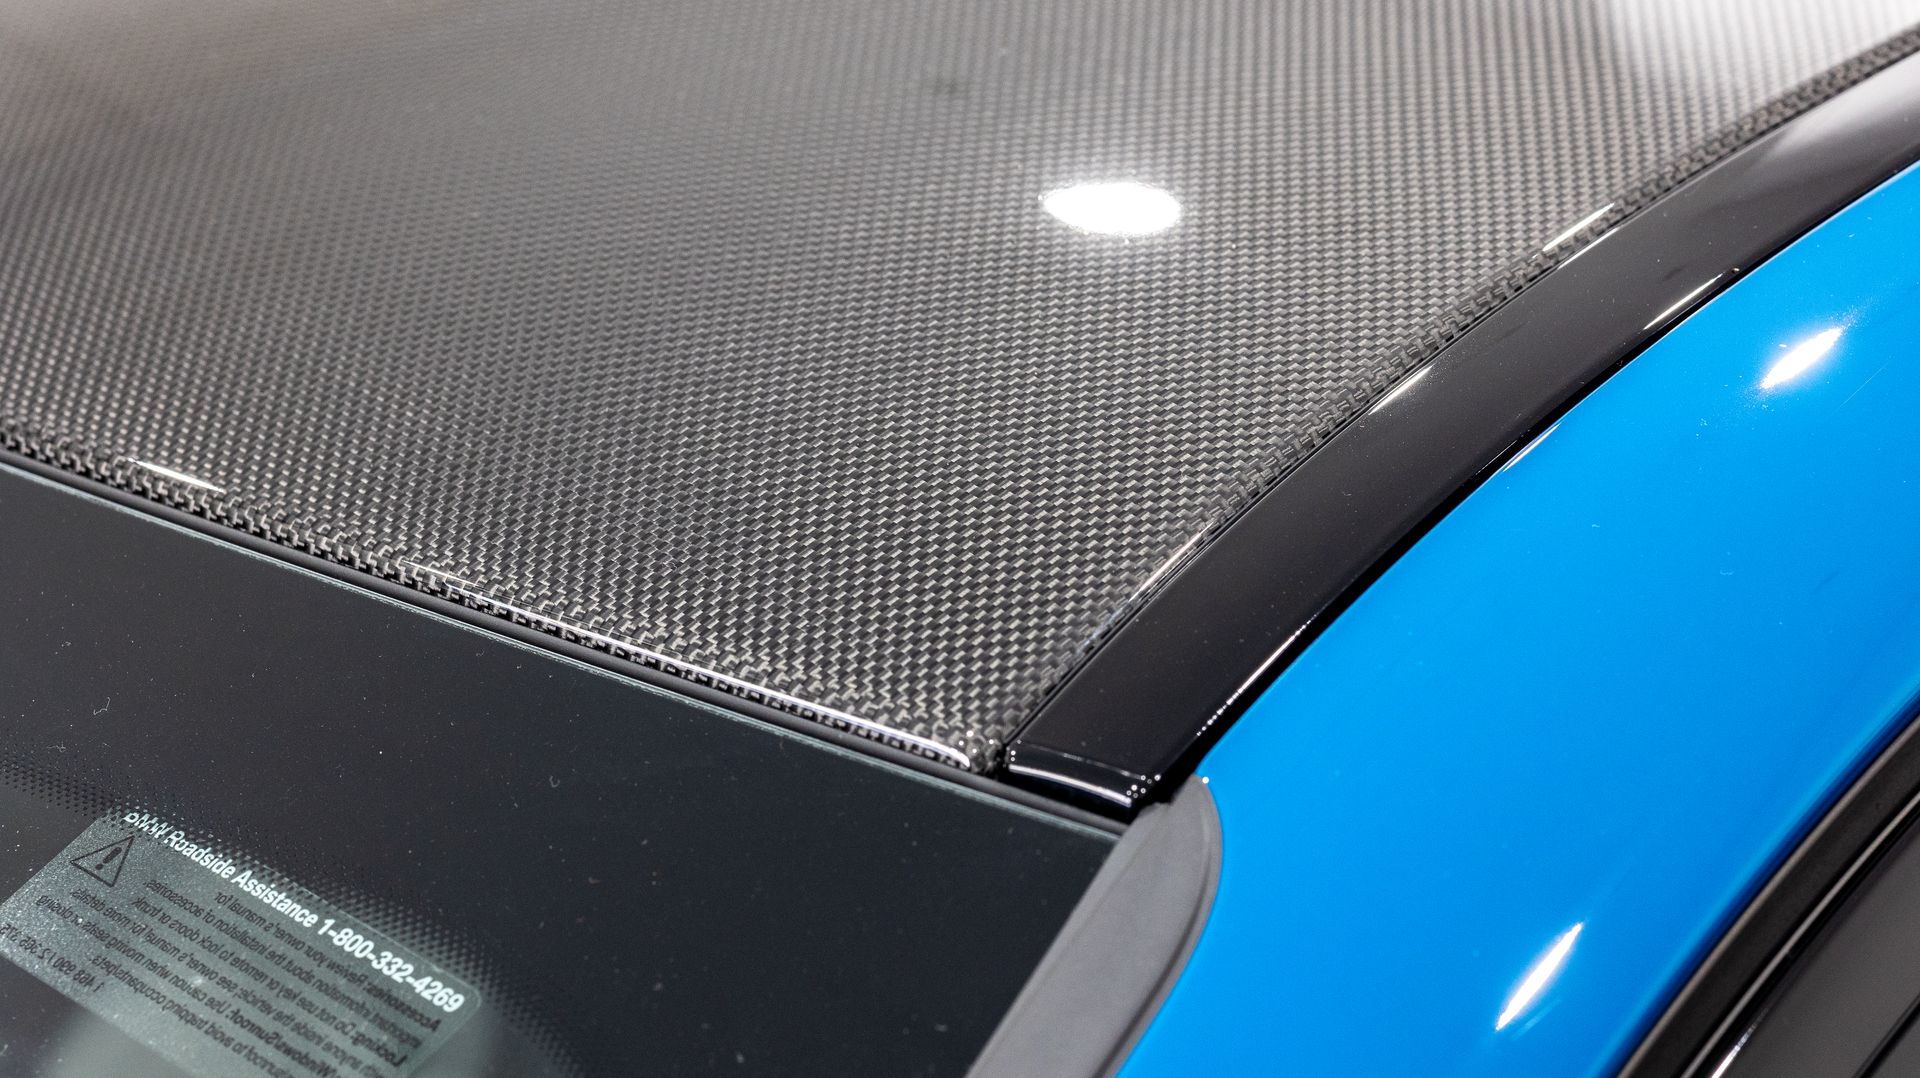
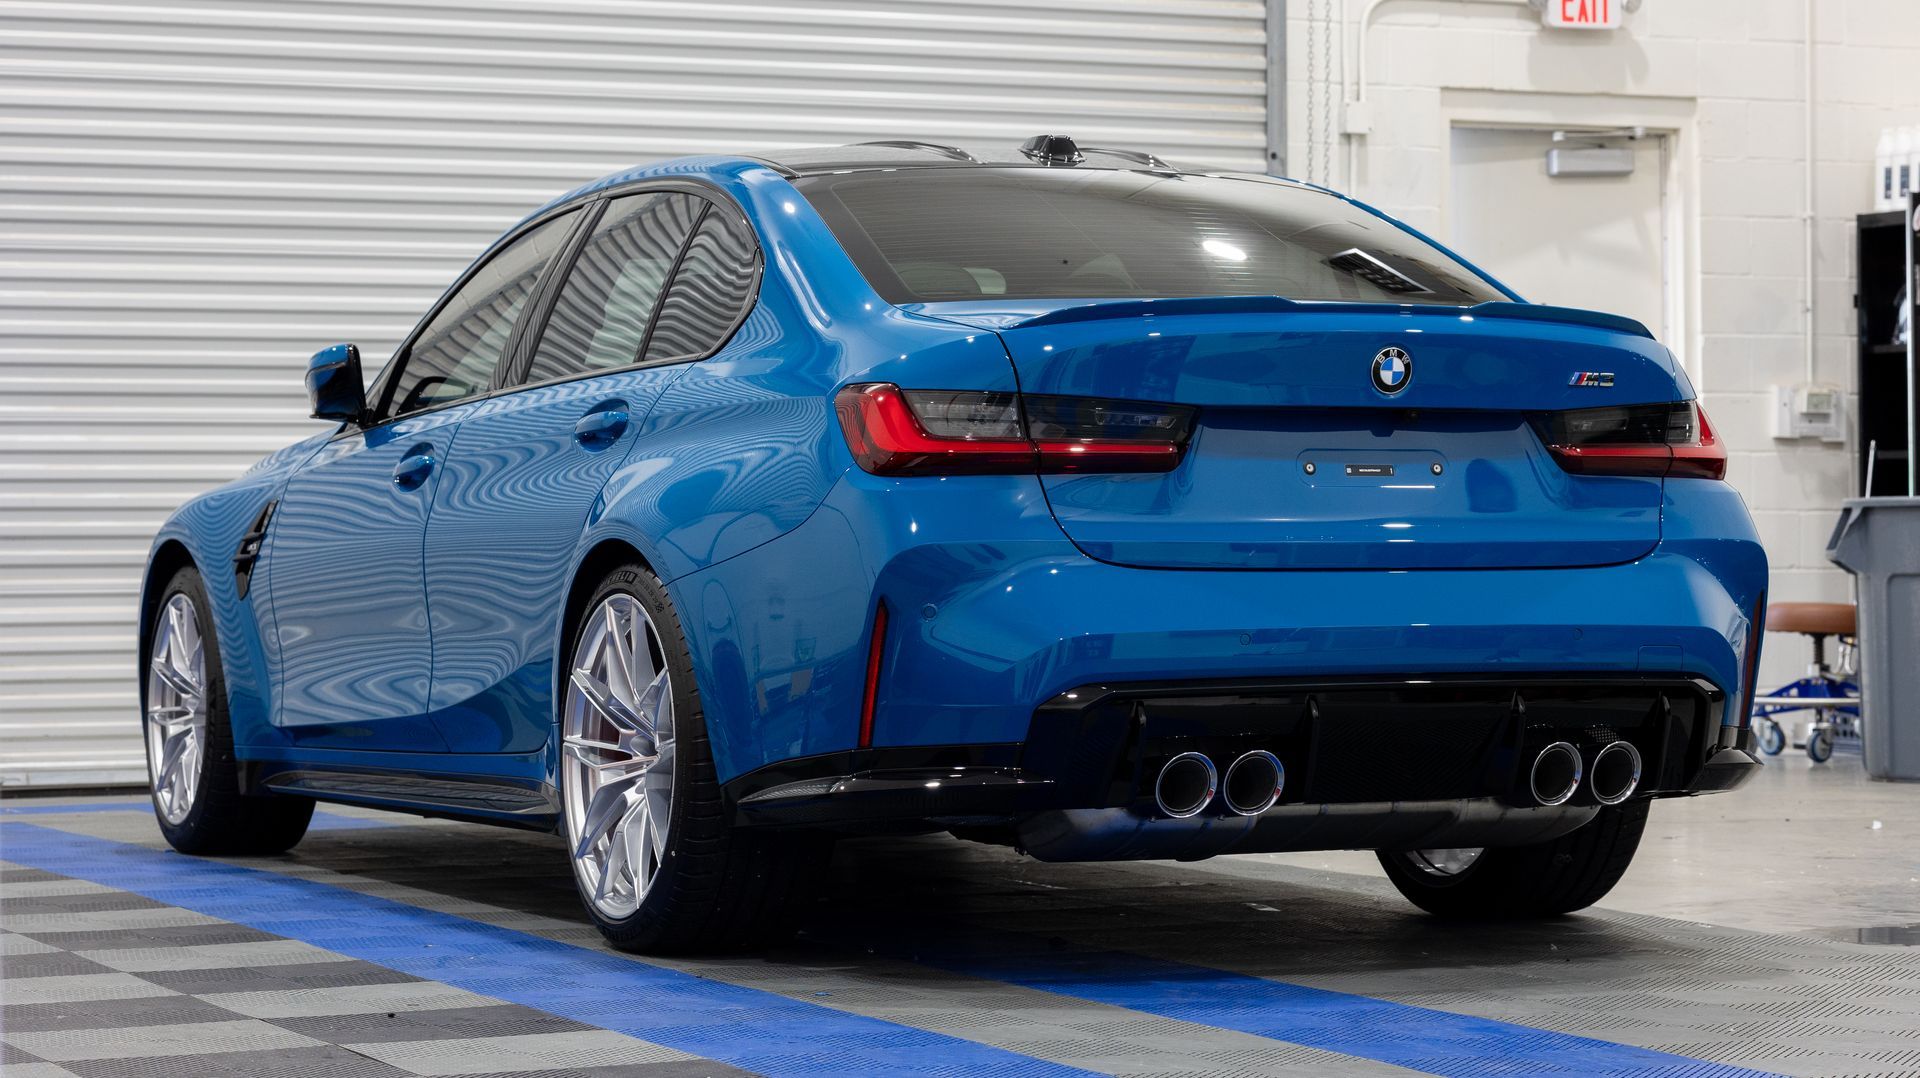
This G80 M3 Competition rolled into the shop wearing it well. Paired with the M Sport package, silver M-series wheels, and a clean interior, the spec is aggressive without trying too hard. The owner brought it in for the full protection package —
paint correction, full front paint protection film (PPF), and NXTZN Elite ceramic coating.
I want to use this post to go deeper than usual on the front bumper PPF install, because the bumper is where the real install quality shows up. Anyone can do a hood. The bumper is where shops separate.
Why This Car Deserved the Full Treatment
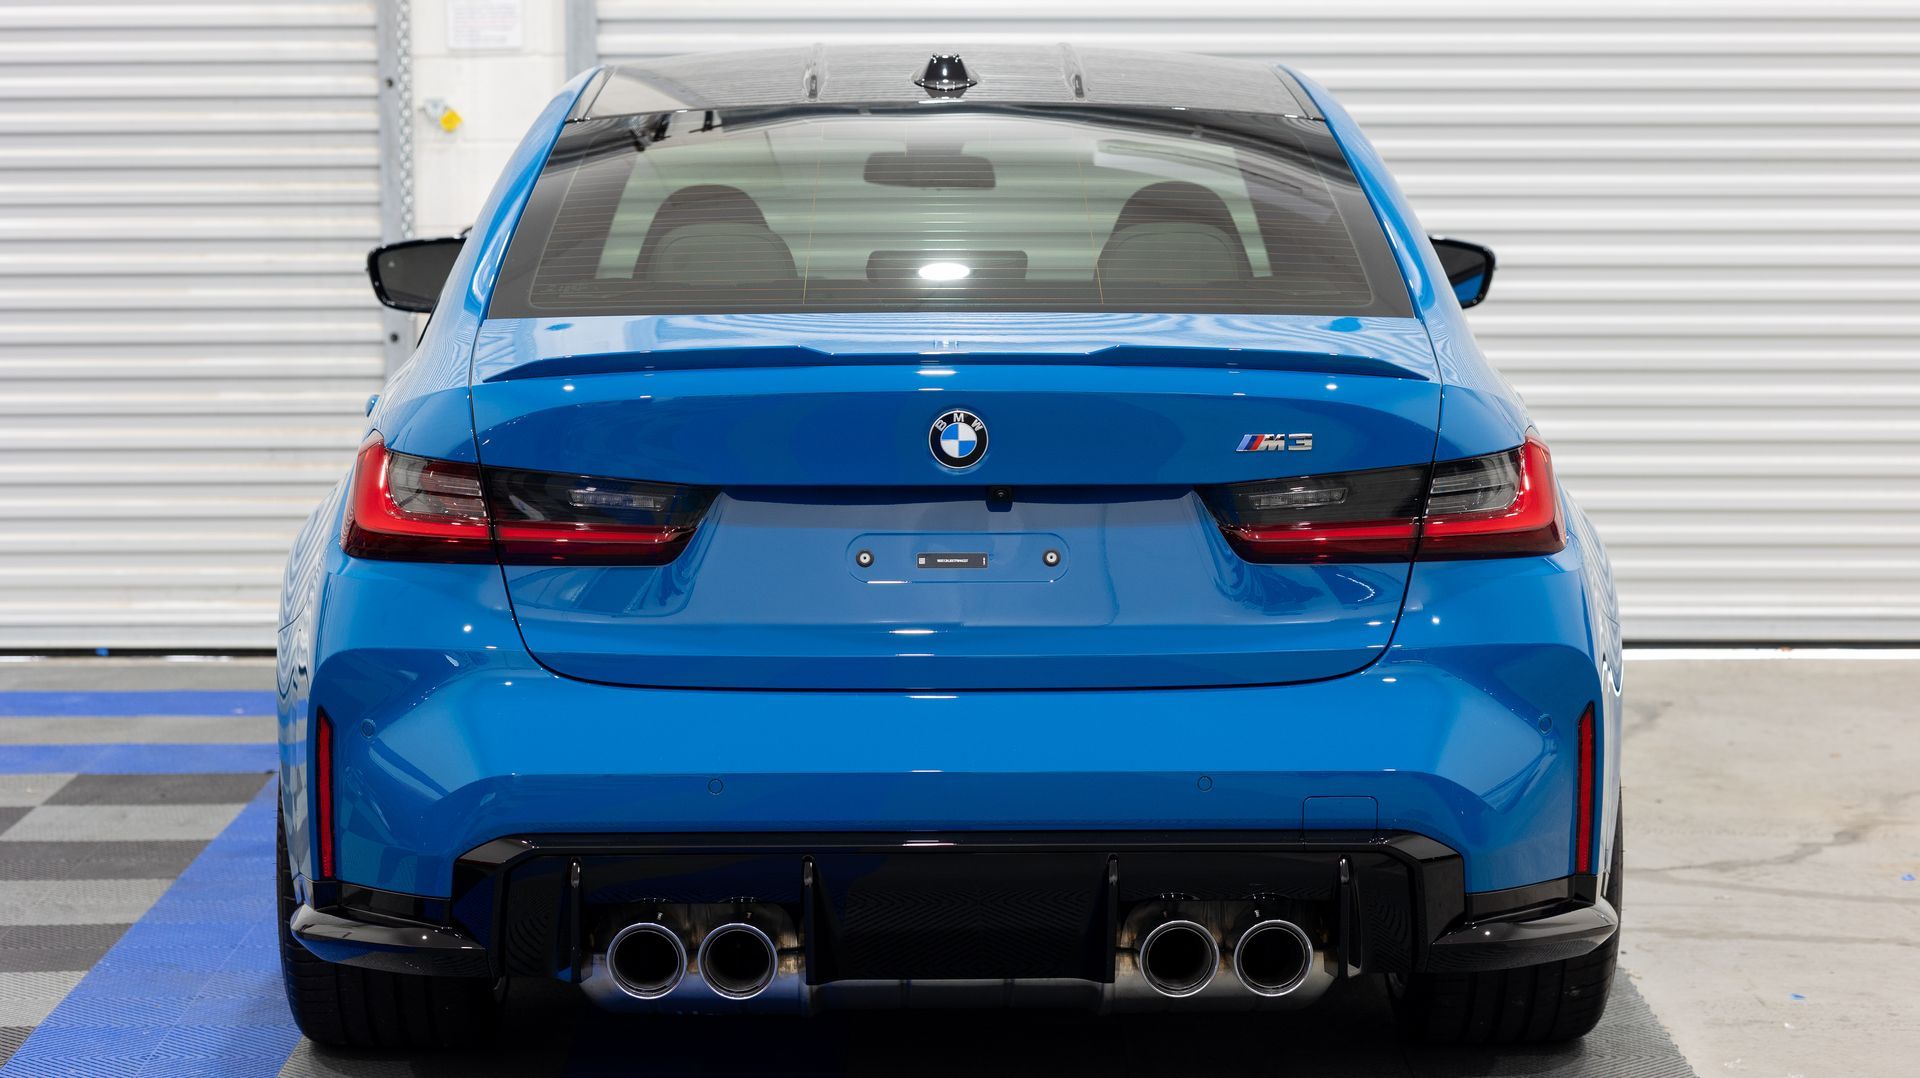
The G80 M3 Competition isn't a casual purchase. It's a 503-horsepower, twin-turbo straight-six sport sedan that does 0–60 in the low 3-second range. Track-capable, daily drivable, built to be driven hard.
Combine that with a heritage color like Laguna Seca Blue — one BMW won't keep producing forever — and you've got a car that deserves more than a wash and a wax. The owner wanted it to look factory-fresh for the long haul, and that meant addressing three things at once:
- What's already in the paint (factory and dealer-prep defects) → paint correction
- What's going to hit the paint (rocks, debris, bug strikes) → full front PPF
- What's going to chemically attack the paint over time (UV, contamination, water spots) → ceramic coating
Skip any one of those and there's a gap. Together, they cover the whole picture.
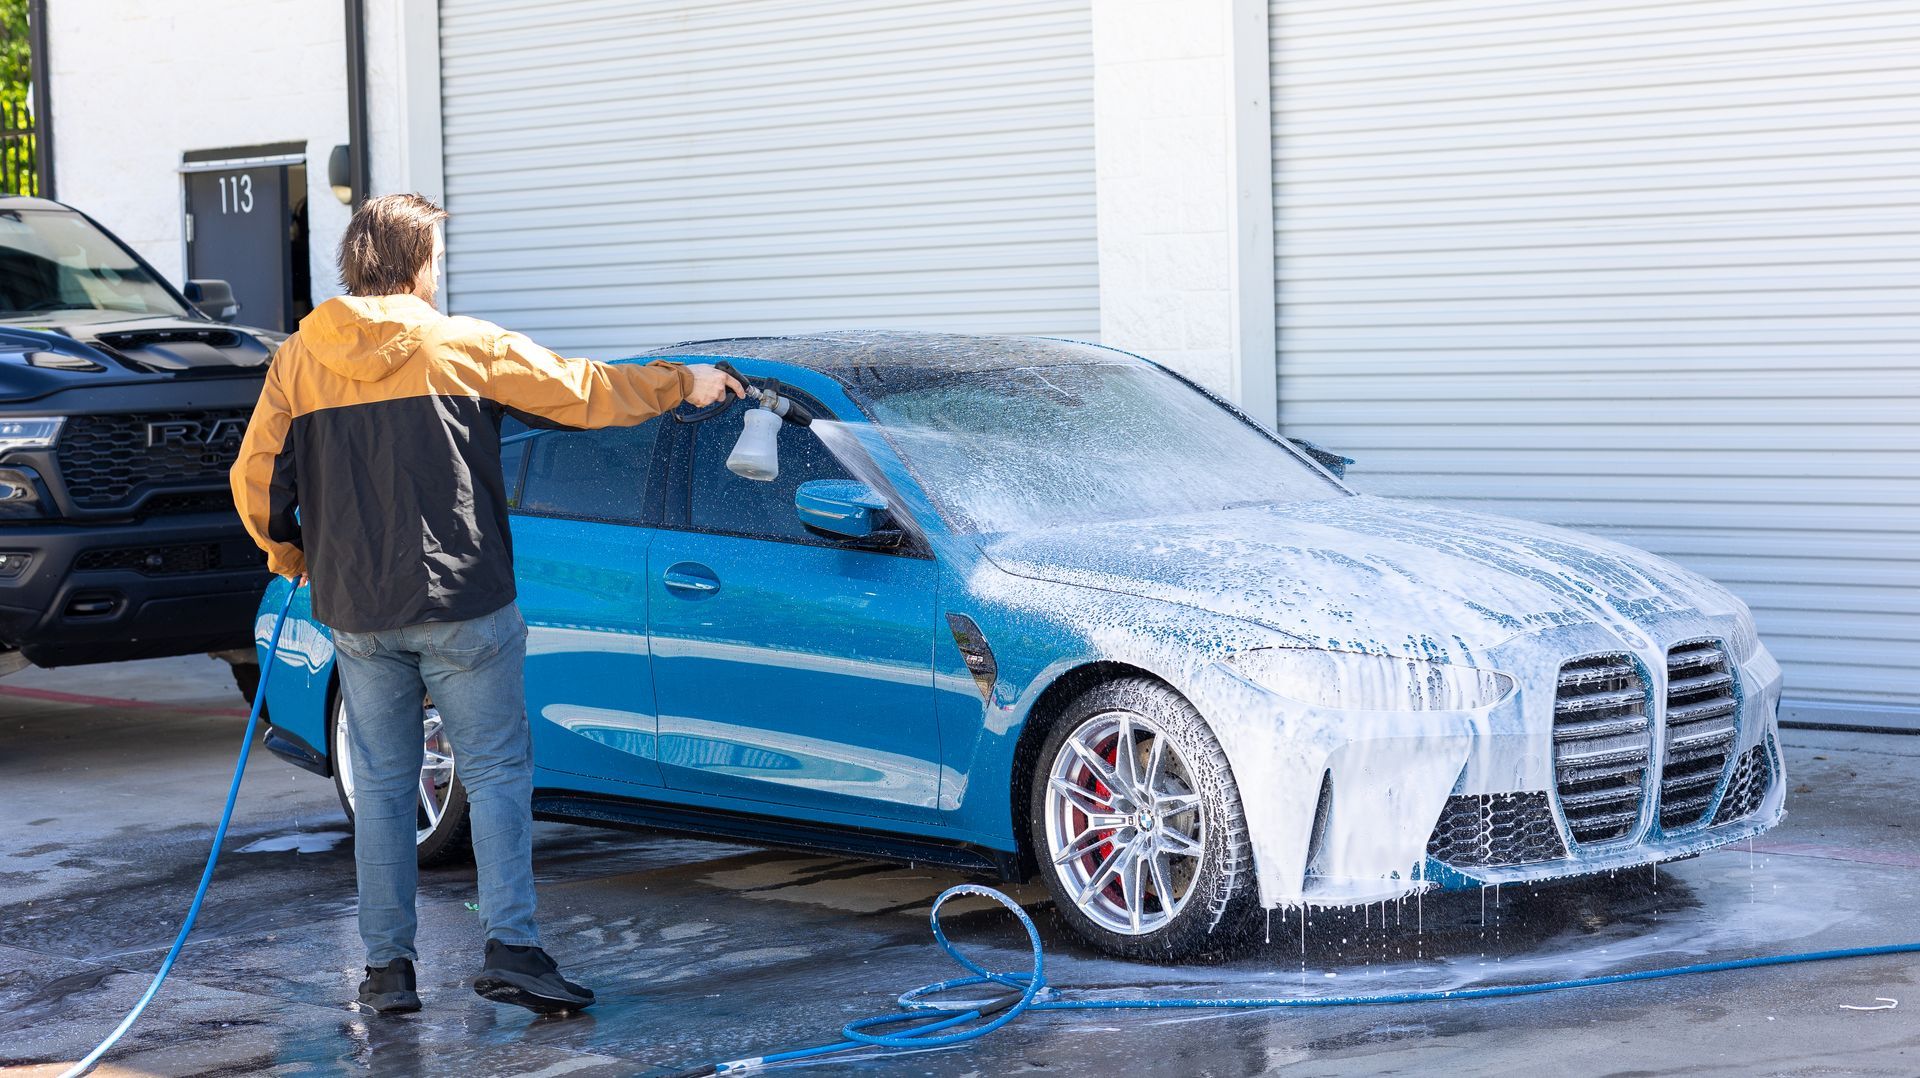
Step 1: Decontamination Wash
Before any correction or coating work, the car gets a full decontamination wash. This isn't a normal wash — it's a multi-stage process designed to remove every trace of contamination from the paint so the next steps actually work.
Nature's Symphony
Breathtaking colors of our planet
Button
Faces of Humanity
Portraits of people from around the globe
Button
Sands of Time
Stark beauty of desolate dunes
Button
We start with a pre-rinse, then a foam soak that breaks down road film and loosens dirt without us touching the paint. After that comes the two-bucket hand wash with dedicated wash mitts — one bucket for soap, one for rinse water — to keep dirt off the paint as we work.
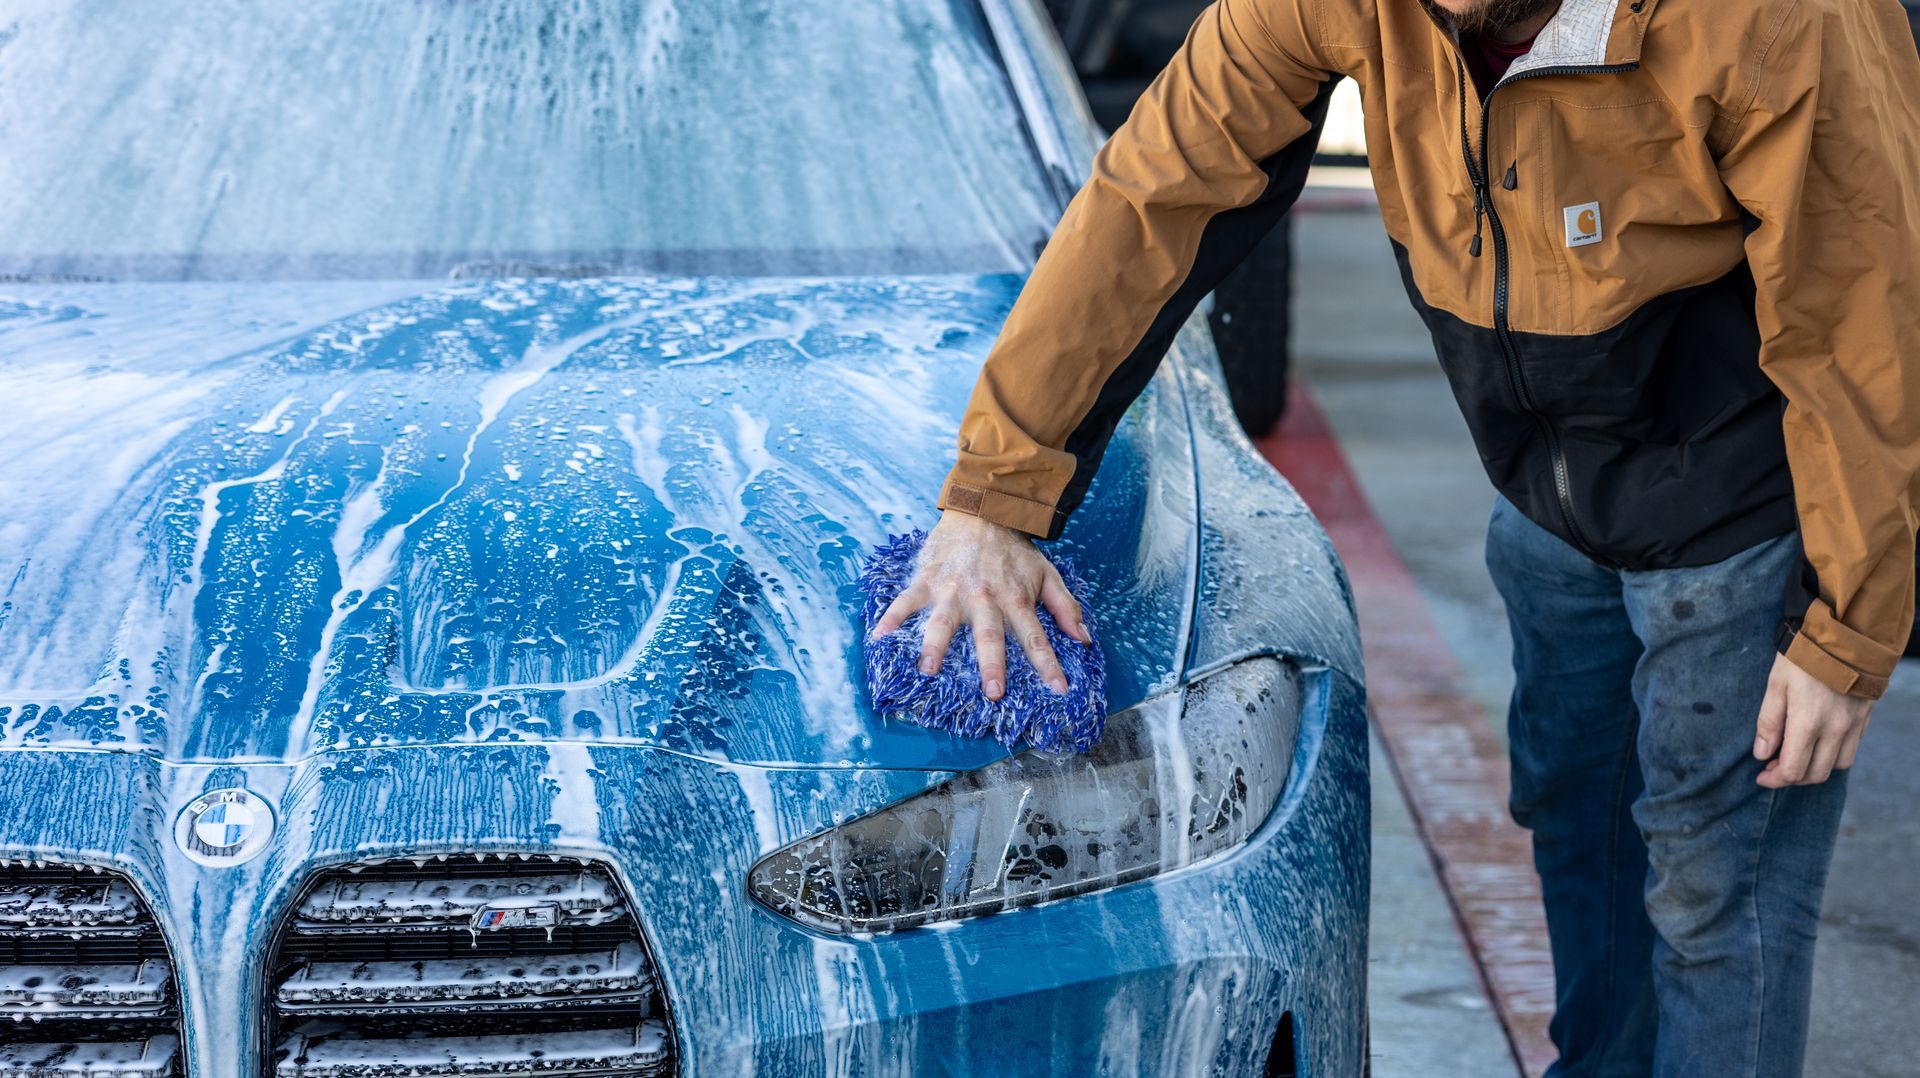
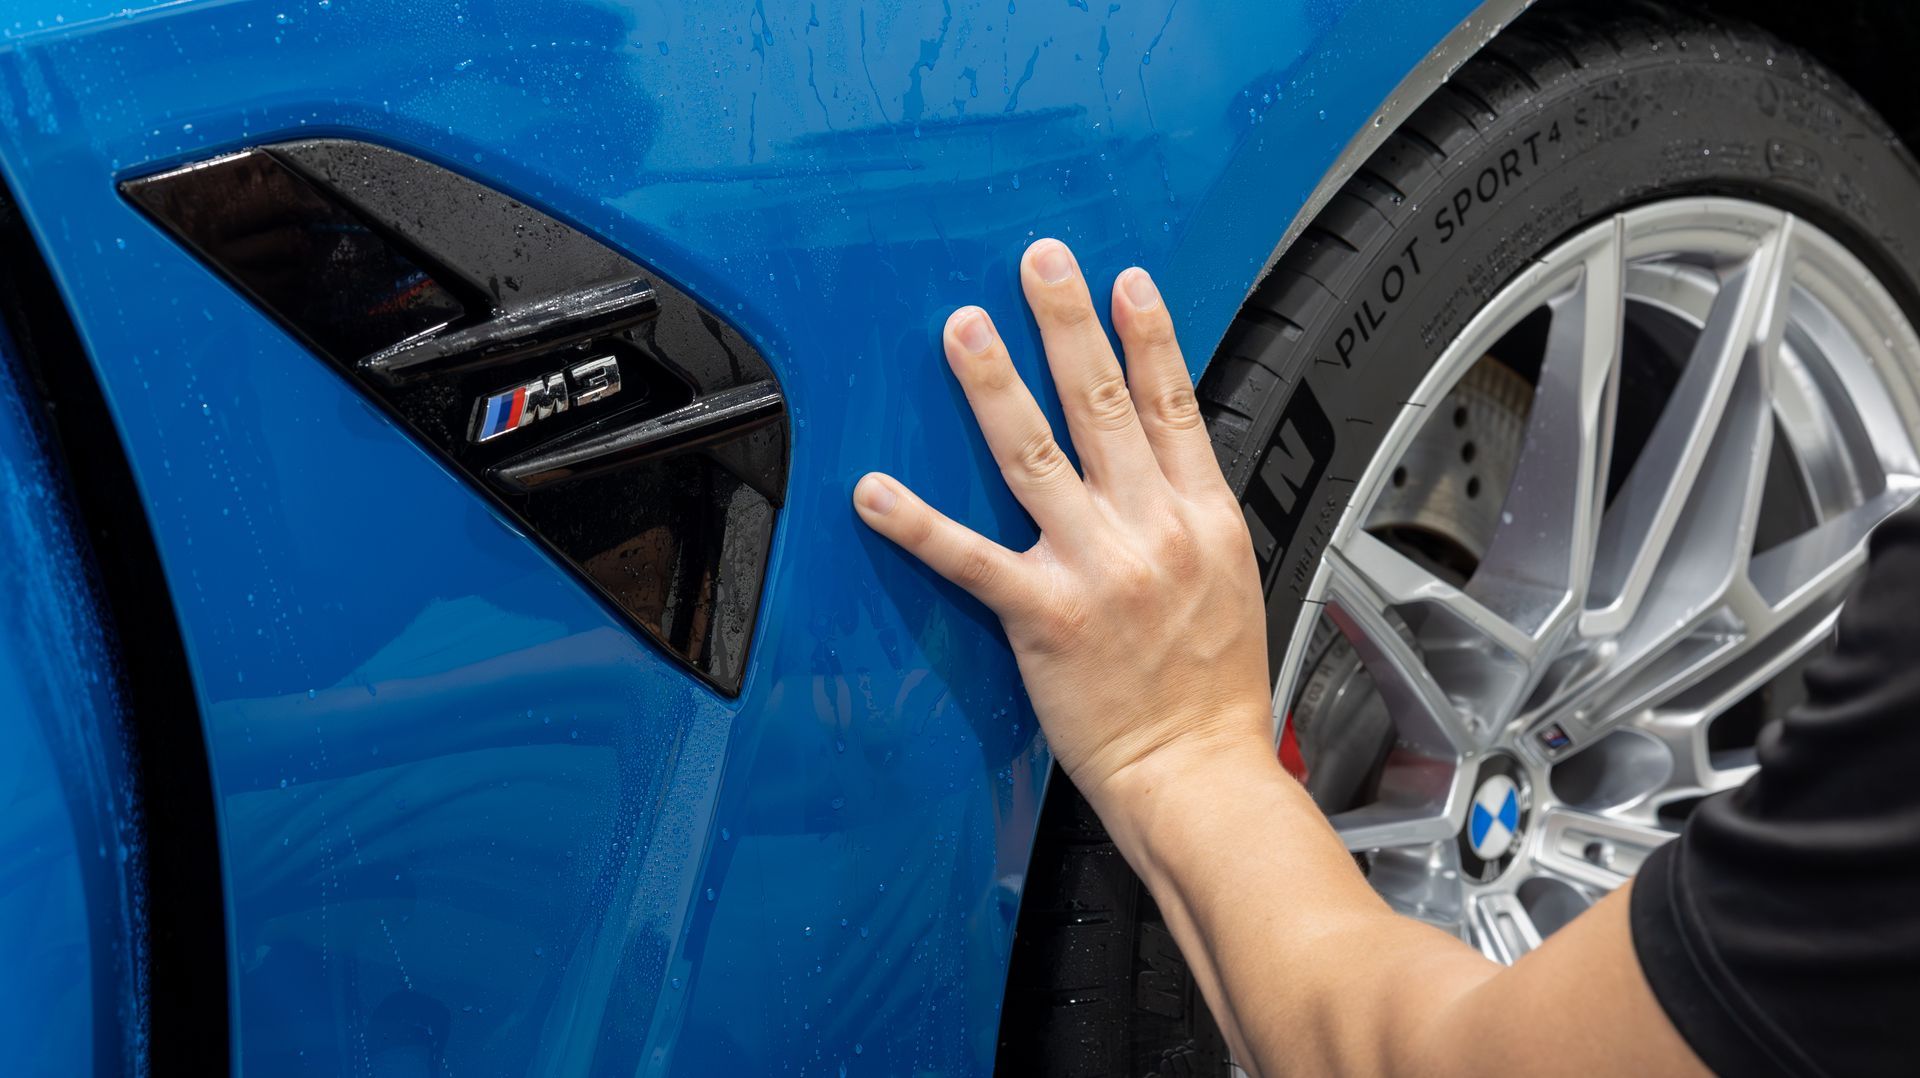
Then comes the part most shops skip:
clay bar. Even on a car that looks clean, the paint has microscopic contamination bonded to the clear coat — overspray particles, brake dust, industrial fallout, rail dust from transport. You can feel it if you run your hand across washed paint and it doesn't glide perfectly smooth. Clay pulls all of that off without damaging the surface.
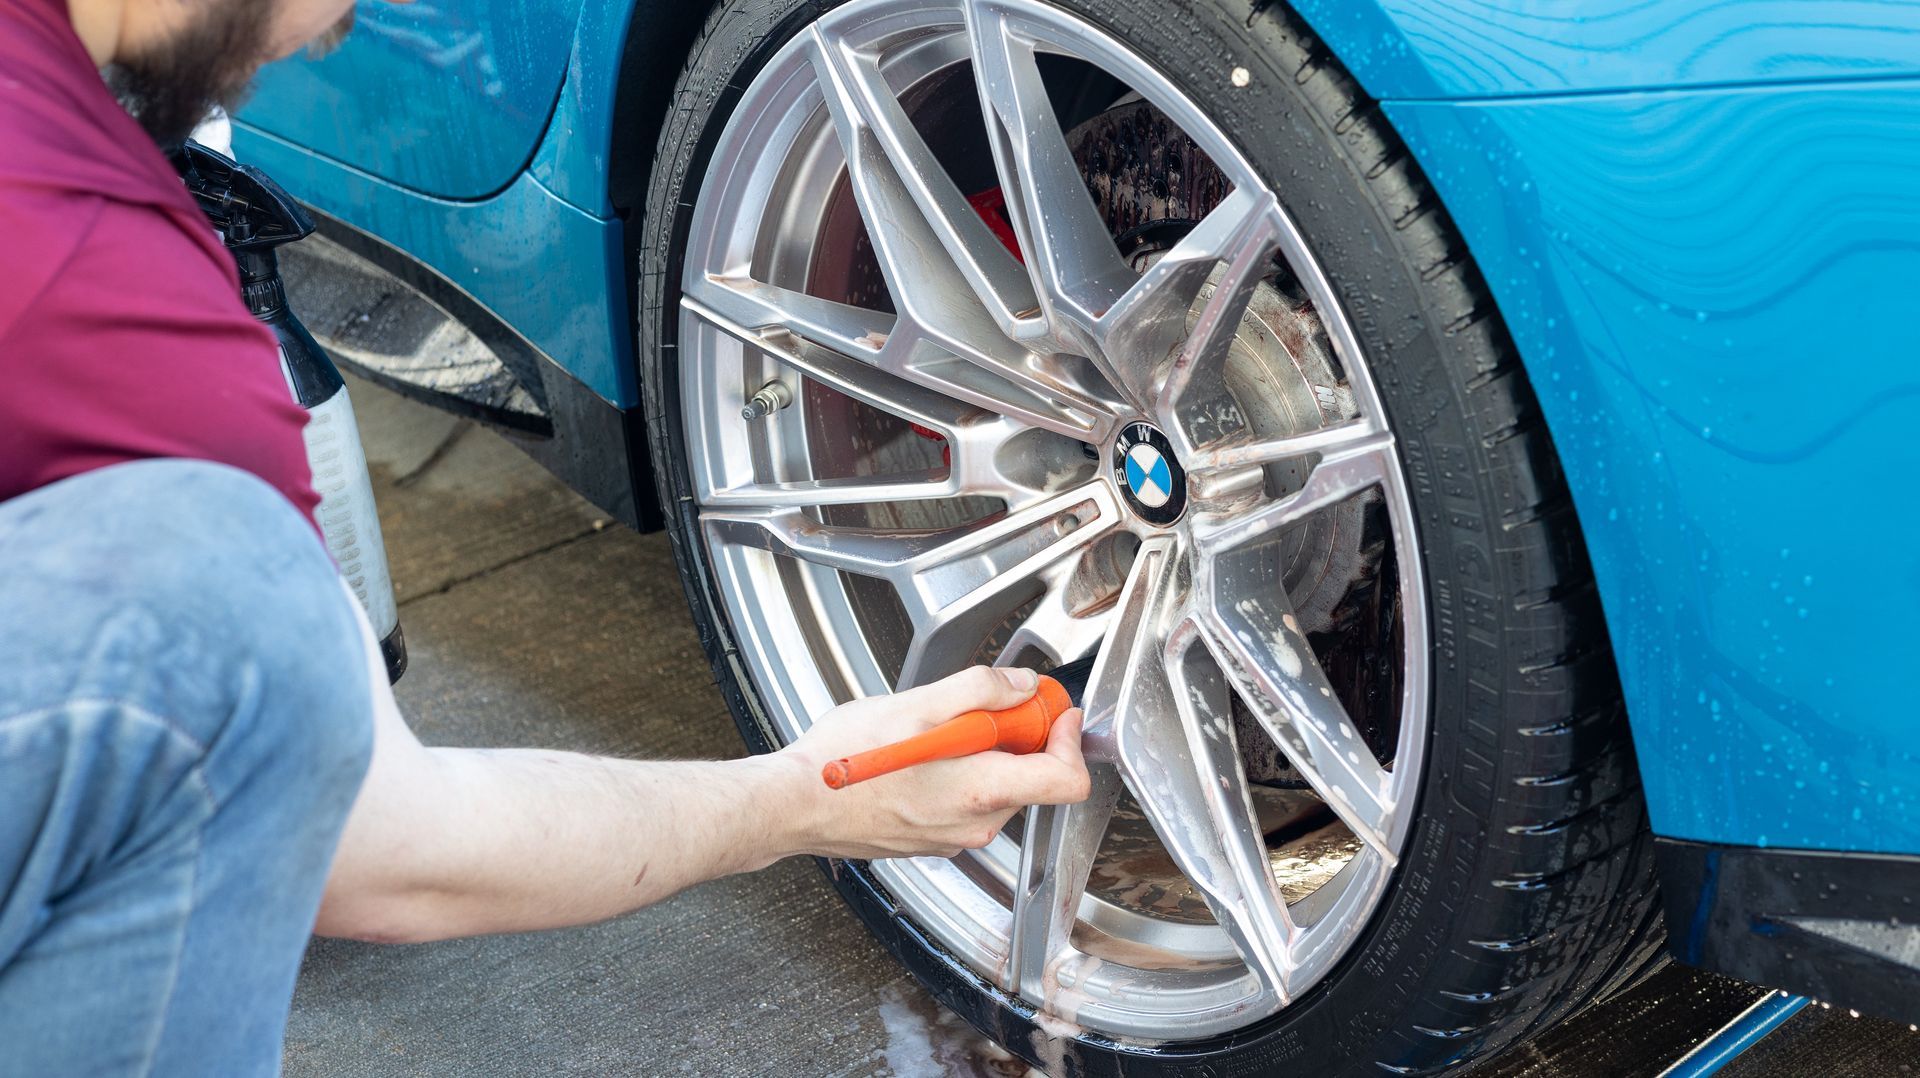
Wheels get their own dedicated cleaning process with detail brushes for the spokes and barrel. Tires get scrubbed. Door jambs get wiped down. We even clean under the hood, as well as the inner parts of the wheel wells/top fenders. This is important because we'll be tucking the film underneath these areas, so we need them to be clean.
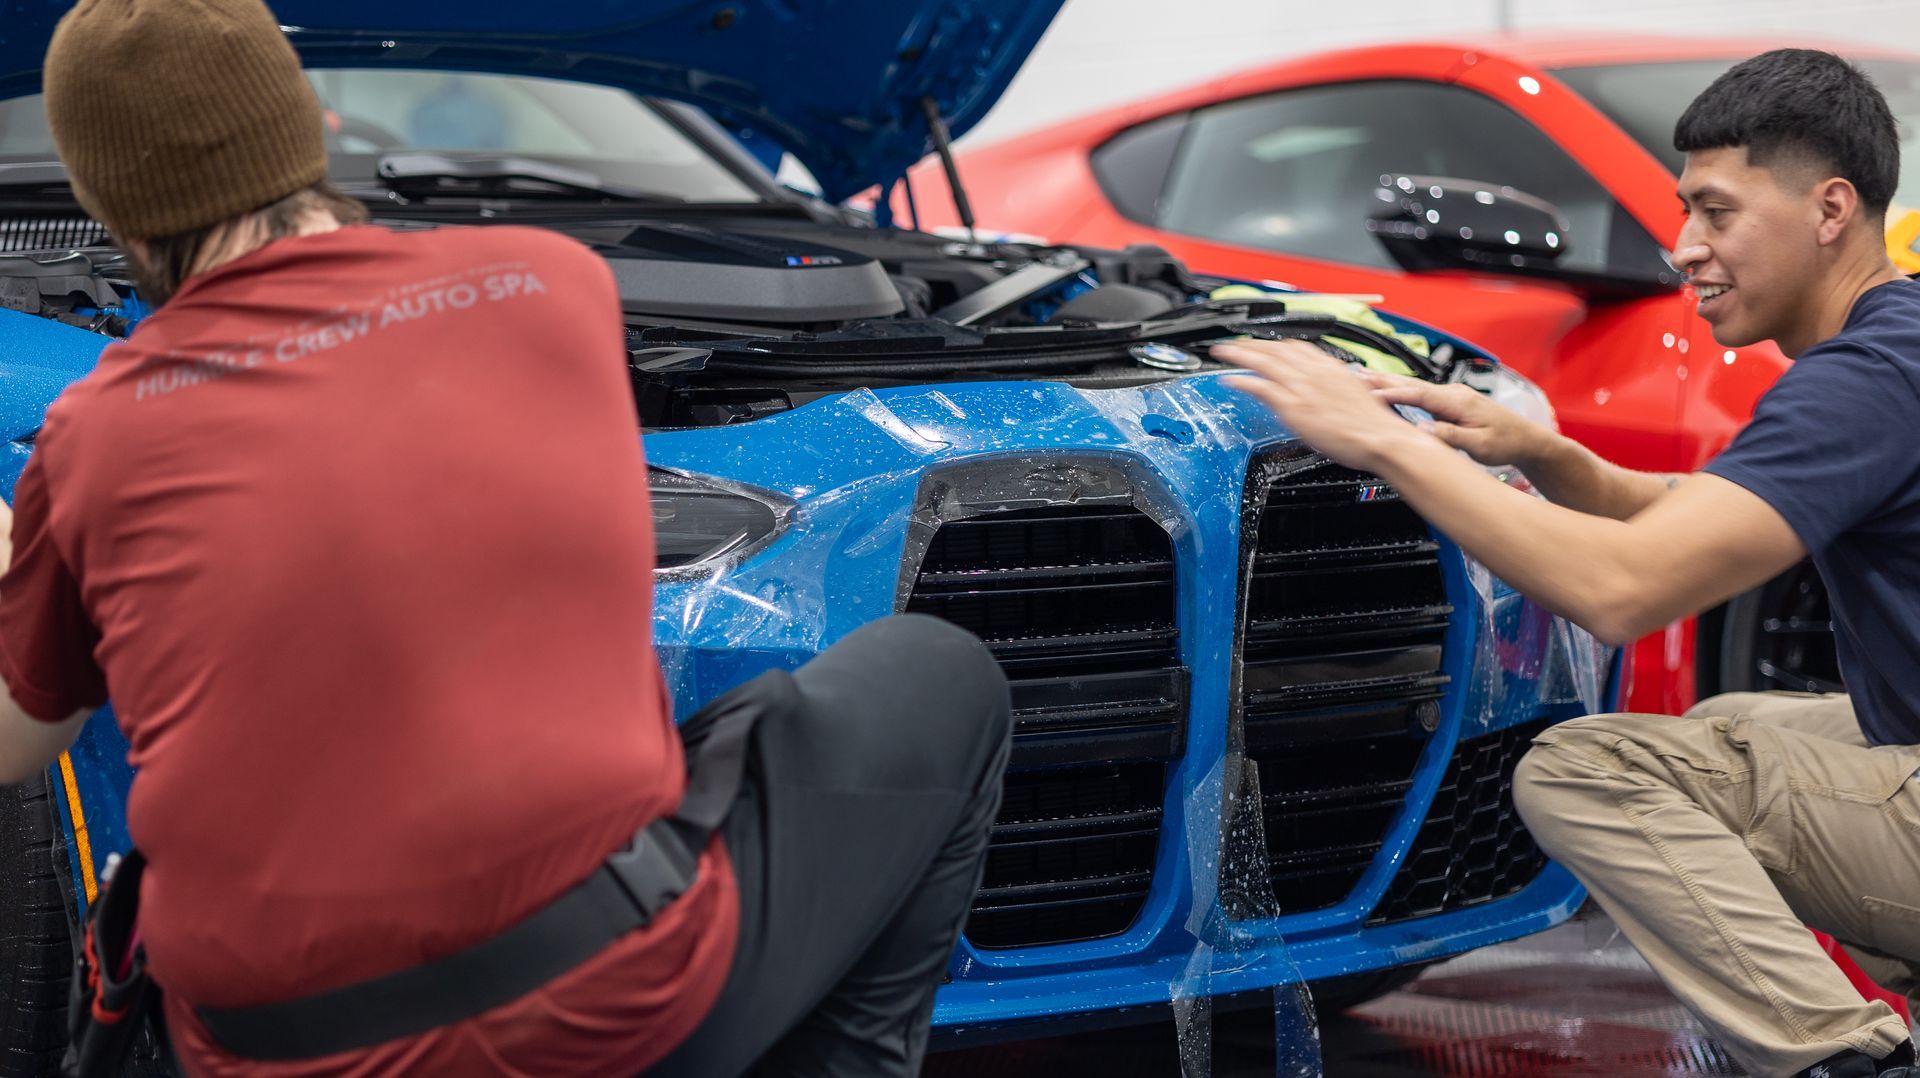
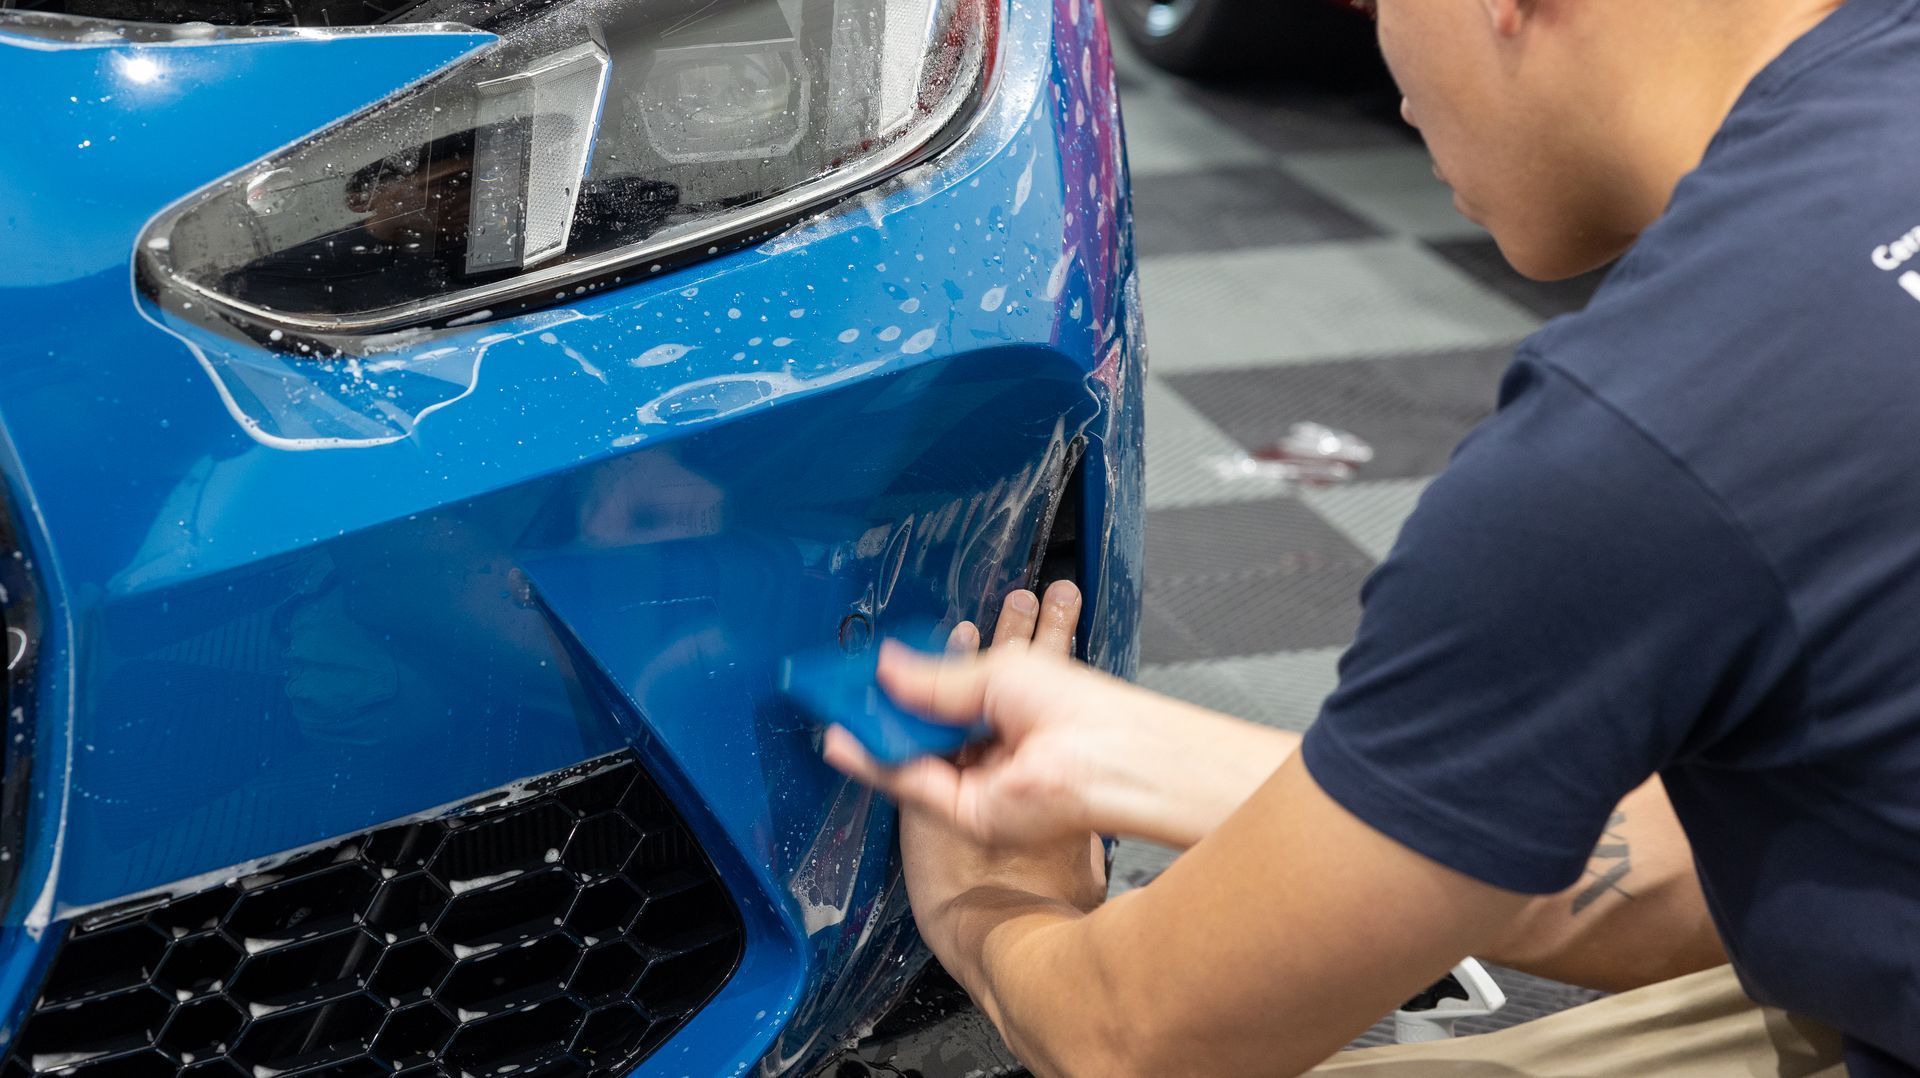
Step 2: Full Front PPF — Where the Install Quality Actually Shows
Most shops will tell you they "do PPF." A lot of them are telling the truth, in the sense that yes, they put film on cars. But there's a massive gap between film that's on a car and film that's been installed at a high level.
That gap shows up most clearly on the front bumper.
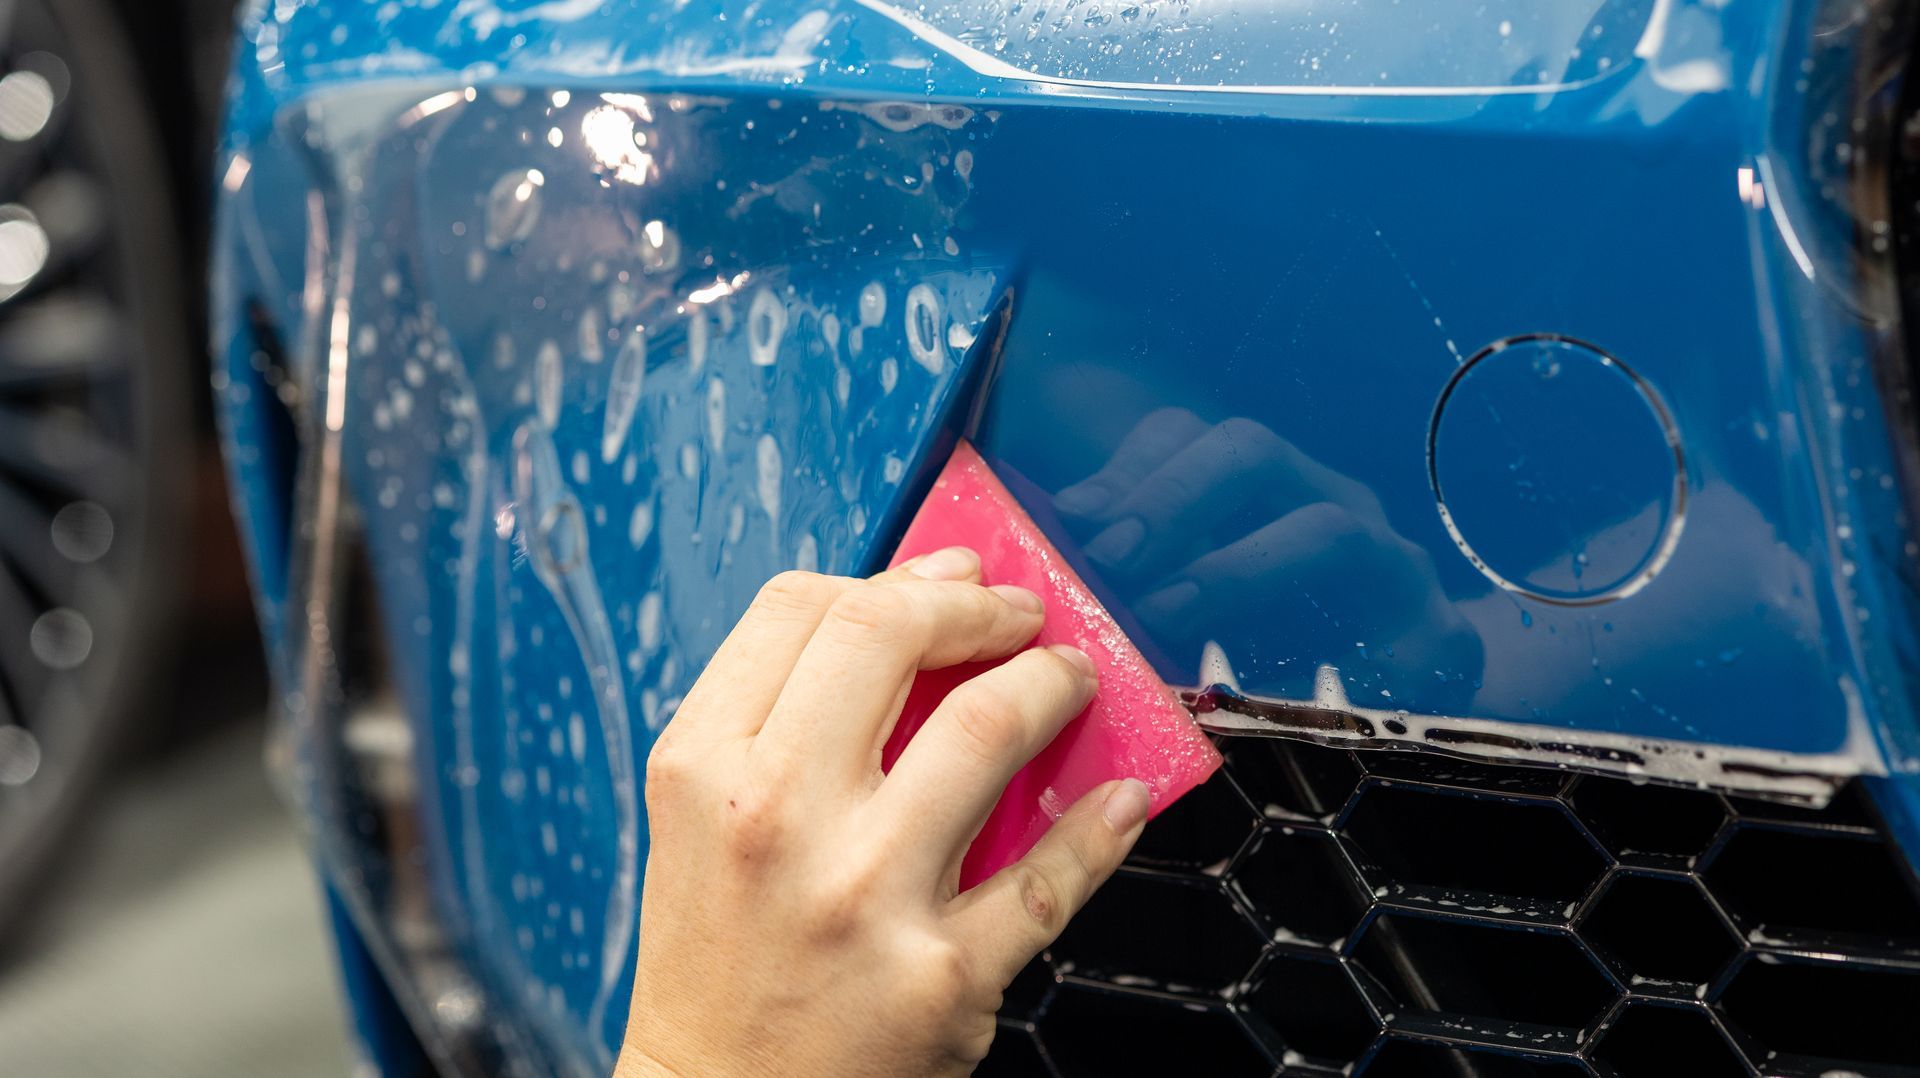
The hood is mostly a flat panel with two big curves. Fenders have one significant compound curve and clean edges. But the bumper — especially on a G80 M3 with the oversized kidney grille, intake openings, sensor recesses, the M badge, the lower splitter, and the fog light surrounds — is a piece of plastic with curves going in every direction at once. There are inside corners, outside corners, deep valleys, sharp ridges, and a dozen places where the film has to be persuaded to lay down without lifting, fingering, or distorting.
Here's what separates a top-level bumper install from a mediocre one. Four things:
alignment, stretch, speed, and cleanliness.
Slide title
Write your caption here
Button
Slide title
Write your caption here
Button
Slide title
Write your caption here
Button
Alignment: Getting the Film Where It Needs to Be
Before any squeegee work happens, the film has to be positioned correctly on the panel. This sounds obvious, but it's where a lot of installs go wrong before they've even started.
Pre-cut PPF templates aren't perfect. They're designed by the film manufacturer to give you about 90% of the install — the remaining 10% is the installer reading the panel and adjusting where the film sits. A template might be cut a quarter-inch short on one side and you have to decide where to give that quarter-inch up. A grille opening might want to be hugged on one side but not the other. A sensor recess might fall outside the template's coverage. We actually
custom plot our kits to extend, allowing us to tuck film in a clean way that the standard kit ignores.
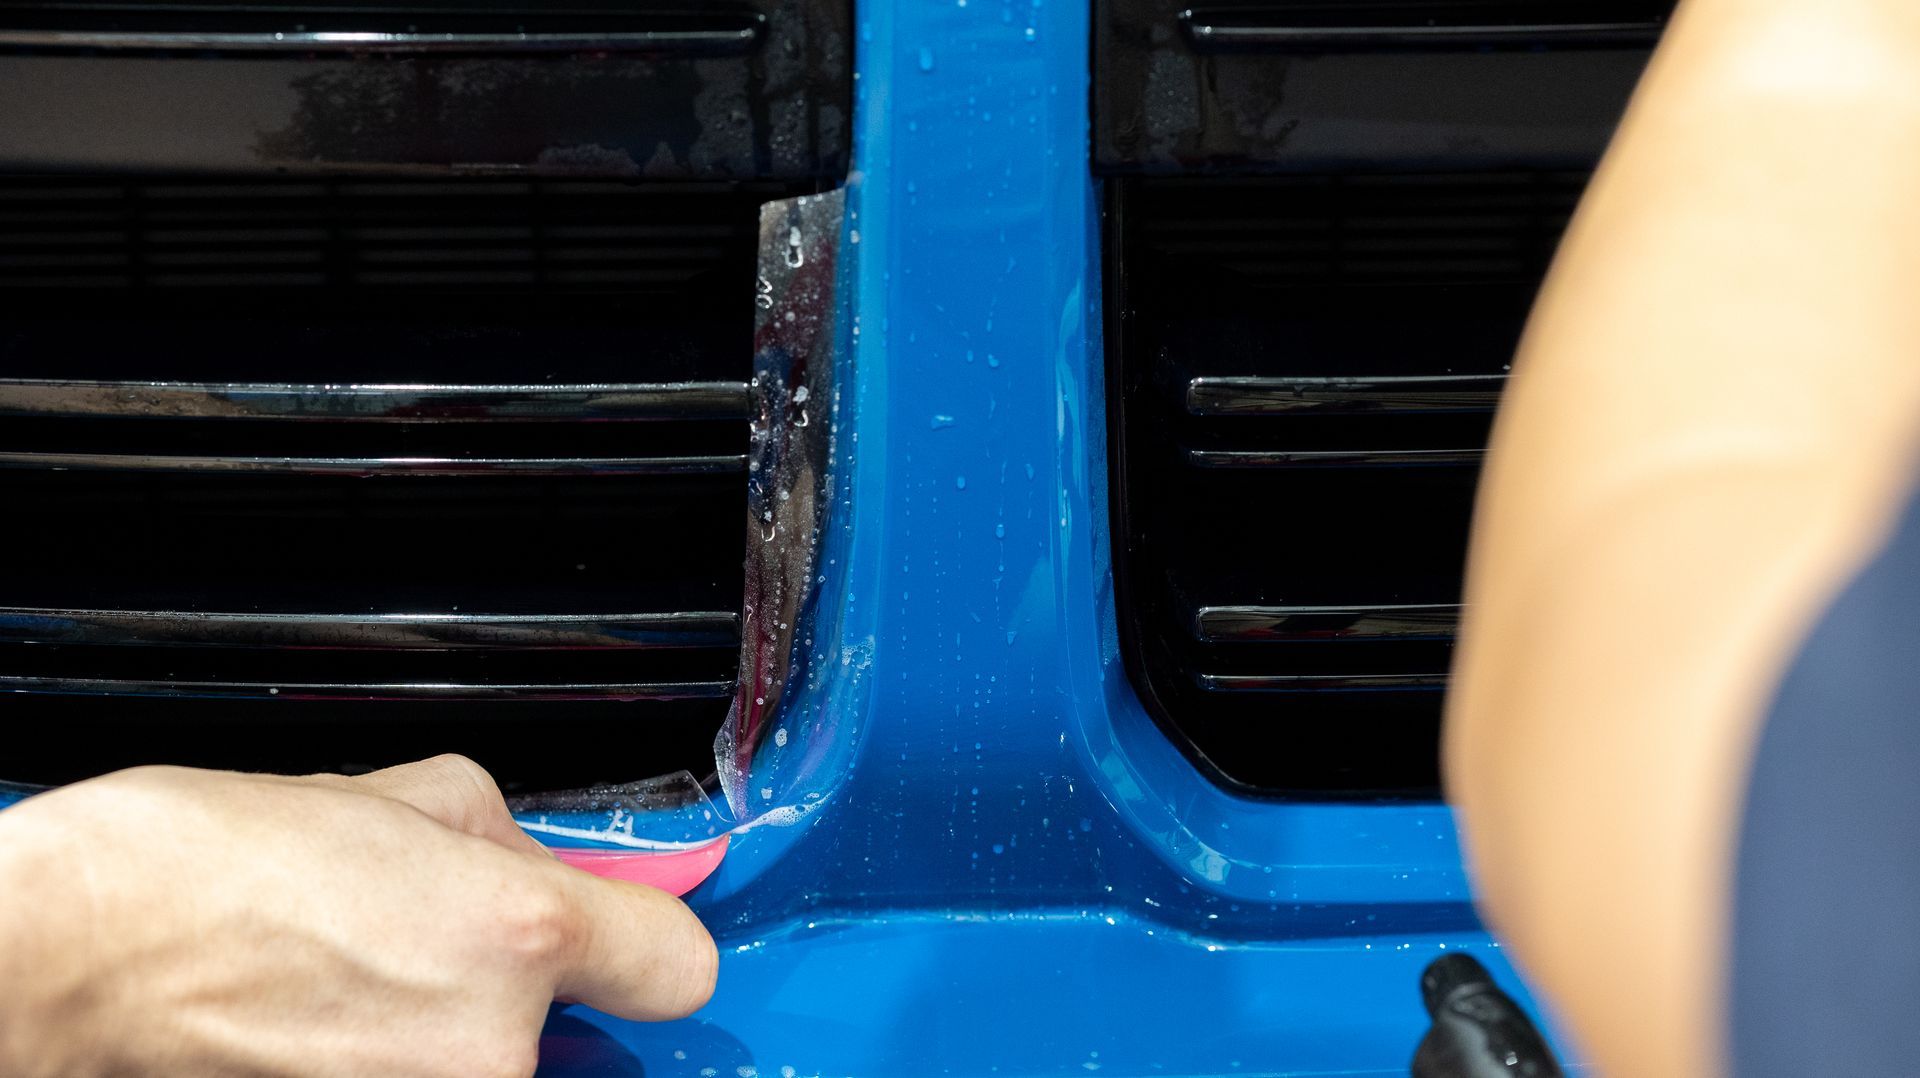
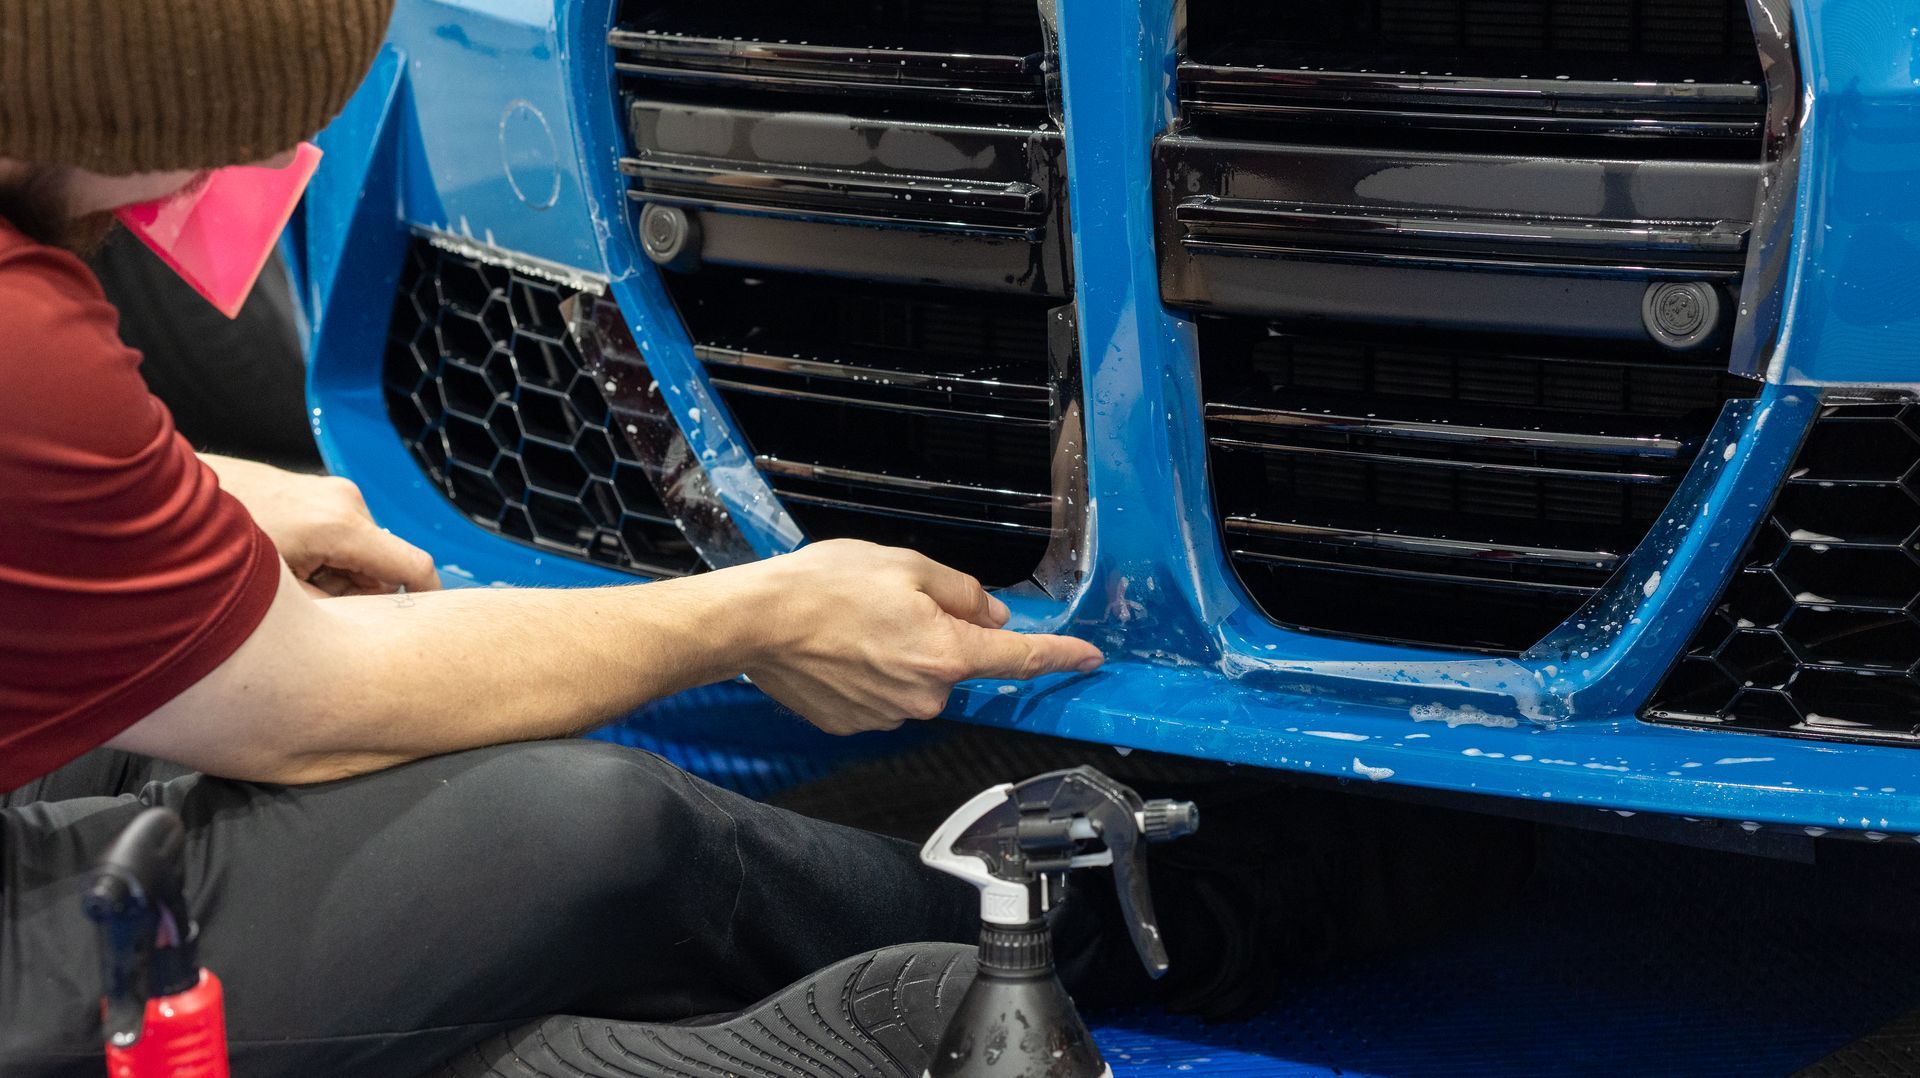
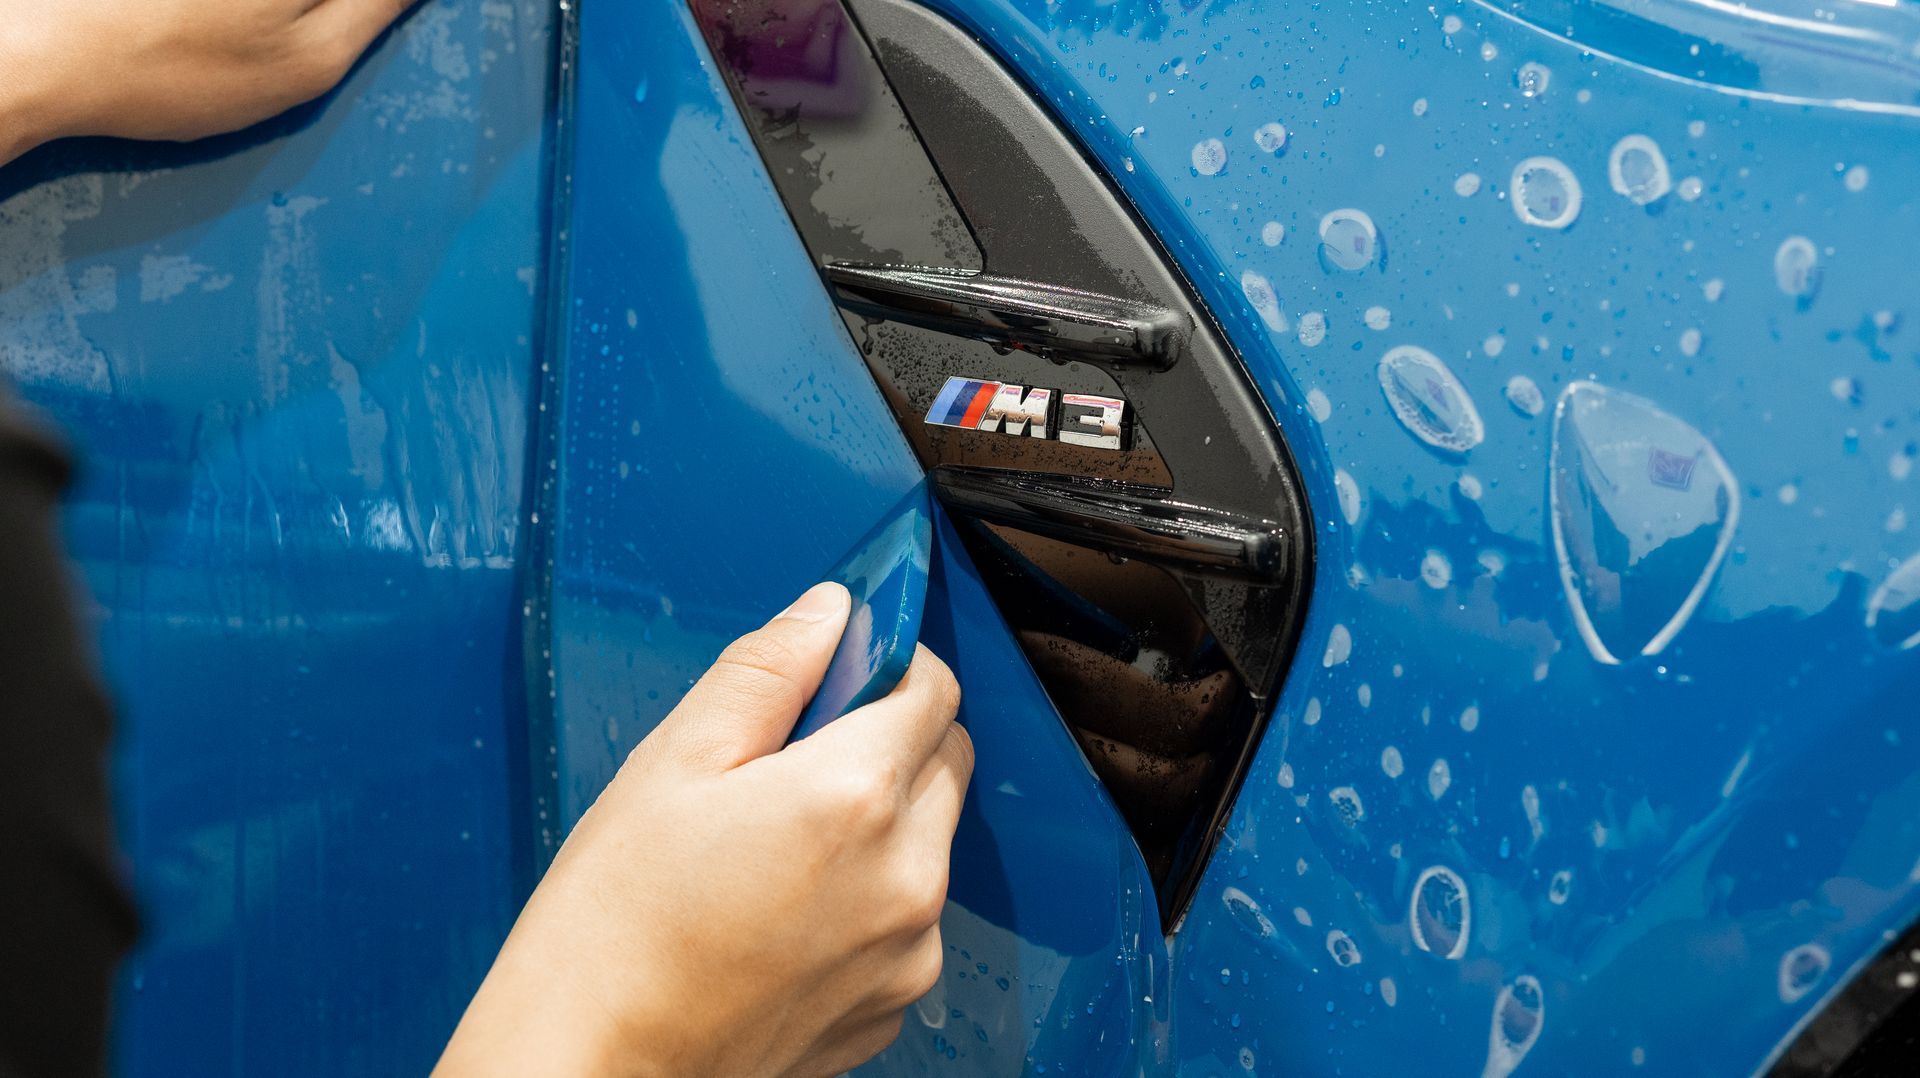
On the M3 bumper, the
kidney grille alignment is the single most important call you make on the entire install. The grille is huge, it's the visual centerpiece of the front of the car, and any misalignment there will be the first thing every observer notices — even people who don't know what PPF is.
What you're trying to do is get the film to terminate at the inside edge of the grille opening with a consistent reveal — meaning the same amount of black grille shows around the entire perimeter of the opening. If the film comes in too far on one side, the grille looks asymmetric and small. If it pulls back too far on the other side, you'll see a strip of bare paint inside the grille opening that's vulnerable to chips. Both look wrong, and once the film is squeegeed down, you're not moving it without redoing the install.
The fix is simple to describe and hard to execute:
position twice, squeegee once. We dry-fit the film on the bumper before we even spray slip solution, eyeball the grille perimeter from every angle, mark where the film should sit relative to the grille edges and the badge, then spray the panel and lay the film down to those marks. Slow at the front end saves you from a do-over at the back end.
The same alignment thinking applies to the sensor recesses, the fog light surrounds, and the lower bumper intakes. Every opening on the bumper has an ideal termination line for the film. Hit those lines and the install looks factory. Miss them and the eye catches it immediately.
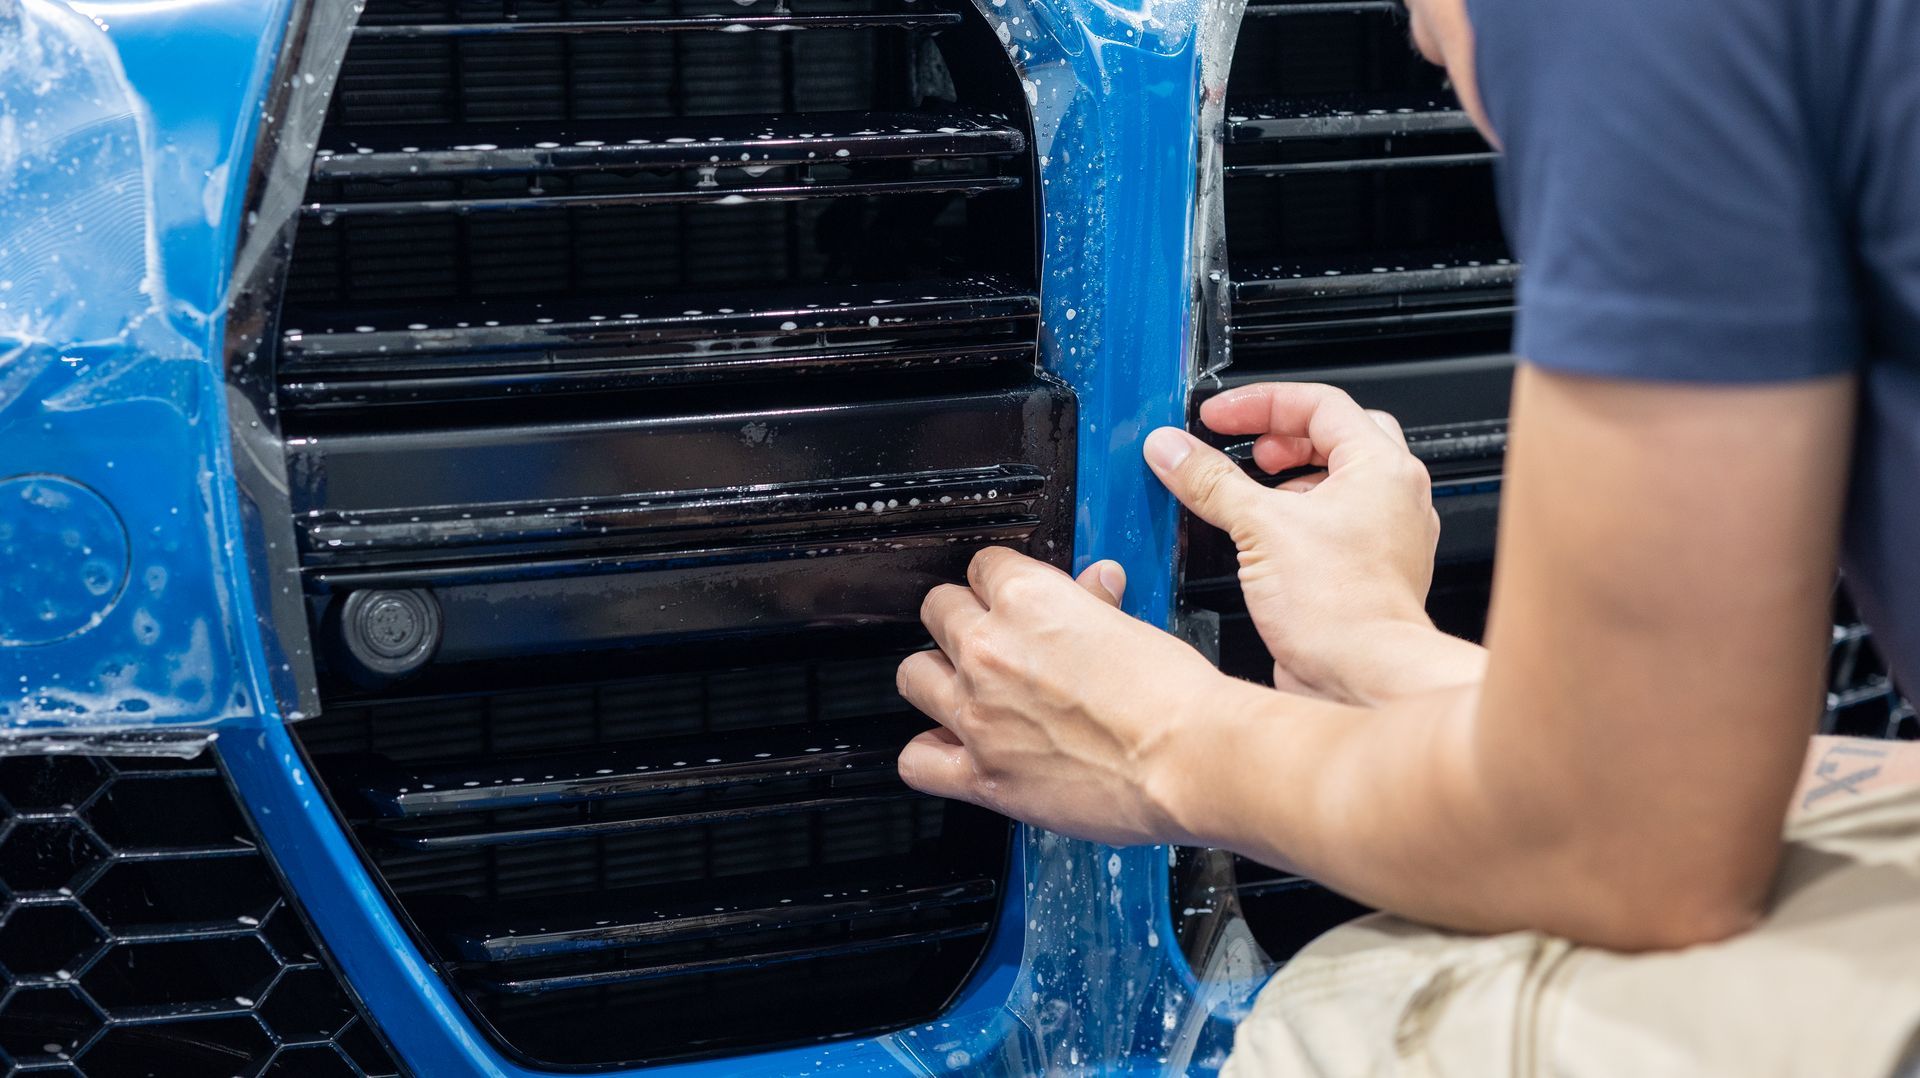
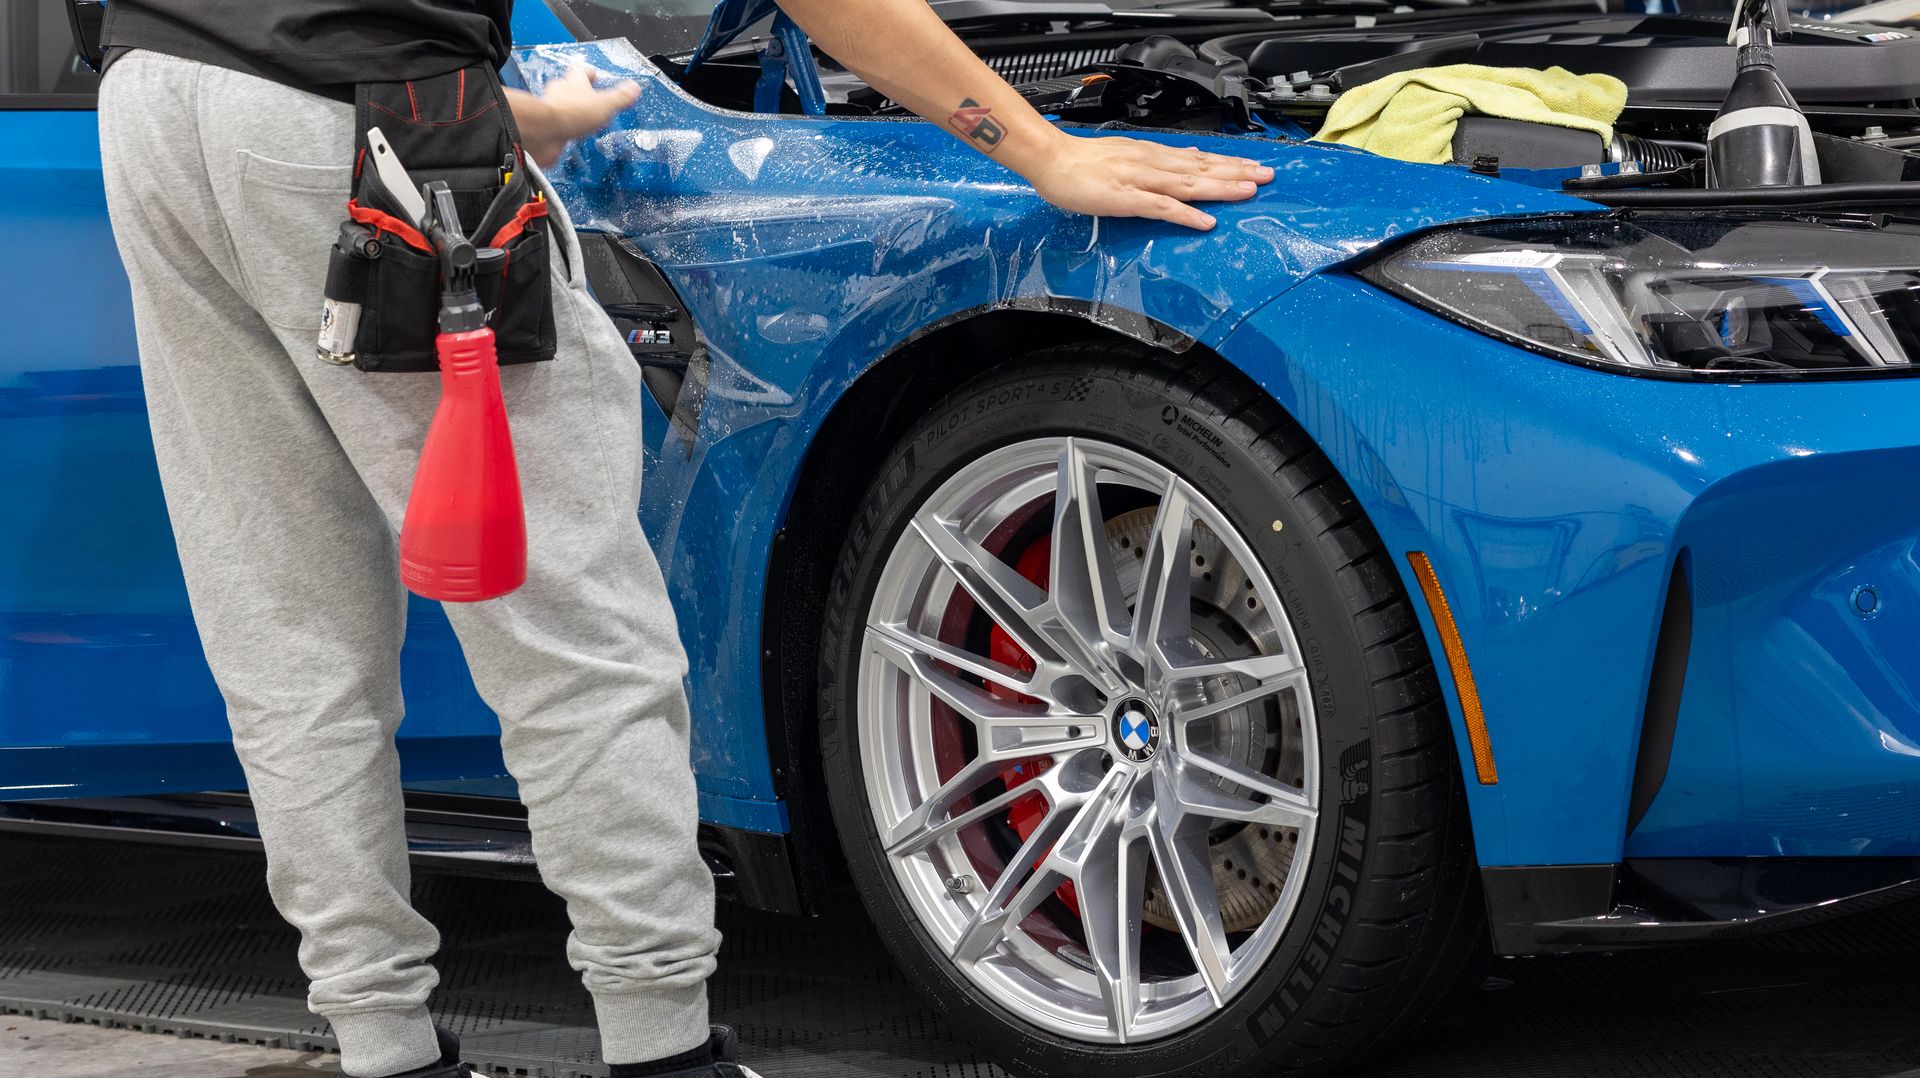
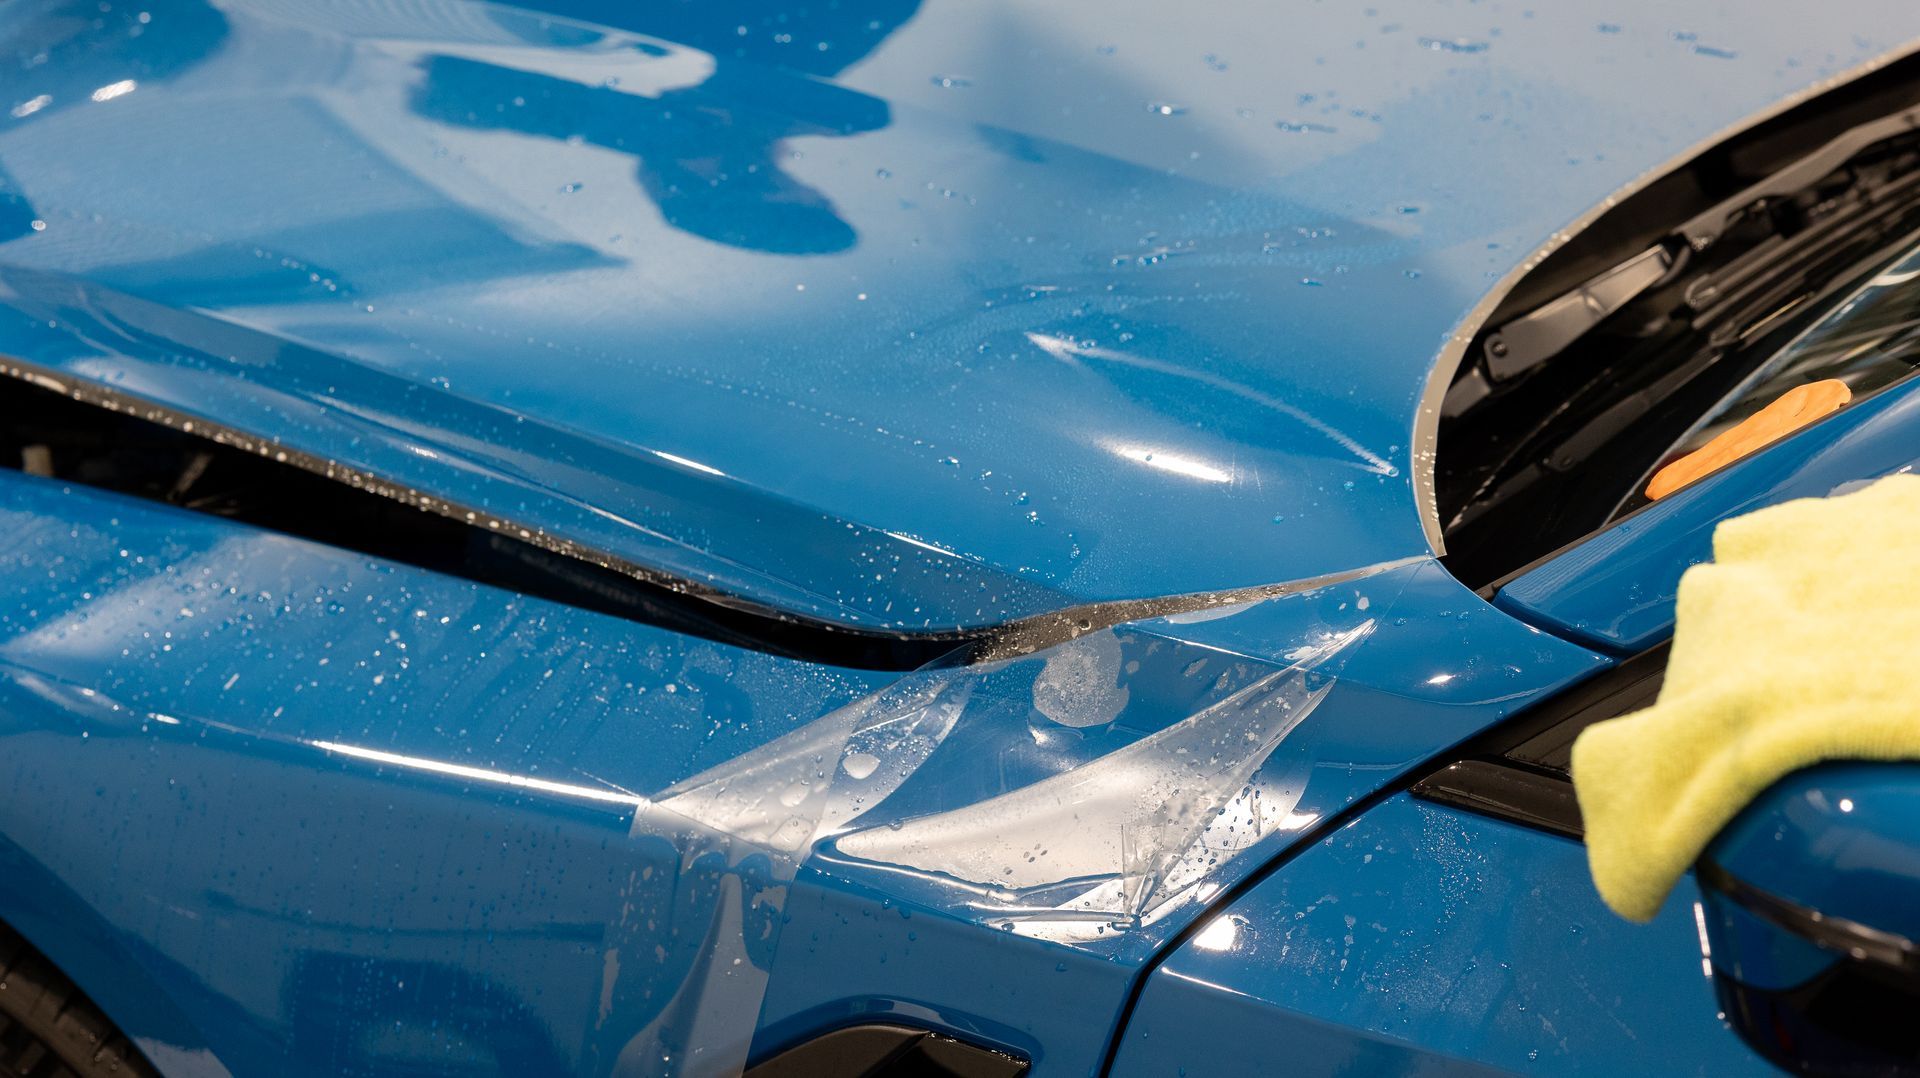
Stretch: Guiding the Film Into Valleys Without Distorting It
Once the film is positioned, the harder part starts: getting it to lay flat against every surface contour on a panel that has none of those contours in common.
PPF is stretchable. That's part of why it works — you can heat-pull it into shapes that flat film couldn't take. But there's a right way and a wrong way to use that stretch.
Slide title
Write your caption here
Button
Slide title
Write your caption here
Button
Slide title
Write your caption here
Button
Speed: Why Working Fast Without Rushing Is the Real Skill
PPF has a working window. Once the slip solution starts to evaporate and the tack solution starts to activate, the film begins to bond to the paint. You have a finite amount of time — somewhere between 90 seconds and a few minutes depending on temperature, humidity, and how much solution you used — to get the film positioned, stretched, and squeegeed into its final shape.
After that window closes, the film is committed. You can lift edges and reposition them slightly, but you can't pick the whole sheet up and start over. If something's wrong, you're either living with it, polishing out the install marks and trying again, or pulling the film and starting fresh on a new piece.
This is where
experience separates a fast install from a rushed one. A new installer either works too slowly — past the working window, fighting bonded film and creating stress marks — or too fast, missing alignment and creating air pockets they have to chase later.
A senior installer works at the speed the film wants to be worked. They've squeegeed thousands of feet of film and they know what 60 seconds, 90 seconds, and 2 minutes look like on a given panel in a given environment. They squeegee from the right point in the right direction, finish their stretch before the film tacks, and step back with a clean install — not because they were hurrying, but because they weren't fighting the material.
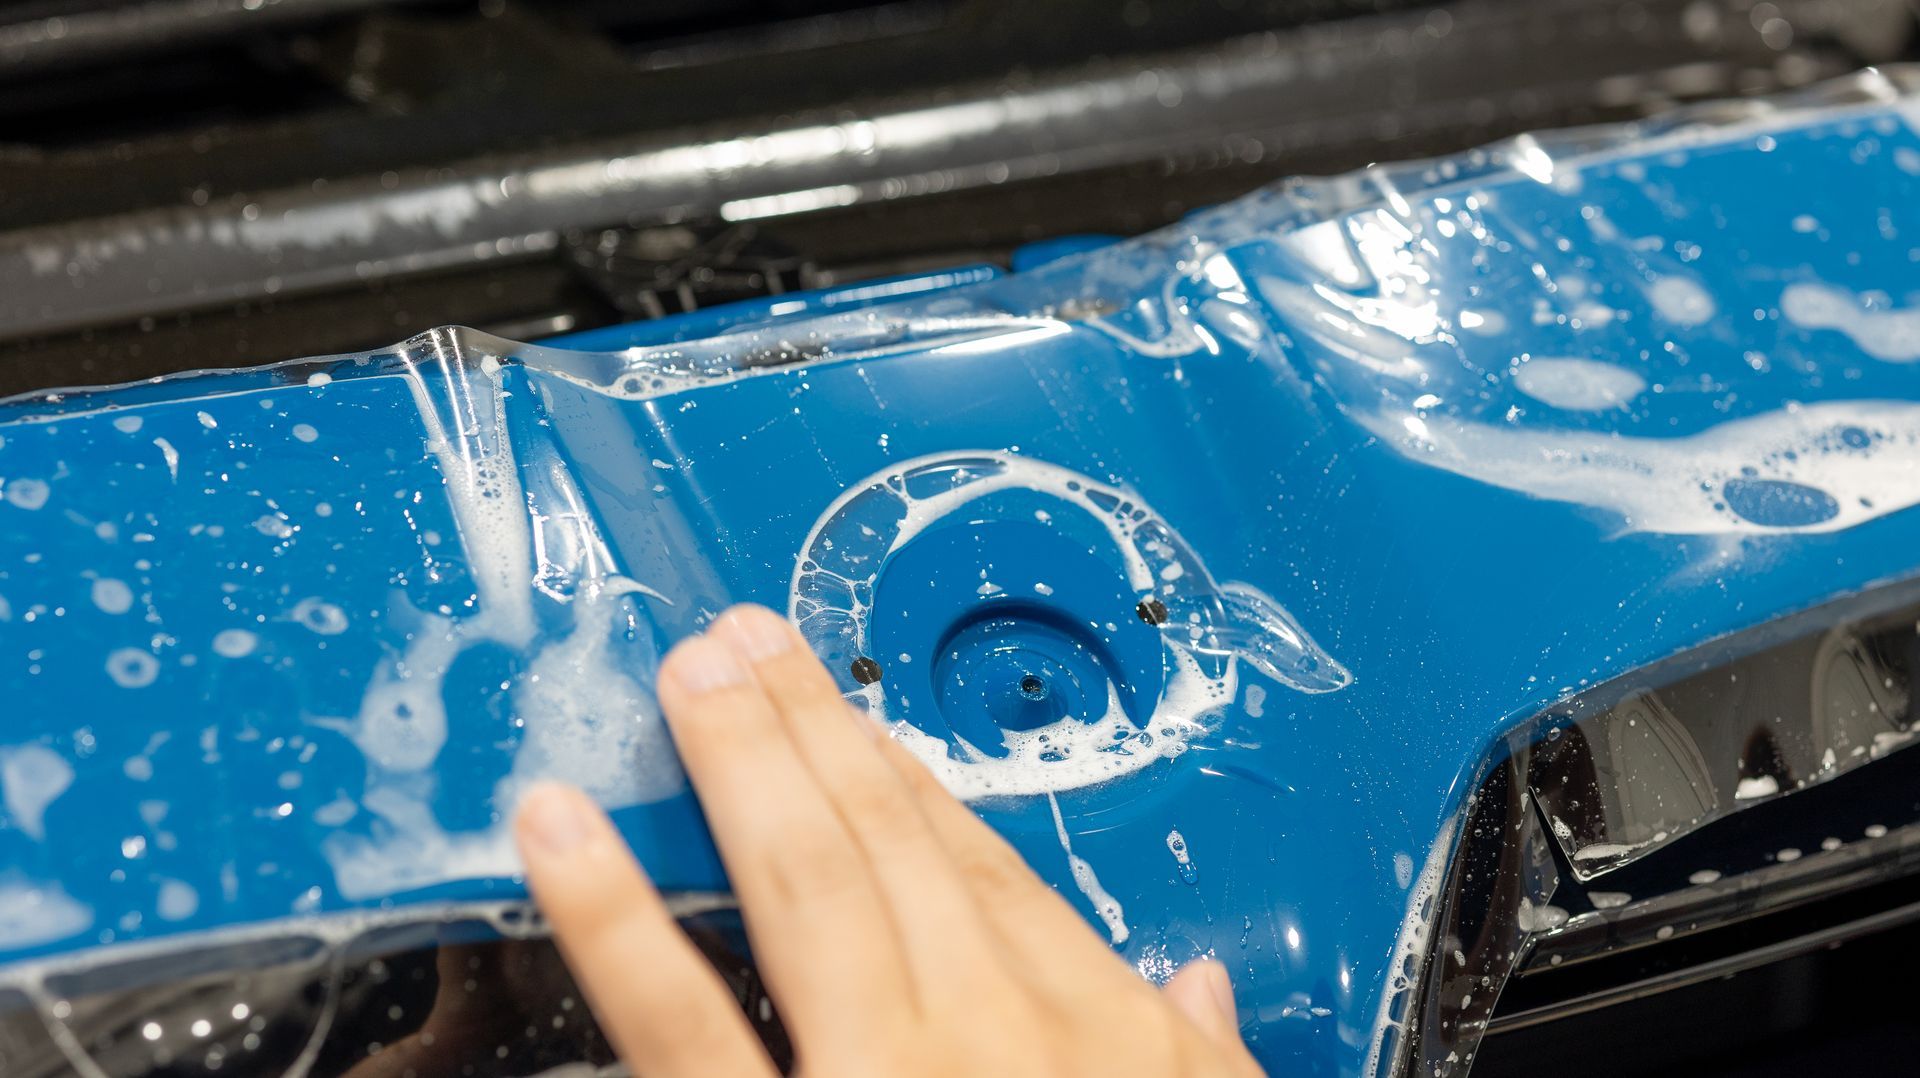
Cleanliness: The Difference Between Invisible and Acceptable
Every speck of dust, every fiber, every drop of contamination on the paint or the film at install time becomes a permanent flaw under the film. You can't get it out later. So clean work isn't a nice-to-have on a PPF install — it's the whole game.
Our shop is a controlled space — filtered air, sealed doors during install, and routine cleaning of the install bay before any car comes in. The car gets a full decontamination wash before install. The panel gets wiped down with a dedicated prep solution right before the film is positioned. The slip solution itself is filtered. The film is uncovered only at the moment of install — not laid out on a bench to collect dust while we prep something else.
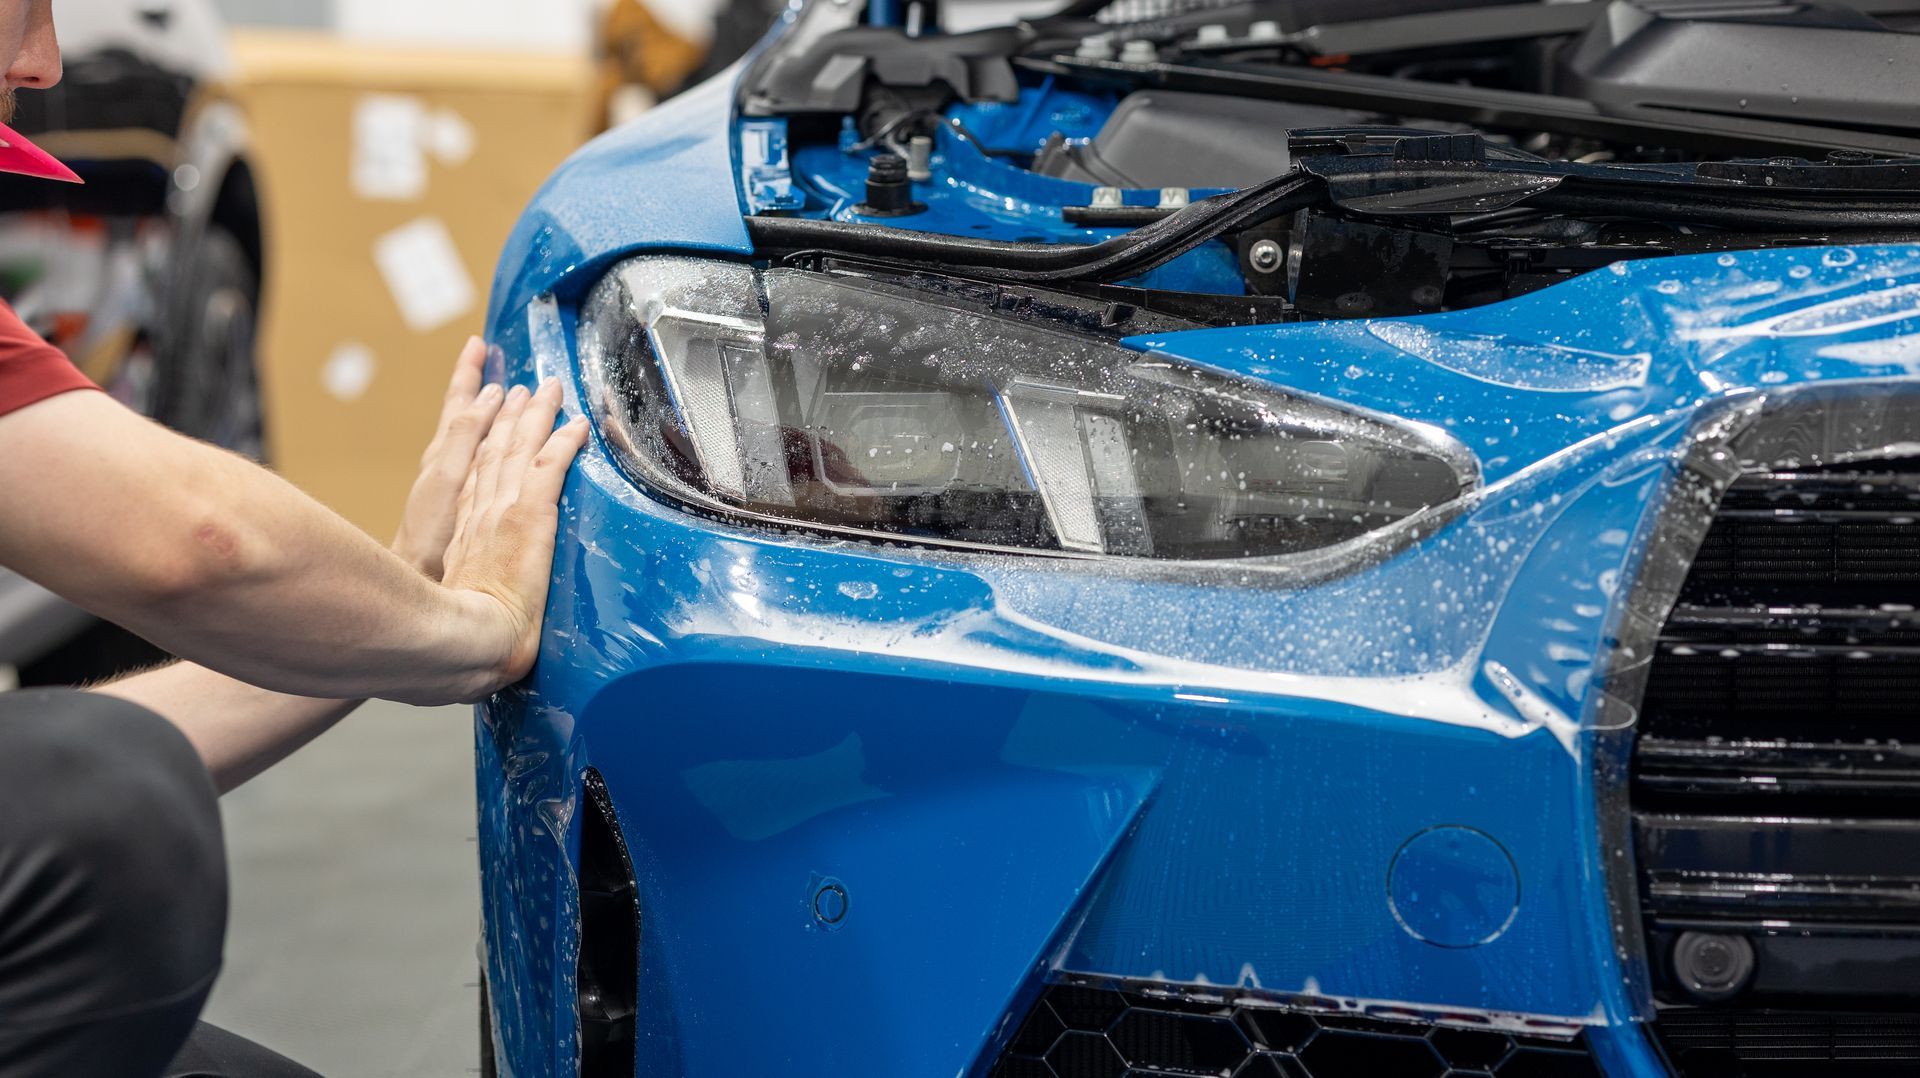
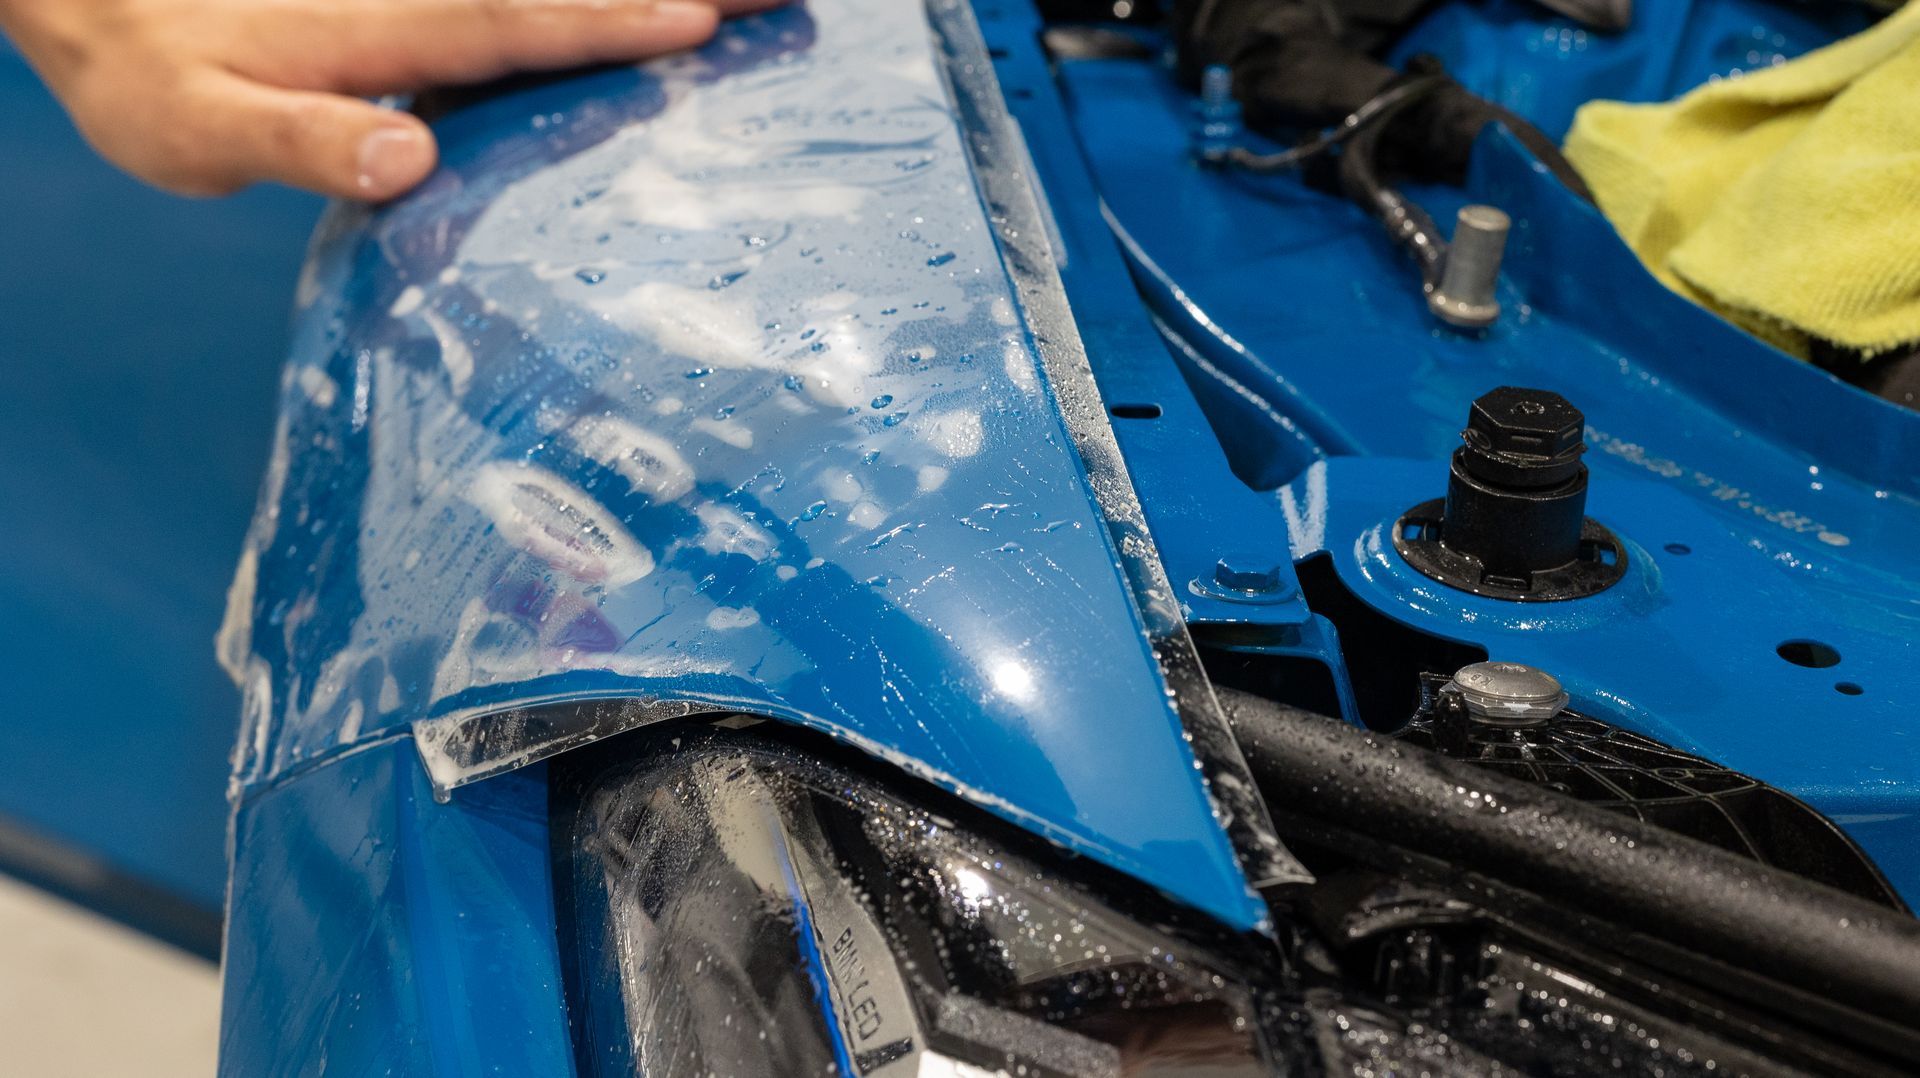
Tucking — How a Pro Install Disappears
Once the film is on the panel, the last call is the edges.
Like every PPF install we do, the edges get
tucked rather than flush-cut. We hand-trim the film about 5mm inside each panel edge and tuck it underneath, so there's no visible seam.
Three reasons this matters:
- It looks cleaner. No visible cut line. The film disappears.
- It's more durable. Exposed edges are the first thing to lift — in a pressure washer, at high speed, after a few years of weather. Tucked edges have nothing to grab onto.
- It's how a pro install should look. The difference between a tucked install and a flush-cut install is night and day, even at delivery.
We tuck around the headlights, the hood shut lines, the inner fender edges, the kidney grille perimeter — everywhere the film could potentially lift over time.
Slide title
Write your caption here
Button
Slide title
Write your caption here
Button
Slide title
Write your caption here
Button
Step 4: NXTZEN Elite Ceramic Coating
After PPF, the rest of the car (and the film itself) gets coated with
NXTZN Elite — a premium-tier ceramic coating that bonds chemically to the clear coat (and to the PPF) and forms a hard, transparent protective layer.
Once cured, here's what it does:
-Chemical resistance. Bird droppings, tree sap, bug splatter, brake dust, industrial fallout — all of these are acidic and all of them will etch into uncoated clear coat over time. The coating creates a barrier that gives you a window to wash contamination off before it damages the paint.
-Hydrophobic behavior. Water beads up and rolls off instead of sheeting and pooling. Fewer water spots, faster drying, less mineral residue from sprinklers and Texas hard water.
-UV protection. Sun exposure slowly oxidizes paint and dulls color saturation. On a bright color like Laguna Seca Blue, holding that vibrancy long-term means blocking UV.
-Wash ease. Coated paint is slick. Dirt doesn't bond to it the same way, washes go faster, and the risk of inducing new swirls during normal washing drops significantly.
The product gets applied panel by panel using a foam applicator, worked in a cross-hatch pattern for even coverage, then leveled with a clean microfiber after the proper flash time. Get the timing wrong and you get high spots — streaks of cured coating that have to be polished off and reapplied. There's no shortcut here, just patience.
After the entire car is coated, it sits in our climate-controlled space to cure. Several days before it's fully crosslinked at maximum hardness.
About Humble Crew Auto Spa
We're a
paint protection film, ceramic coating, window tint, and detailing shop based in Plano, TX. BMW work makes up a significant part of what we do, and we've built our reputation on getting the prep right, taking the time to do clean tucks, and not rushing cure times. Whether you're looking to protect a daily driver, a weekend M car, or a rare Individual-spec build like this X5, we'd love to talk through what makes sense for your car.
Stop by the shop, send us a message, or give us a call. We're always happy to walk through your options without pressure.
Humble Crew Auto Spa | Paint Protection Film, Ceramic Coating, Window Tint, and Detailing | Plano, TX
Serving Plano, Frisco, Allen, McKinney, Richardson, Dallas, and the greater DFW metroplex.
#BMW #BMWX5 #X5M60i #BMWIndividual #OxfordGreen #PPF #PaintProtectionFilm #CeramicCoating #PaintCorrection #WindowTint #UltraFit #VividSignature #PlanoTX #DFWDetailing #HumbleCrewAutoSpa
What This Means for BMW M Owners in Plano, TX
If you own a BMW M car — M2, M3, M4, M5, M8, X3M, X4M, X5M, X6M — and you're considering paint correction, ceramic coating, or PPF, here are the questions worth asking before you book a shop:
For PPF specifically: Ask to see a finished bumper install on a recent customer car. Look at the kidney grille perimeter — is the reveal even all the way around? Look at any badges or recessed valleys — is the film laying flat with no fingering or wrinkles? Look at the edges — are they tucked or flush-cut? A shop that's confident in their bumper installs will be glad to show them off.
For paint correction: Is the shop using inspection lighting between stages? Without LED inspection lights, the work is guesswork.
For ceramic coating: What product, what cure time? A coating that hasn't fully cured before the car goes back to the owner won't perform the way it's supposed to.
These questions filter out the shops that cut corners. Shops that take the time to do it right will be happy to answer all of them.
About Humble Crew Auto Spa
We're a
paint protection film, ceramic coating, window tint, and detailing shop based in Plano, TX. BMW work — and M car work in particular — makes up a significant part of what we do, and we've built our reputation on getting the prep right, taking the time to do clean tucks, and not rushing cure times.
Whether you're protecting a daily-driven 3 Series, a weekend M3, or a heritage-spec build like this Laguna Seca Blue car, we'd love to talk through what makes sense for your build.
Stop by the shop, send us a message, or give us a call. We're always happy to walk through your options without pressure.
Humble Crew Auto Spa | Paint Protection Film, Ceramic Coating, Window Tint, and Detailing | Plano, TX
Serving Plano, Frisco, Allen, McKinney, Richardson, Dallas, and the greater DFW metroplex.
#BMW #BMWM3 #G80M3 #M3Competition #LagunaSecaBlue #PPF #PaintProtectionFilm #CeramicCoating #NXTZNElite #PaintCorrection #PlanoTX #DFWDetailing #HumbleCrewAutoSpa #BMWLife #BMWGram